builder gel for nails: 5 Stunning DIY Manicure Ideas
Builder gel for nails is the quiet workhorse behind many of the manicures in this post. It is a thick, self levelling gel that builds length, adds an apex for strength, and smooths uneven natural nails, and it cures under a UV or LED lamp into a hard, lightweight layer.
The five photos below follow one idea from finish to foundation: a decorated summer press-on set that shows what extensions make possible, then the nude and clear builder gels, a deep burgundy colour gel to wear over them, and the glue and base gel that hold tips in place. If you are new to extensions, our DIY gel nail extensions guide explains the full process step by step.
Summer Press On Nails with Hibiscus and Starfish Art: Shop the Look
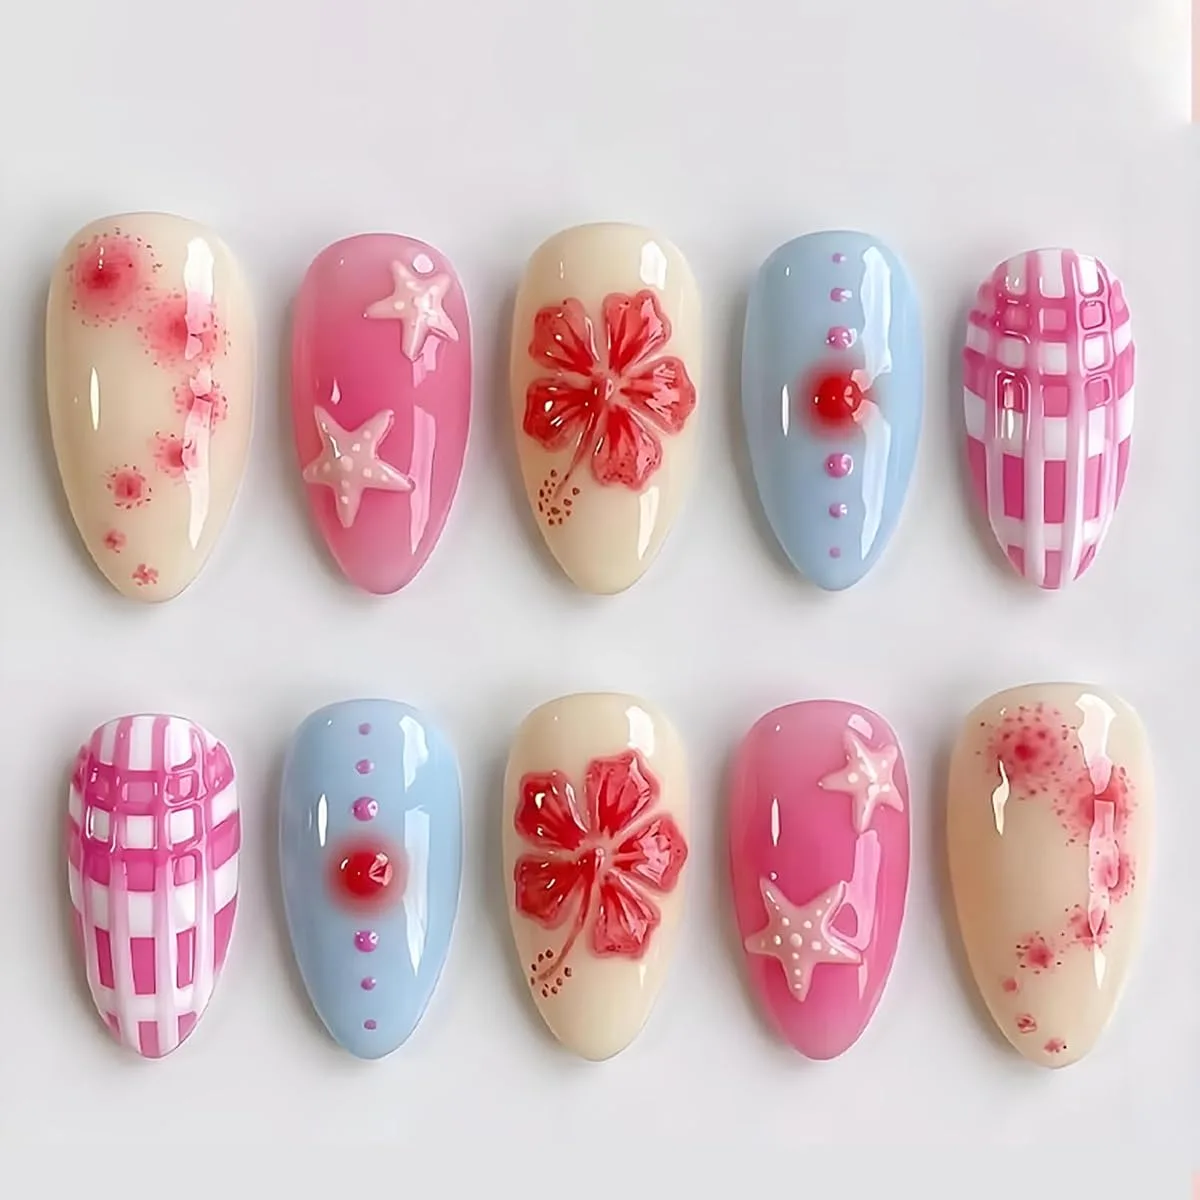
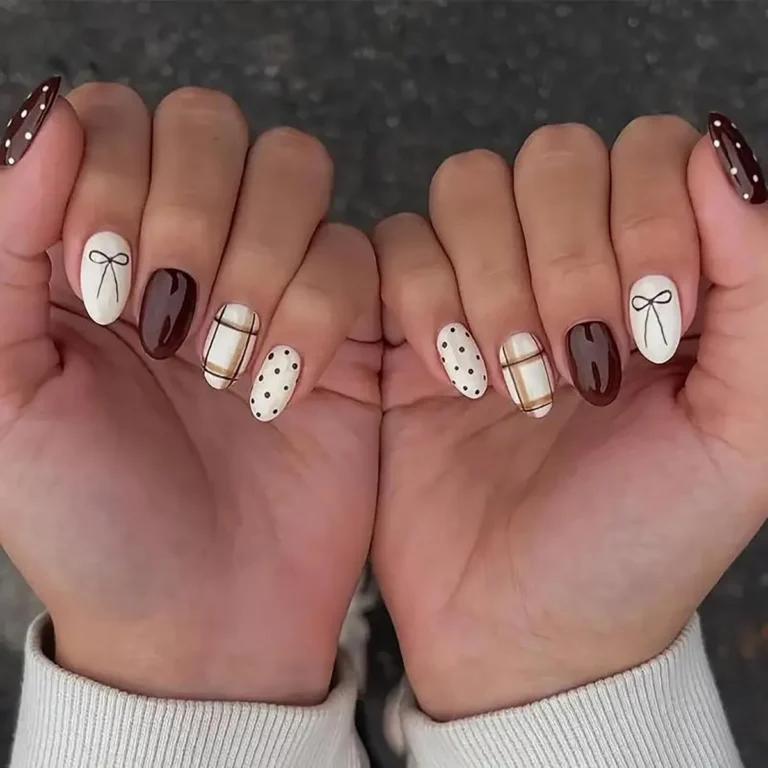
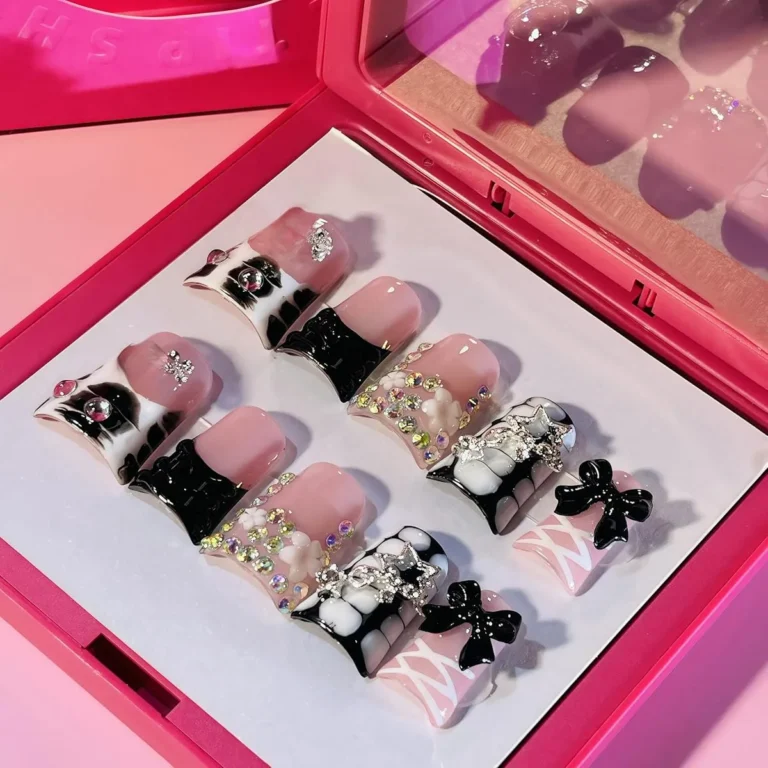
Let us be honest about the first photo: these are press-on tips, not builder gel. Ten tips in two rows show a full summer set: cream tips with red speckles, pink tips with white starfish, cream tips with a red hibiscus flower, baby blue tips with a red dot and pink dots, and pink and white plaid tips. Nothing in this photo is a bottle or a gel. So why does it open a post about builder gel for nails?
Because it shows the finished decorated look that extensions make possible. A set like this needs length, an even surface, and enough strength to carry art, pearls, and stickers without bending. That is exactly what builder gel for nails provides underneath the decoration.
Why a decorated set starts with structure
Every design in this photo sits on a tip with a smooth, even surface. Without a builder layer, a natural nail that is thin, ridged, or uneven will show through sheer colours and will flex under heavier art. Builder gel solves both problems at once: it levels the surface and adds a rigid layer that keeps the tip stable.
Recreating the summer look on extensions
If you want this exact summer set on your own nails, build the extension first and decorate second. Shape the extension, cure it, file it smooth, and only then paint the cream, pink, and baby blue bases and add the starfish and hibiscus details. Sealing the art with a top coat keeps the small painted details from wearing off at the tips.
Cover Nude Translucent Builder Gel for Natural Extensions: Shop the Look
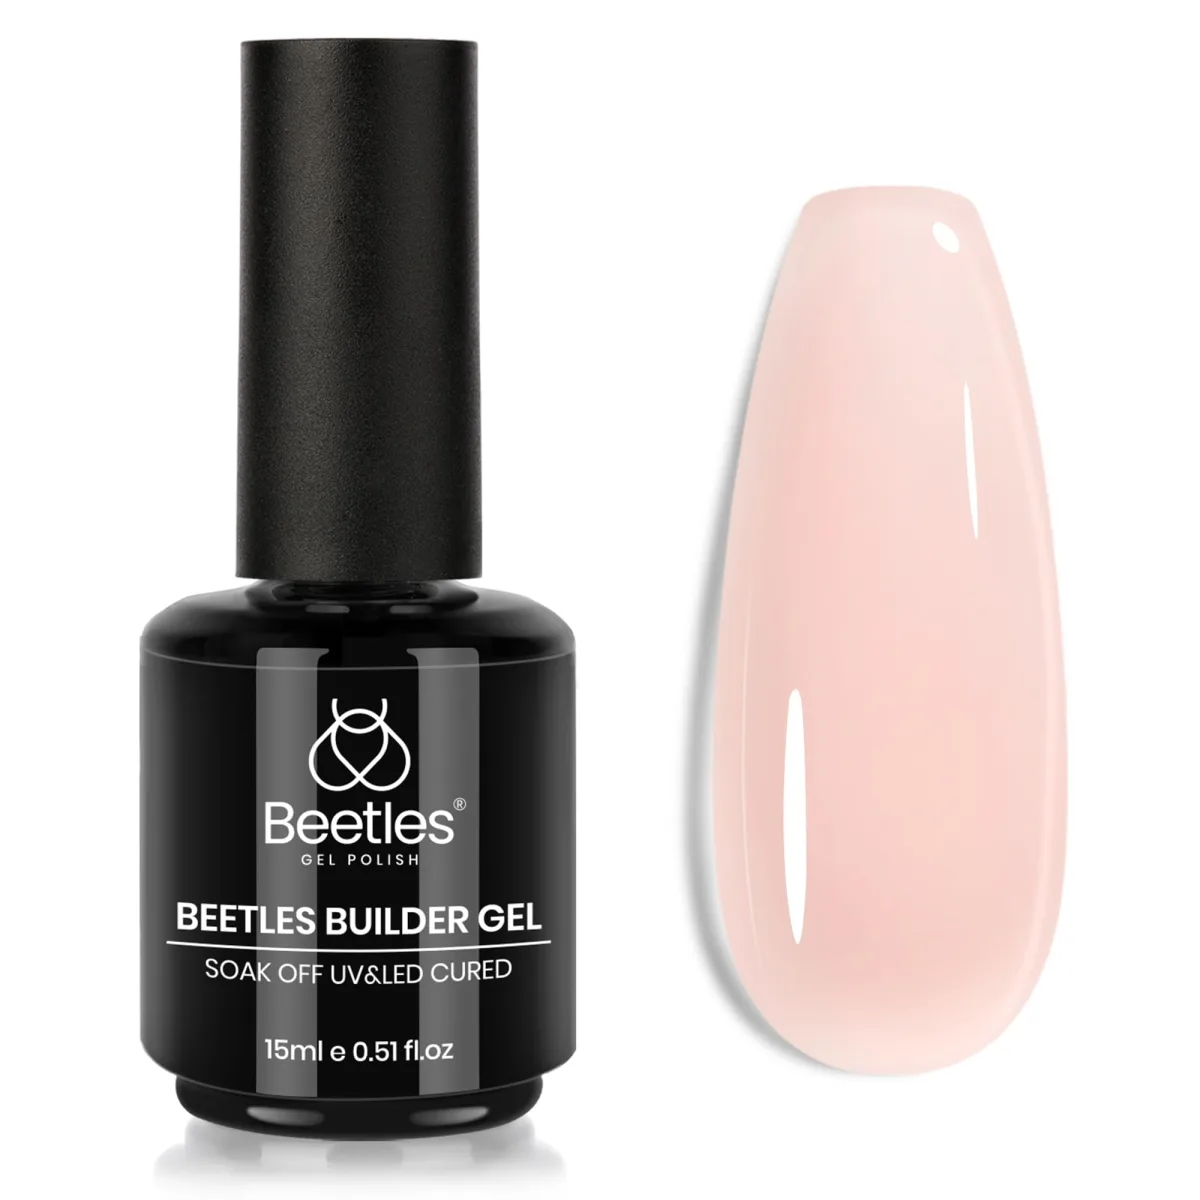
The second photo shows the heart of this post: a black Beetles Builder Gel bottle, labelled soak off and UV and LED cured, 15 ml, standing beside a pale pink translucent nail tip in the cover nude shade. The tip shows what the gel looks like on a nail: a soft, milky pink that lets a little light through, close to a natural nail tone rather than an opaque colour.
This is the shade of builder gel for nails to choose when you want extensions that look like better natural nails, not like coloured polish. The translucency is the point. It softens the line where the extension meets the natural nail, so the set reads as one nail.
What cover nude builder gel does best
A cover nude builder gel does three jobs at once: it extends the nail, it strengthens a weak or splitting natural nail, and it evens out colour differences across the nail plate. Because the shade is translucent, it flatters many skin tones without matching any one of them exactly. For a first builder gel for nails project, a nude translucent shade is the most forgiving choice.
How the nude shade changes the finished look
Wear this shade alone for a clean, natural manicure, or treat it as the base for colour. Under a sheer pink or a French tip, the nude layer adds depth and warmth. Under a dark colour like the burgundy in the next photo, it barely shows, but it still does the structural work.
That flexibility is why many people keep one nude builder gel on hand even when they own many colours: it is the layer that makes every other layer behave.
Alicia Jam Burgundy Colour Gel Over a Builder Base: Shop the Look
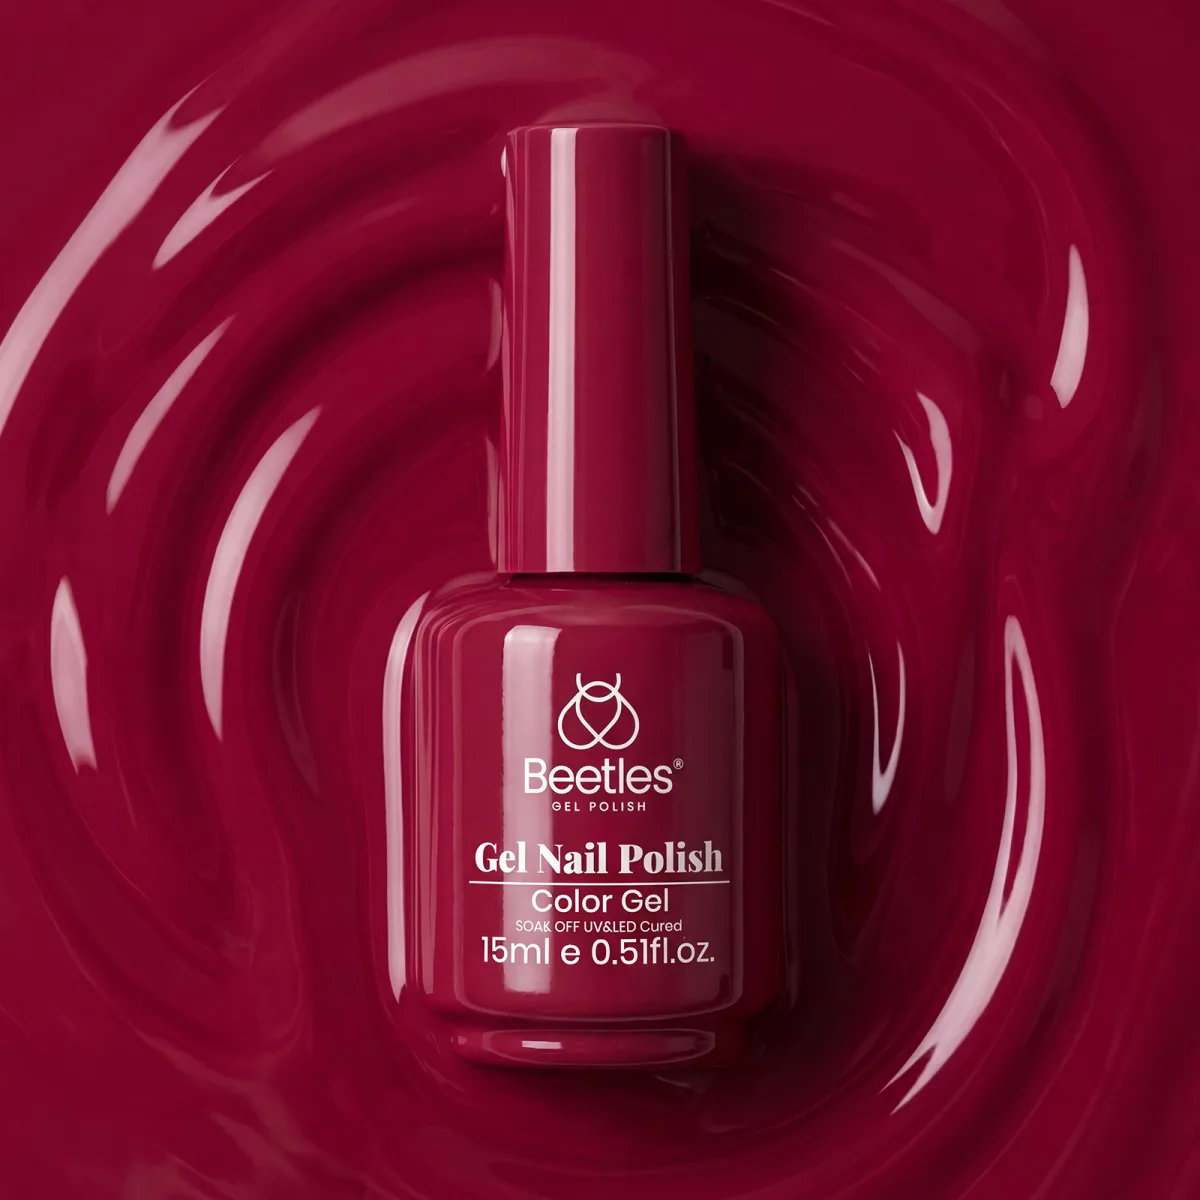
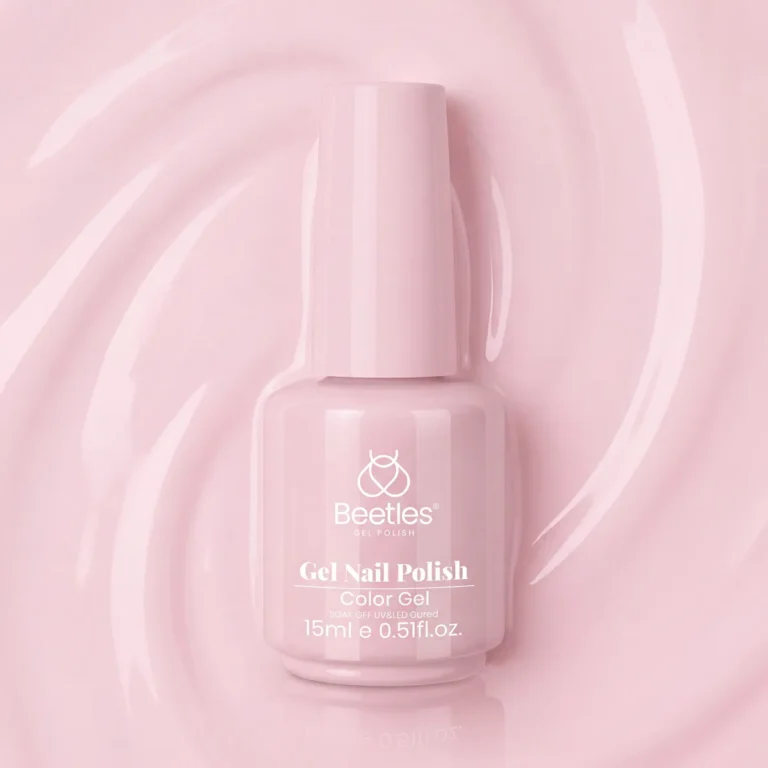
The third photo is a colour gel, not a builder gel, and the distinction matters. A Beetles Color Gel bottle in deep burgundy red stands in a swirl of the same red gel, and the shade is Alicia Jam. The swirl shows a rich, wine-like red with a glossy, even flow. Colour gel is thinner than builder gel and carries pigment, not structure. It goes over a builder layer, never instead of one.
Why colour goes over builder, never instead of it
A common beginner mistake is building length with colour gel alone. Colour gel is too thin to hold an apex or a free edge, so the extension bends, lifts at the sides, and peels within days. The correct order when you use builder gel for nails is builder first, cured and filed smooth, then colour in thin coats, each cured before the next.
The burgundy in this photo is a good test of that order: a dark, rich shade shows every ridge underneath, so it rewards a well filed builder layer and punishes a rushed one.
Wearing a deep burgundy over a nude builder base
The nude layer warms the red slightly and keeps the free edge from looking stark. Our Audrey Black polish guide shows the same layering idea with a black shade, and the principle is identical: structure first, colour second, top coat last.
Clear Builder Gel for a Glass Like Nail Foundation: Shop the Look
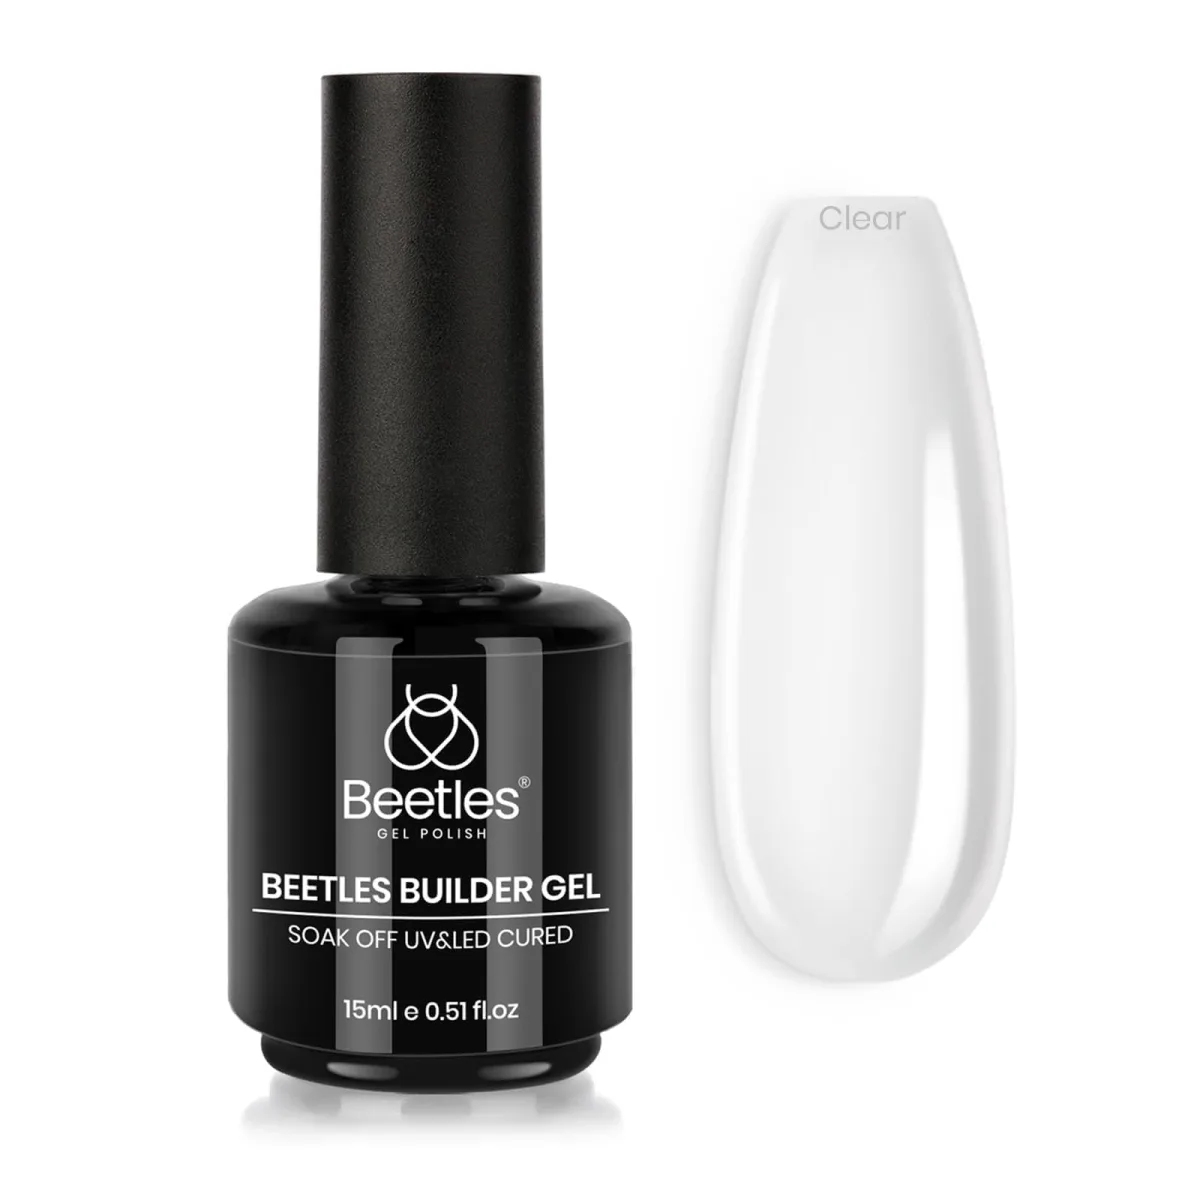
The fourth photo shows the clear version of the same product: a Beetles Builder Gel bottle beside a clear nail tip, labelled “Clear” on the image. A clear tip shows nothing but the gel itself, and that is the point of this shade. Clear builder gel adds length and strength without adding colour, so it is the right choice under sheer colours, glitters, and French designs, where any tint underneath would shift the final shade.
When clear beats nude
Choose clear builder gel when the colour on top must stay true. A white French tip over a nude base can look slightly warm; over a clear base it stays crisp white. Glitter over a nude base can look muted; over a clear base it sparkles at full strength.
Clear is also the practical choice for repairs: a cracked corner or a split sidewall can be patched with clear gel and filed smooth, then covered with colour, without a visible patch line. Our clear nail extension gel guide covers the clear option in more detail.
The clear builder gel routine
The routine for clear builder gel for nails is the same as for the nude shade: prep the natural nail, apply a thin base coat and cure it, then build the gel in thin layers, curing between each, and file the cured layer smooth before colour or top coat. The one extra habit clear gel rewards is checking your work against the light before curing.
Because builder gel for nails in a clear shade is transparent, you can spot a thin spot, a bubble, or gel touching the cuticle before it hardens, and fix it with the brush in seconds. Once cured, those same flaws need filing to remove.
Two in One Nail Glue and Base Gel for Secure Tips: Shop the Look
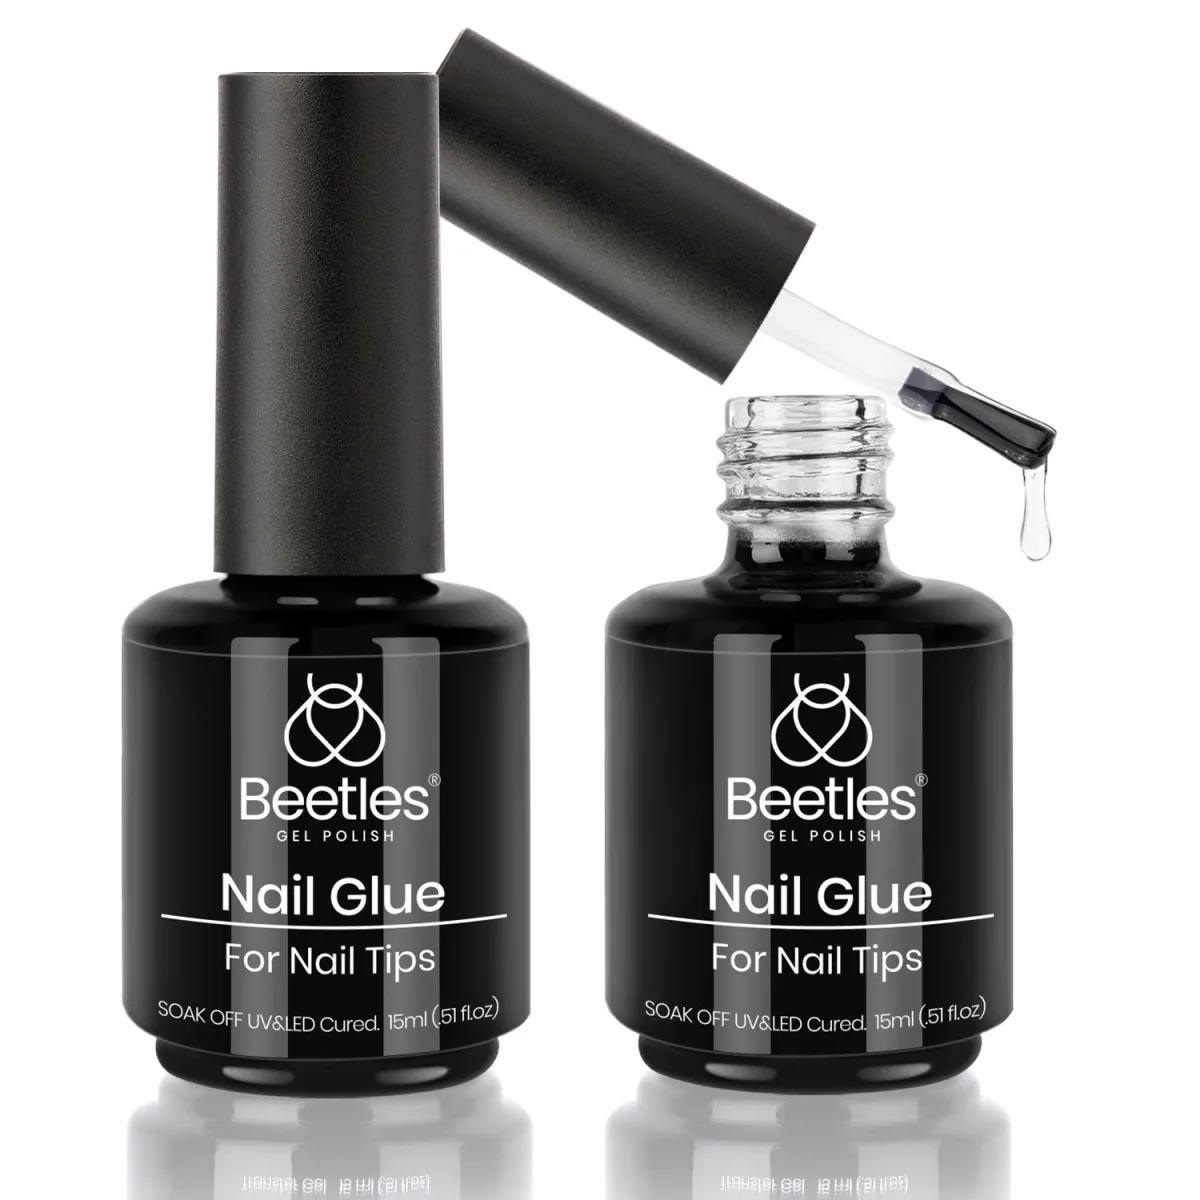
The last photo shows two Beetles Nail Glue for Nail Tips bottles, a two pack, one open with its brush out and a clear drip falling from it. This is the product that holds a tip onto the natural nail before any builder gel goes on, and the same bottle doubles as a base gel.
That dual role is why it matters in a builder gel for nails routine: a tip that is poorly glued will lift no matter how good the builder layer above it is, and a base gel that grips well gives the builder something to hold onto.
Gluing tips so they stay put
Fit the tip first, before any glue touches a nail. The tip should cover the natural nail from sidewall to sidewall with no gap and no overhang. Apply a thin line of glue to the contact area of the tip and a small amount to the natural nail, press the tip on at a slight angle to push air out toward the free edge, and hold it still until it grips.
Base gel as the grip layer
Used as a base gel, this product goes on in one thin layer over the prepped natural nail and cures before the builder gel. That thin layer is the bond between the natural nail and everything above it. Keep it off the skin and cuticle, cap the free edge, and cure it fully.
Our gel curing guide explains how curing affects that bond.
How to Apply Builder Gel for Nails at Home
- Prep the natural nails. Trim and file to a neat shape, push the cuticles back, lightly buff away the shine, and clean off all dust and oil so the gel grips.
- Fit and glue any tips. Choose a tip that covers each nail sidewall to sidewall, glue it on at an angle to push air out, and trim and shape it to the length you want.
- Apply a thin base gel layer, cap the free edge, and cure it under your UV or LED lamp as your product directs.
- Build with builder gel. Brush on a thin layer first, then add a small bead and sculpt it into shape, keeping the thickest point near the middle of the nail for the apex and keeping gel off the skin and cuticle.
- Cure the builder layer as the brand directs. For the Beetles gel in this post, the brand’s own directions are 60 seconds under LED or 2 minutes under UV. After curing, a slight stickiness is normal and gives the next coat something to hold onto.
- File and shape the cured builder layer, remove all dust, and check the shape against the light before colour.
- Add colour in thin coats, curing between each, or wear the builder layer alone under a top coat. Finish with a top coat, cap the free edge, cure fully, and apply cuticle oil to the skin around the nails.
The same safety step applies here as with any gel set. The American Academy of Dermatology recommends a broad spectrum, water resistant sunscreen with SPF 30 or higher on your hands before a gel manicure, since the polish is sealed using ultraviolet light.
Frequently Asked Questions
Is builder gel better than regular gel polish for extensions?
Yes, for length and strength. Regular gel polish is thin and made to add colour, not structure, so it cannot hold a free edge or an apex on its own. Builder gel for nails is thicker and self levelling, so it builds the extension itself.
Should I choose clear or nude builder gel?
Choose clear when the colour on top must stay true, for example white French tips, sheer colours, or glitter. Choose a cover nude shade when you want the extensions to look like natural nails on their own, or when you want to even out colour differences across the nail plate.
Why is my builder gel lifting at the cuticle?
Lifting at the cuticle usually comes from gel touching the skin during application, a skipped base layer, or oil left on the nail plate before application. When you apply builder gel for nails, keep every layer slightly inside the edge of the nail plate, cure the base layer fully, and make sure the nail is clean and dry before you start.
If lifting keeps happening on one nail, check that nail’s prep first, since one oily nail plate can fail while the rest hold.
Can I use builder gel on short natural nails without tips?
Yes. That is called an overlay: builder gel applied directly over the natural nail to strengthen it and smooth its surface, with no added length. The routine is the same minus the tip step, and the apex still matters, since it is what stops a short overlay from snapping at the stress point.
Builder gel for nails rewards patience more than speed: thin layers, full cures, and a filed smooth surface before colour. Start with an overlay or a nude shade, build the habit, and follow Beautylicious Hub on Pinterest for more nail ideas like these.