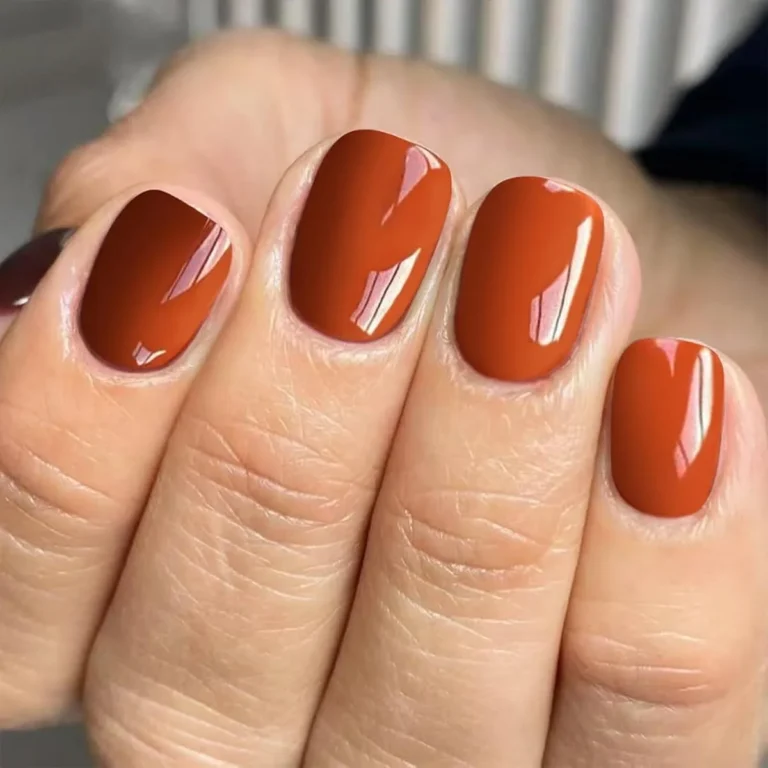
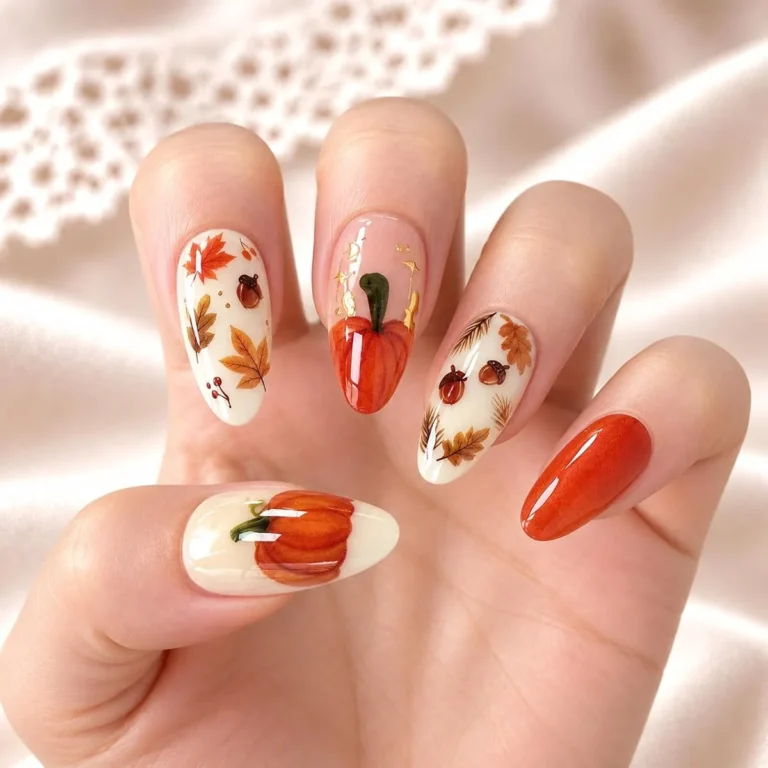
Audrey Black Polish: Stunning Ideas for Dark Manicures
Audrey black polish is the shade this whole post revolves around: one deep, glossy black from Beetles, shown here on four skin tones, as a French tip, in a step by step routine, as a swatch, and finally in its own bottle. Black is the most forgiving dark shade to wear, and this post stays honest about what each photo actually shows, from product shots to finished nails, so you can judge the shade before you buy.
Glossy Black Stiletto Nails in Audrey Black Polish: Shop the Look
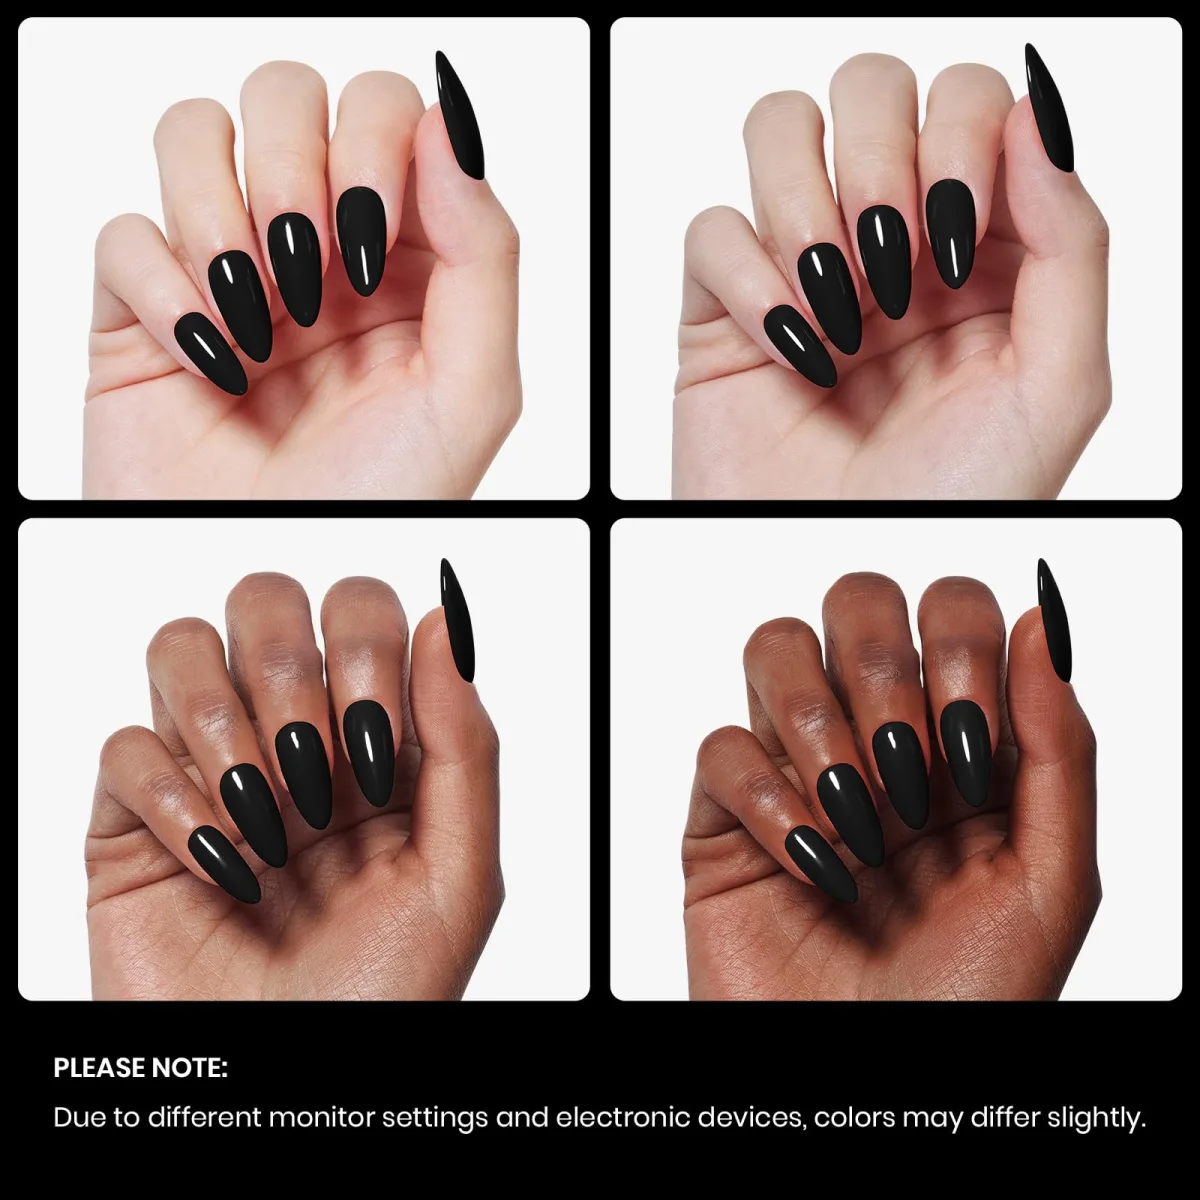
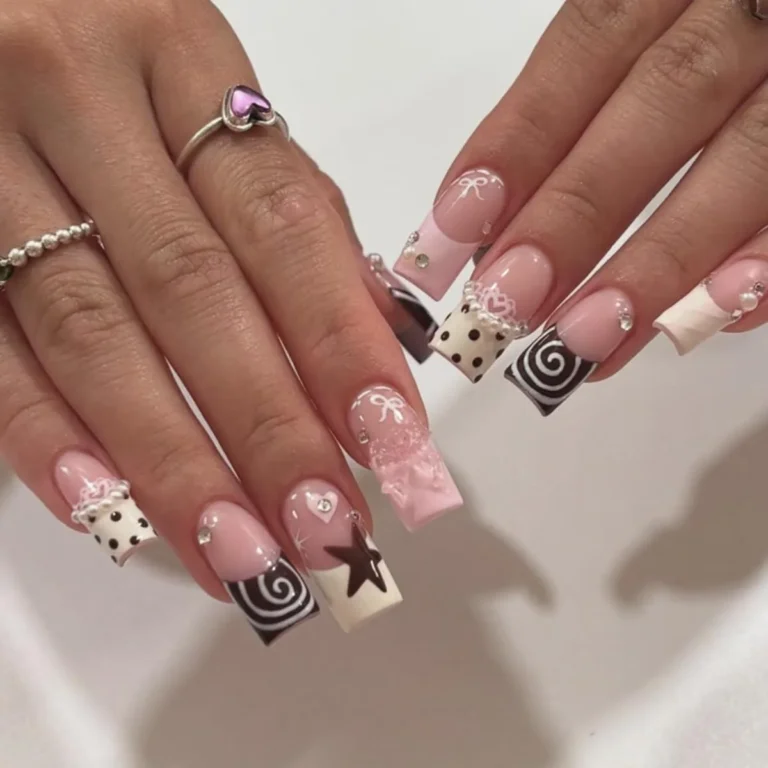
The first photo is a four panel grid showing the same hand four times, each panel on a different skin tone from light to deep. The nails are long, shaped somewhere between stiletto and almond, with a sharp but softened point, and every nail is coated in the same glossy black. This is the most useful kind of shade photo, because black is not one flat colour on every hand. Against light skin it reads dramatic and high contrast.
Against deep skin it reads rich and seamless, with the shine doing most of the talking. Seeing the same hand repeated across tones lets you judge the shade on skin close to your own instead of guessing from a bottle.
Why one black looks different on four skin tones
Black gel reflects very little colour of its own, so what you notice most is the shine line and the contrast with the skin around it. The grid’s footer notes that monitor settings may shift colours slightly, so judge the shade in daylight before a full set.
Long stiletto nails and the case for glossy black
The stiletto shape is doing half the work here. A long, tapered nail turns black from a safe neutral into a statement, and the glossy finish keeps it polished rather than gothic. If the length feels like too much, the same shade on a shorter almond or oval nail keeps the drama but drops the edge. Whatever length you choose, cap the free edge with every coat.
That sealed edge is what keeps a dark manicure looking sharp instead of ragged at the tips.
Black French Tips with Audrey Black Polish: Shop the Look

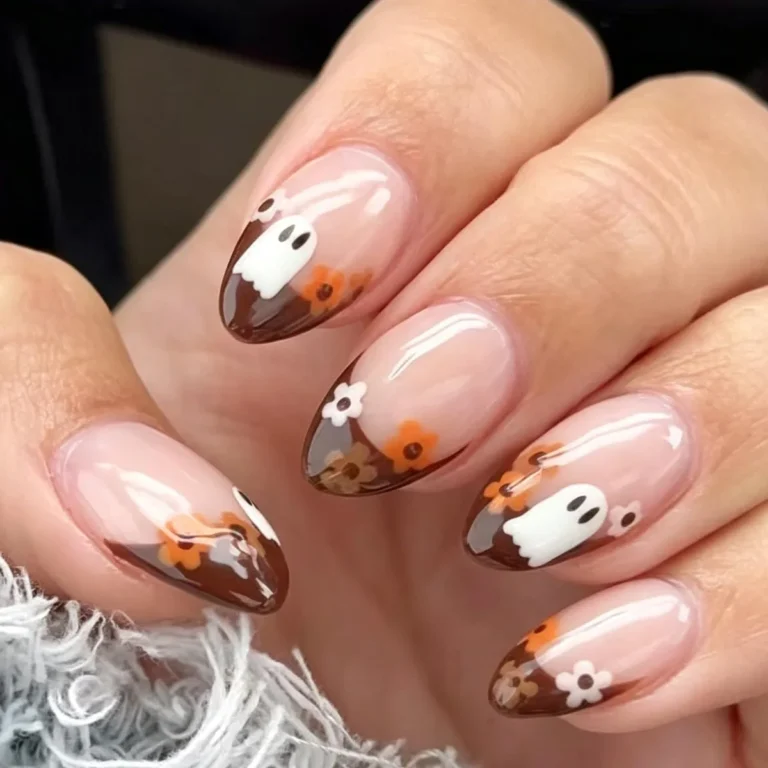
The second photo is a portrait of a woman’s hand, and it shows the gentlest way to wear this shade: black French tips. Two nails carry pale pink bases with crisp black tips, while one nail is solid black. The pink keeps the look soft and wearable, the black tips add the edge, and the single solid nail stops the set from looking like a standard French manicure with a dark twist.
It is a good compromise if full black nails feel too bold for your everyday life but plain pink feels too quiet. The portrait framing also shows audrey black polish in real light on a real hand, which is more honest than any studio swatch.
French tips when full black feels too bold
Black French tips limit the dark colour to the nail part that takes the most wear. Tips are also easier to fix than full black nails: a smudge at the tip cleans up with a flat brush before curing. Paint the tip with the corner of the brush or a liner brush, keeping the smile line even. Seal the whole nail with top coat so the black edge cannot peel away from the pink base.
A note on the photo’s own marketing line
The photo carries a printed claim about brightness lasting four weeks. That is the brand’s advertising line, not a measured result, so this post does not repeat it as a fact. How long any gel manicure lasts depends on your nail growth, how hard you are on your hands, and whether the prep and curing were done properly.
Treat any week count on a product photo as a hope, not a promise, and judge the shade on its colour and finish, which this photo shows honestly.
Four Step Gel Routine with Audrey Black Polish: Shop the Look
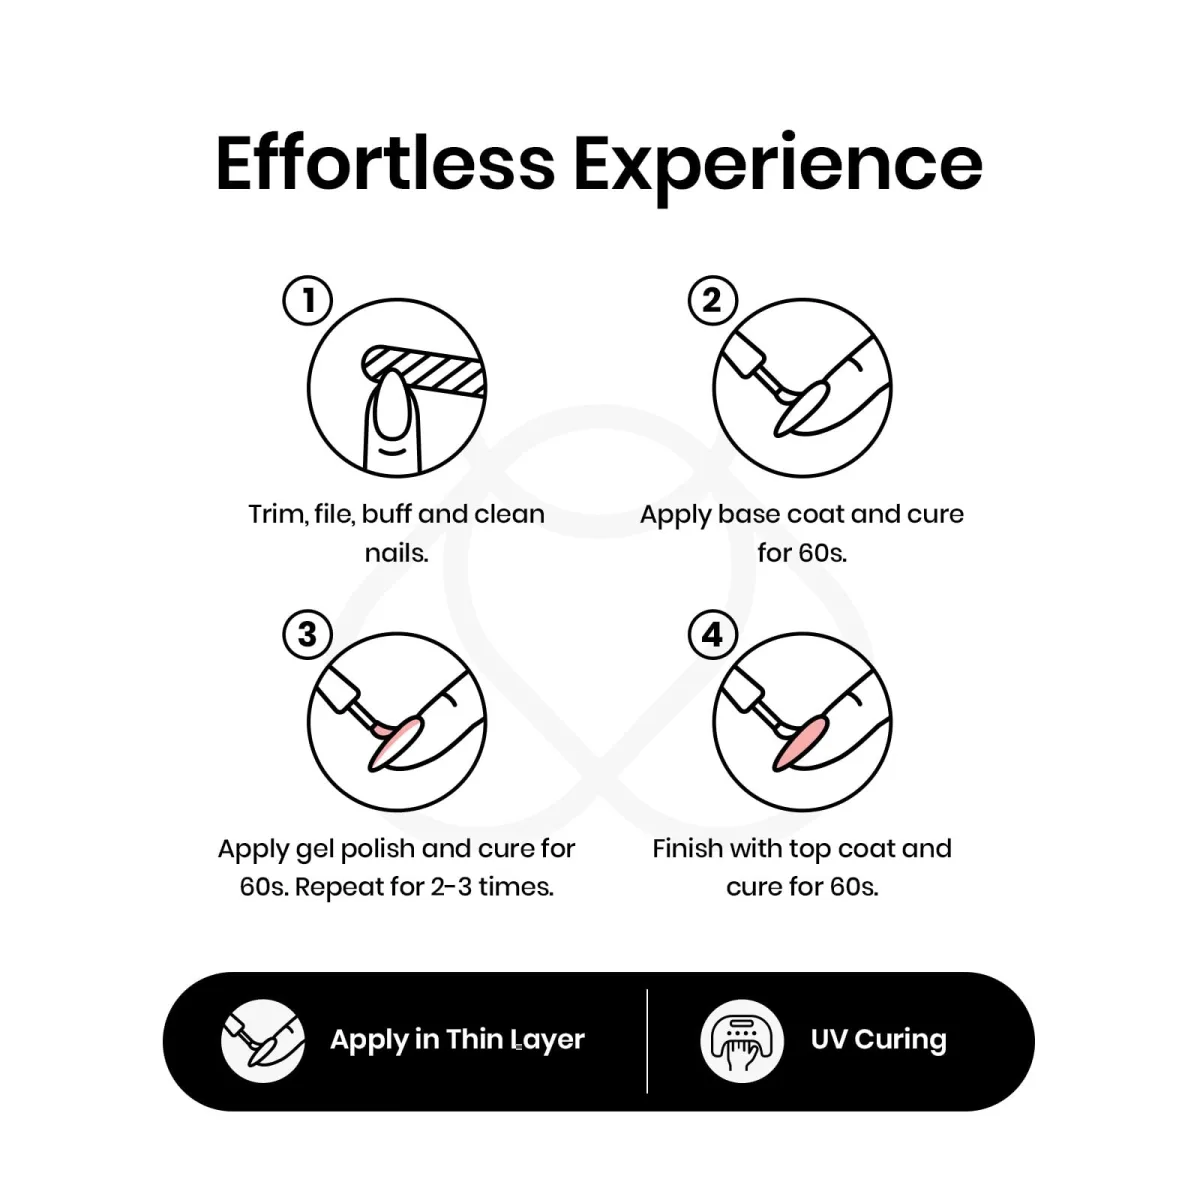
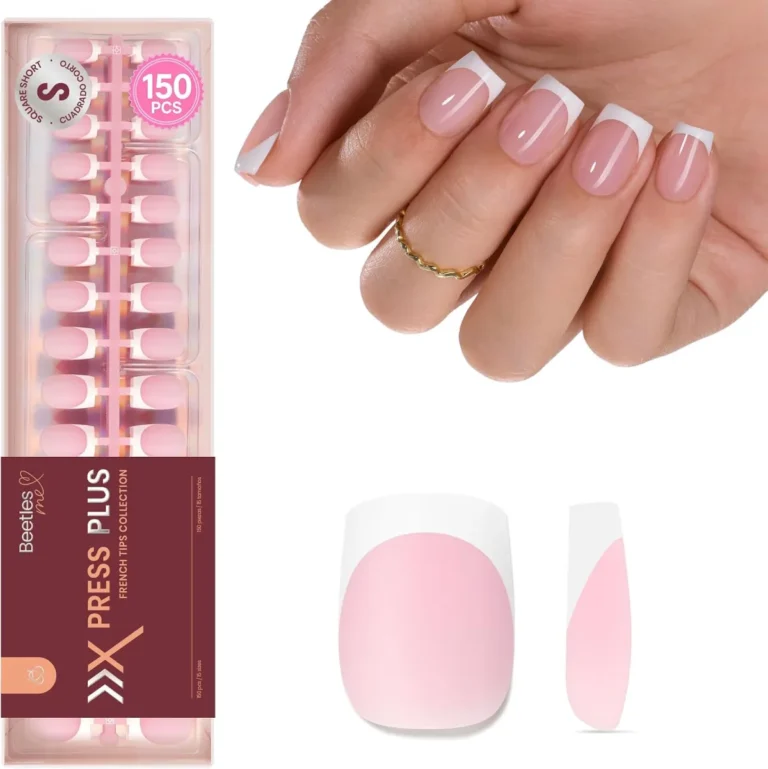
The third photo is not a manicure at all. It is a line infographic titled “Effortless Experience” that lays out the brand’s own four step routine, and it is the most practical image in the post. Step one is prep: trim, file, buff and clean the nail. Step two is a base coat, cured for 60 seconds. Step three is the gel polish itself, cured for 60 seconds and repeated two to three times.
Step four is a top coat, cured for 60 seconds. Two footers carry the whole secret: “Apply in Thin Layer” and “UV Curing”.
Thin layers are the whole technique
Black gel hides mistakes in the bottle and shows them on the nail. A thick coat looks fine wet, then wrinkles during curing and shows as a dull patch. Wipe the brush on the bottle neck before each stroke, and use two to three thin coats rather than one heavy one. Black is highly pigmented, so two coats usually give full coverage, with a third only if you can still see streaks. Patience here saves a redo later.
Prep and curing, in the brand’s own order
Prep decides whether gel stays on at all. Filing and buffing give the base coat something to grip, and cleaning off dust and oil stops lifting at the cuticle. Keep gel off the skin and cuticle, since gel cured on skin lifts and peels. Cure each layer fully under your UV or LED lamp, following the brand’s 60 second steps shown in the infographic, and cap the free edge with base, colour and top coat.
The same safety step applies as with any gel set: the American Academy of Dermatology recommends a broad spectrum, water resistant sunscreen with SPF 30 or higher on your hands before a gel manicure.
Glossy Black Gel Swatches on White: Shop the Look

The fourth photo is the simplest in the post: two blobs of glossy black gel on a white background, one large and one small. No hands, no bottle, just the product itself. That simplicity is useful, because a swatch shows what a hand photo cannot: the true depth of the shade and the finish of the gel.
This audrey black polish swatch is a neutral, even black with no blue or brown cast, and the surface of each blob is smooth and reflective.
What a swatch tells you that a hand photo cannot
Hand photos flatter a shade. A swatch does not flatter anything, which is why it is worth studying. Look at the edge of each blob: a clean, even edge means the gel self levels well, while a ragged edge hints at a thick or sticky formula. Look at the shine: an even highlight across the blob means the gel cures to a smooth surface. This swatch passes both checks.
If you ever test a new black gel yourself, paint one nail or a swatch stick first and check it in daylight. Black shifts under warm indoor light, and a swatch in daylight is the truest preview you will get.
Pairing black with light colours
Because this swatch sits on white, it hints at the easiest styling trick for black nails: pair them with light colours. A white or pale pink accent nail, a light sweater, or silver jewellery all make black nails look intentional rather than heavy. Our black and white gel polish ideas cover that contrast in full, from monochrome art to simple accent nails.
The reverse works too: black nails against a dark outfit disappear, so if you want the manicure to be seen, give it something light to sit against.
Beetles Audrey Black Bottle in Glossy and Matte: Shop the Look
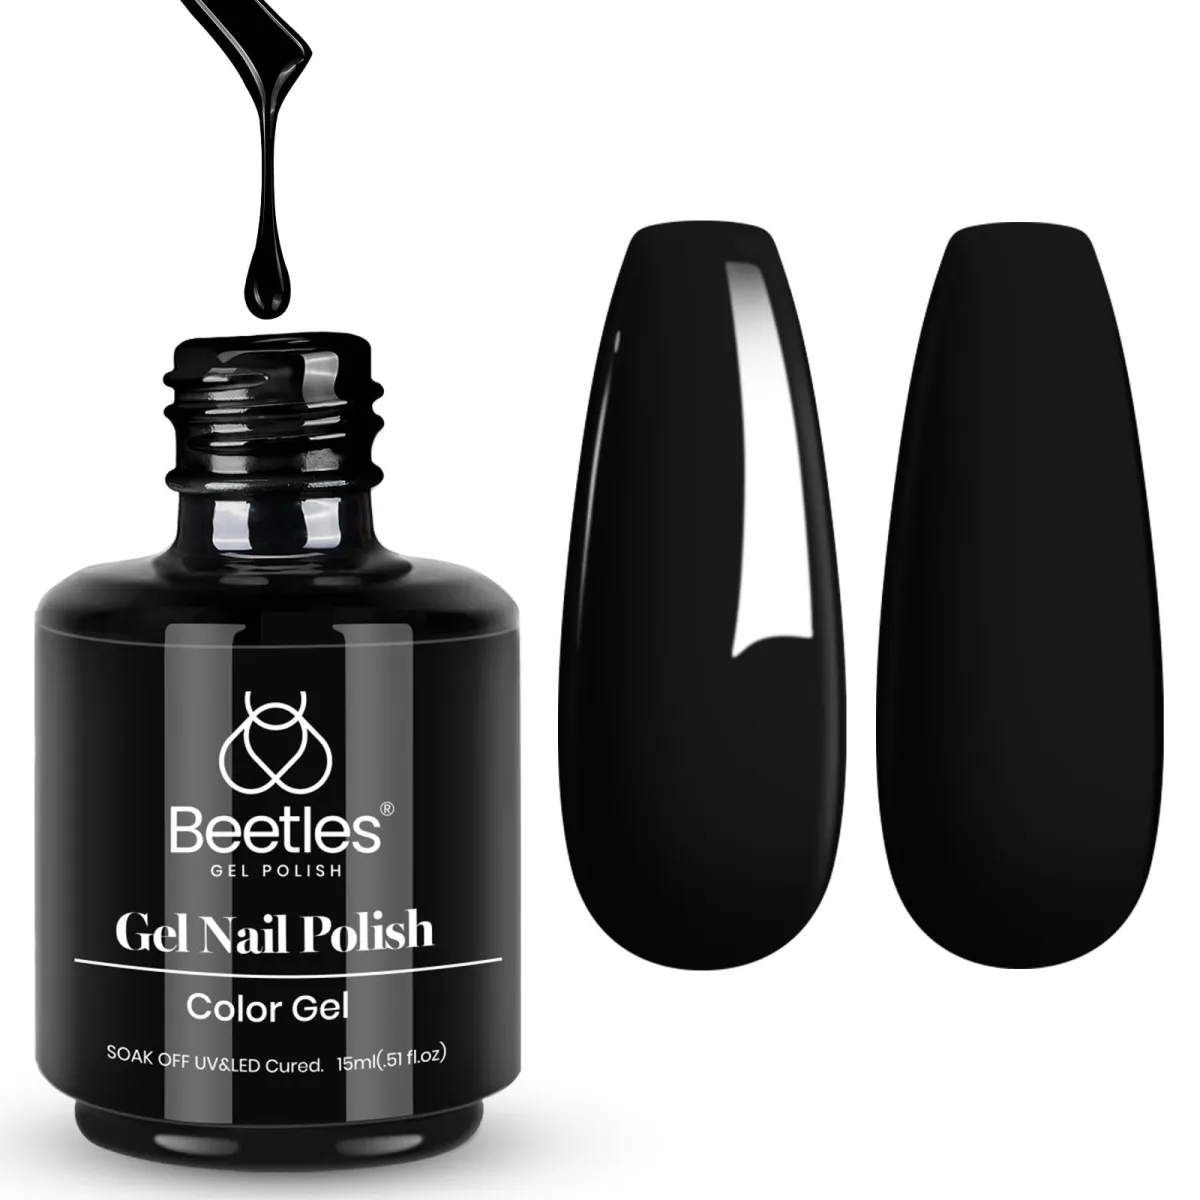
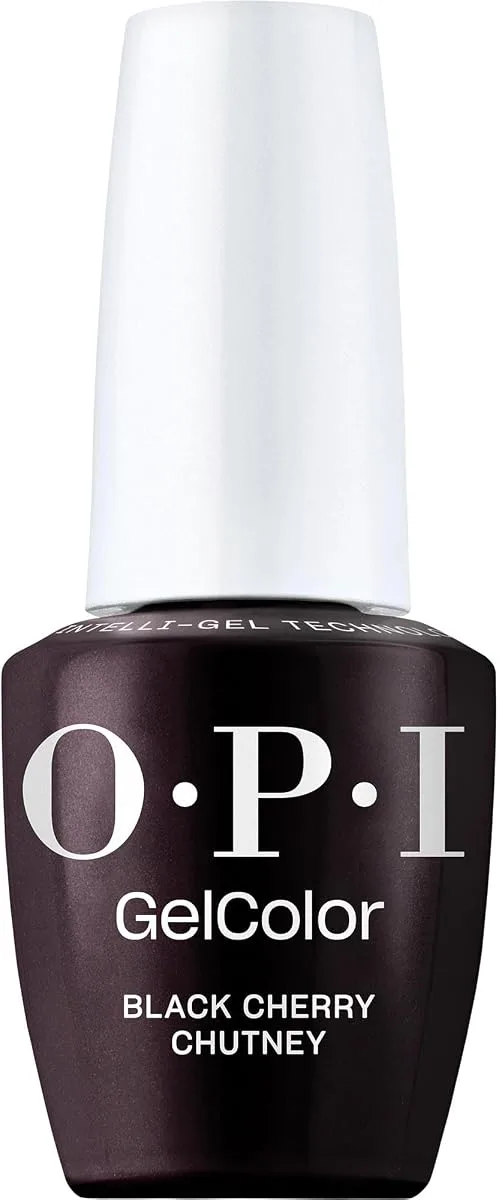
The last photo shows the product itself: a Beetles Audrey Black bottle with a drip of black gel on its side, beside two nail tips, one glossy black and one matte black. The label reads “Gel Nail Polish / Color Gel”, soak off, UV and LED cured, 15 ml.
This is the colour gel only, not a base or top coat, and the two tips beside it make the key point of the whole post: the audrey black polish bottle gives you the colour, but the top coat decides the finish. Glossy black reflects light and looks classic. Matte black absorbs light and looks modern and velvety. Same bottle, two moods, at no extra cost beyond the top coat you own.
Glossy or matte: choosing your black finish
Choose glossy for a freshly done look that shows up in photographs. Glossy black has a bright shine line that enriches the colour, but it shows regrowth and small chips sooner. Choose matte when you want something quieter and more editorial: matte black hides minor flaws but picks up oil through the week and slowly turns shiny in spots. Wiping with alcohol restores the flat look.
Our matte top coat guide covers the matte option, and our light pink almond post shows the same comparison on a pale shade.
Reading a gel bottle label before you buy
The label on this bottle tells you almost everything you need. “Color Gel” means it is the shade step, used between base and top coat, not a treatment on its own. “Soak off” means removal is by soaking, not peeling, and peeling gel off is what damages nails. “UV and LED cured” means it needs a lamp, not air drying, so do not buy it for a no lamp routine.
How to Do Audrey Black Polish Nails at Home
- Shape first. File your nails to the shape you want, stiletto, almond or a shorter oval, and keep the lengths even by checking each nail against its neighbour.
- Prep the surface. Trim, file, buff away the shine, push the cuticles back, and clean off all dust and oil so the gel grips.
- Apply a thin base coat, sealing the free edge, and cure for 60 seconds as the brand directs.
- Apply Audrey black polish in thin coats, curing 60 seconds between each as the brand directs. Two coats give full coverage for most nails; add a third only if streaks remain.
- Choose your finish. For the glossy nails in this post, apply a glossy top coat; for the matte tip beside the bottle, a matte top coat. Cap the free edge and cure for 60 seconds.
- Finish with cuticle oil on the skin around the nails, and sunscreen on your hands before any lamp session, following the dermatology guidance above.
Frequently Asked Questions
Does audrey black polish suit every skin tone?
Yes, and the first photo is the proof: the same glossy black hand on four skin tones, flattering all four. Black is a neutral, so it does not clash with warm or cool undertones. What changes is the contrast: sharper on light skin, softer and richer on deep skin. If you are unsure, try one nail first and check it in daylight.
How many coats of black gel polish do I need?
Two thin coats give full coverage for most nails, since audrey black polish is highly pigmented. Add a third thin coat only if you can still see streaks after the second. The coats must be thin: thick coats of dark gel wrinkle during curing and leave dull patches. Cure 60 seconds between coats as the brand directs, and cap the free edge with every coat.
Should I choose a glossy or matte top coat for black nails?
Choose glossy for a classic, freshly done look that photographs well, and matte for a modern, velvety finish that hides small flaws. Matte black picks up oil through the week, so wipe it with alcohol to restore the flat look. The colour underneath is identical either way, so you can switch finishes with each new set. Our matte top coat guide covers the matte option in full.
How do I remove black gel polish without staining my nails?
File the shine off the top coat, then soak cotton pads in acetone remover, place them on the nails, wrap with foil, and wait until the gel softens before gently pushing it off. Never peel gel away, since peeling lifts layers of the natural nail. A base coat under the black also stops the dark pigment from staining the nail plate.
Audrey black polish earns its place as a staple shade: one bottle, four skin tones, two finishes, and a French tip option. Pick the finish that fits your week, and follow Beautylicious Hub on Pinterest for more nail ideas like these.