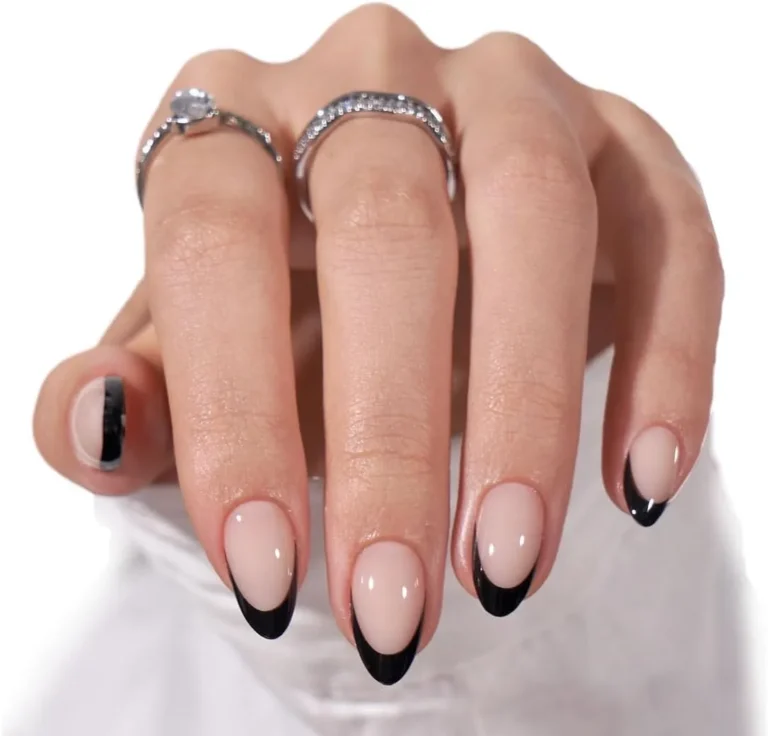
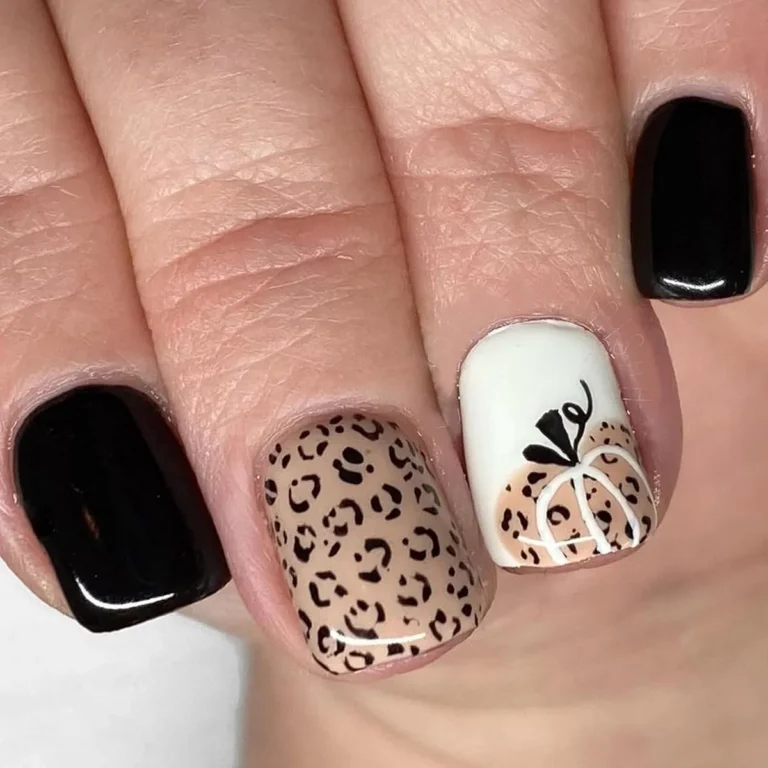
Gel Curing: Amazing Tips for Salon-Quality Nails at Home
Gel curing is the quiet step that decides whether your manicure lasts. The colour gets the attention, but the lamp does the work: ultraviolet light from a UV or LED lamp hardens each gel layer into the tough, glossy surface we call a gel manicure. Get it wrong and you get wrinkles, gummy layers, chips at the tips, or lifting within days. The five photos below are the tools behind good curing: a compact mini UV LED lamp, its smart sensor, the flash-curing looks it supports, and the full tips-and-glue kit. For the extension routine this lamp belongs to, see our DIY extensions guide.
Mini UV LED Nail Lamp with Dual Lamp Beads for Fast Curing: Shop the Look
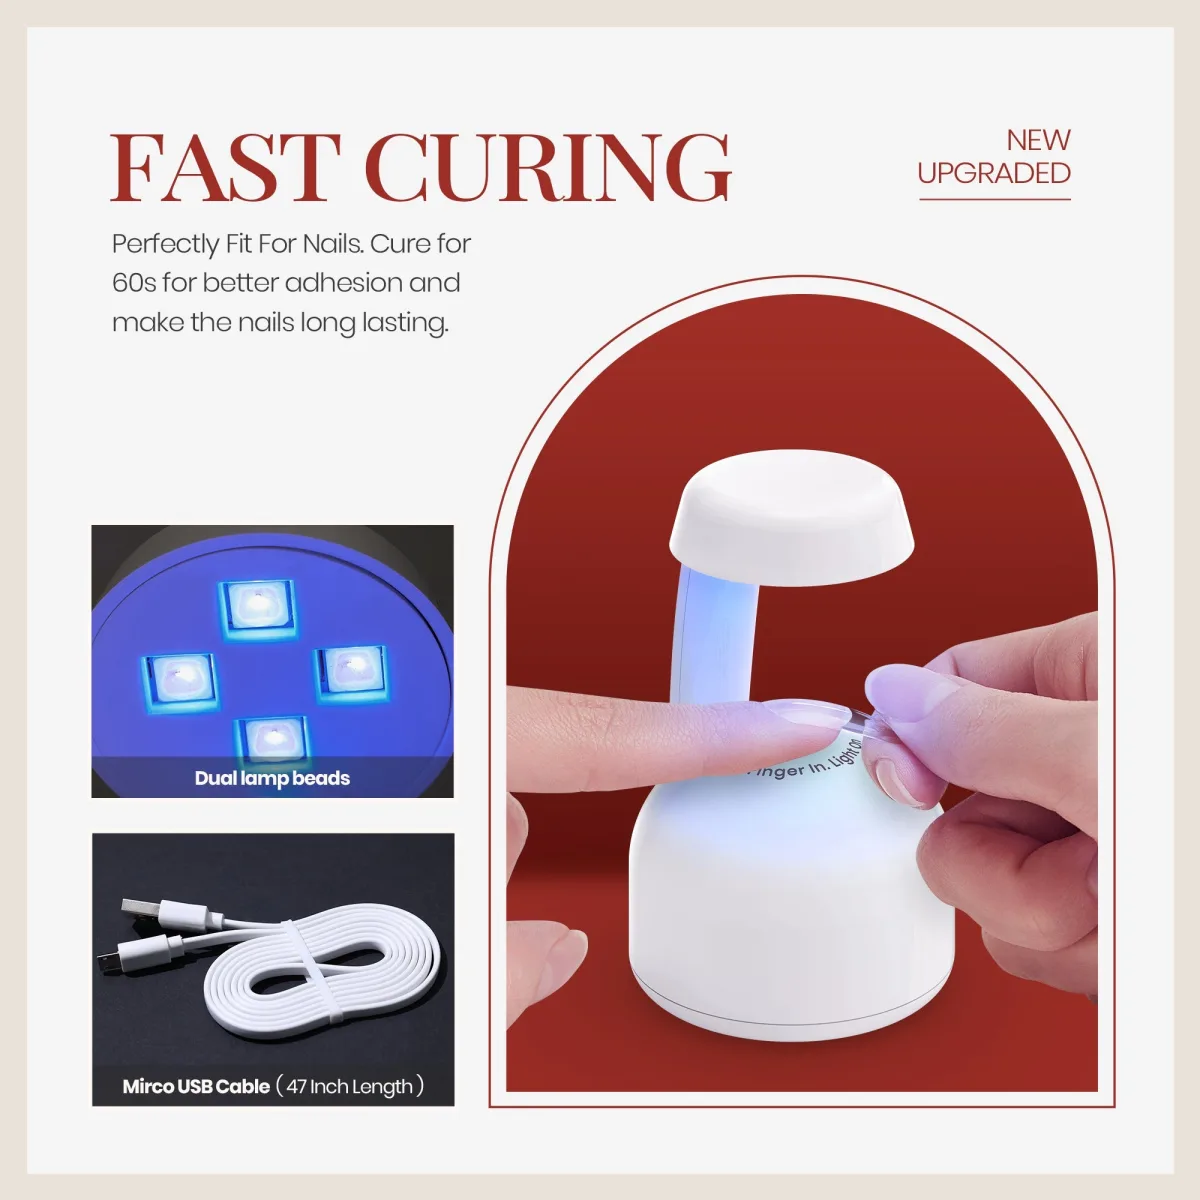
The first photo is a product graphic for the lamp at the center of this post. On the right, the small white mushroom-shaped lamp glows while a fingertip with a clear coffin tip cures under it, steadied by another hand against a dark red backdrop. On the left, two insets show the lamp’s underside with four glowing UV beads labelled “Dual lamp beads” and a coiled white USB cable. The headline reads “FAST CURING”. Treat the speed claim as advertising, but the design point is real: a mini lamp cures one or two nails at a time, which is exactly how at-home gel work happens.
Why thin coats are the first gel curing rule
The single most important curing habit has nothing to do with the lamp: apply thin coats. Thick layers cause wrinkled or rippled gel, bubbles trapped inside the film, and surfaces that feel tacky or gummy after the cycle. A thick coat blocks light from reaching the gel closest to the nail, so the top hardens while the bottom stays soft. Two thin, even coats cure cleaner than one heavy coat, and they chip less at the tips. Gel curing rewards thin coats every time.
Cure to your brand and lamp, not to a number
The graphic suggests a cure time in seconds: treat it as a starting point, not a universal rule. Different gel formulas cure at different rates: heavily pigmented shades, glitter, and builder gels absorb or scatter light differently from sheer cremes. Cure for the time your polish brand specifies for your lamp, and give dark or glittery shades the full stated time rather than shaving seconds off. The pairing of gel chemistry and lamp matters more than the wattage printed on the box. Gel curing follows your brand and lamp.
Compact Mini Nail Lamp with Smart Sensor and Built In Timer: Shop the Look
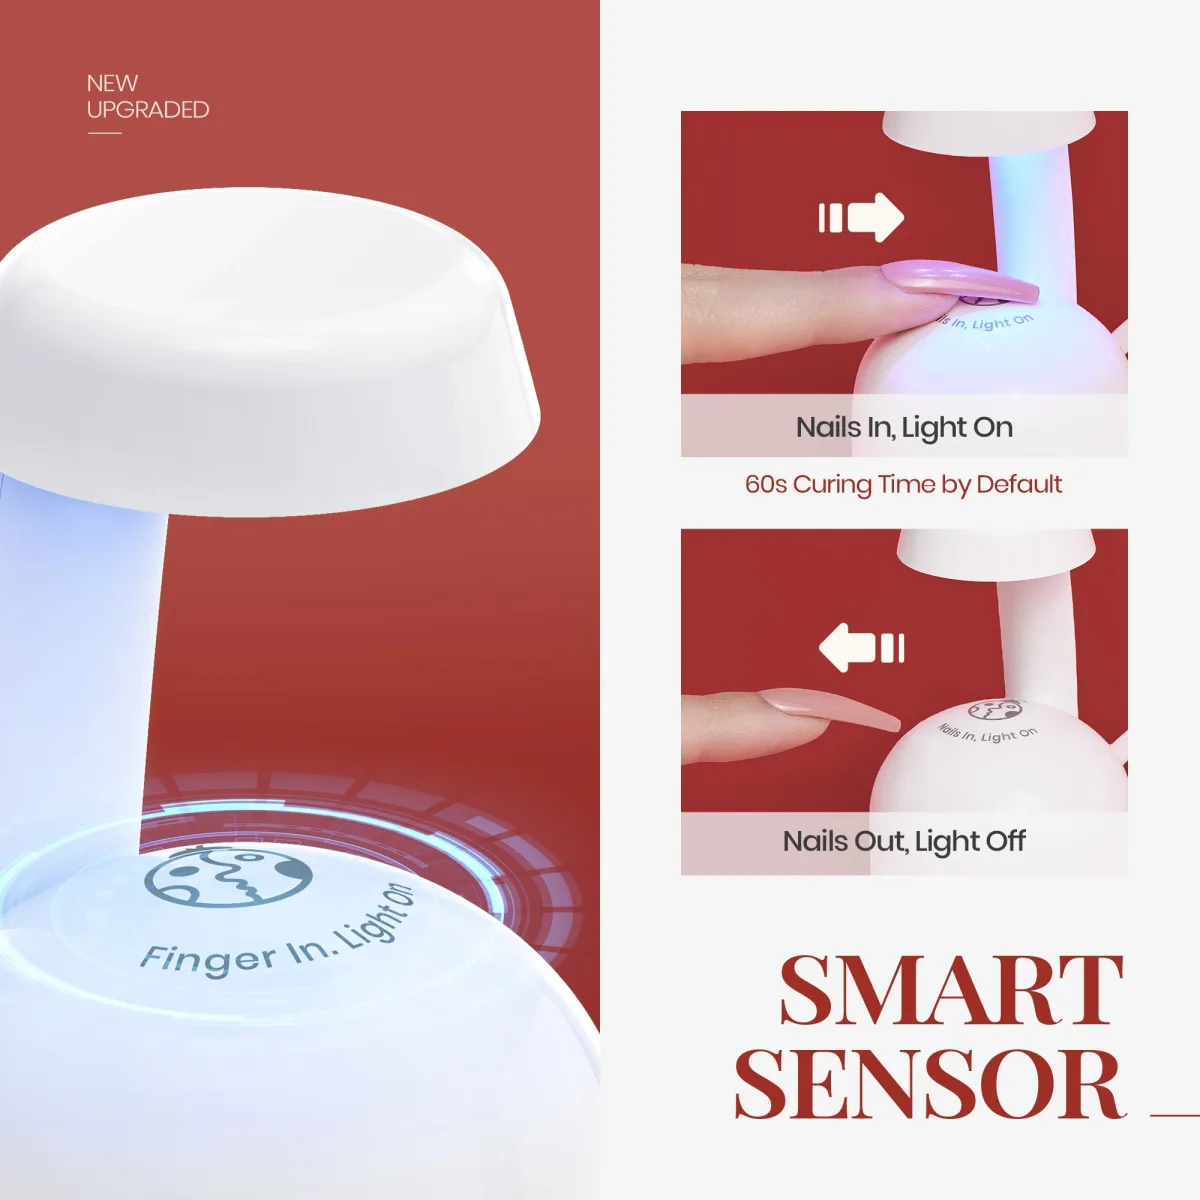
This second graphic zooms in on the lamp’s party trick: the smart sensor. The close-up shows the lamp’s dome with the words “Finger In. Light On” printed beside the Beetles ladybug logo and a glowing blue sensor ring. Two step panels walk through it: finger in, lamp on with its built-in timer; finger out, light off. The graphic labels the default timer at 60 seconds, which is this lamp’s built-in setting; your gel brand’s instructions still decide how many cycles each layer needs. Gel curing gets easier with a sensor.
What the smart sensor changes about your routine
Without a sensor, timing a cure means counting in your head or setting a phone timer with polish on your fingers. The sensor removes that friction: every nail gets the same full cycle because the lamp starts the moment the finger is in and stops when it comes out. Under-cured layers are a top cause of peeling and chipping at the tips, and they usually trace back to rushed or uneven timing. A hands-free timer makes timing automatic, which is why sensor lamps suit beginners. Gel curing stays even with a sensor.
Thumbs need their own cure
One habit separates tidy home manicures from lumpy ones: cure your thumbs separately. Thumbs sit at an angle when the whole hand goes under a lamp, so the sidewalls and the edge nearest the cuticle can sit in the lamp’s shadow while the other fingers cure fully. That shadowed gel stays soft, then wrinkles or lifts within days. Cure each thumb on its own, flat and centered under the light, for a full cycle. Gel curing needs flat thumbs.
Cute and Compact Mini Nail Lamp for Nail Beginners: Shop the Look
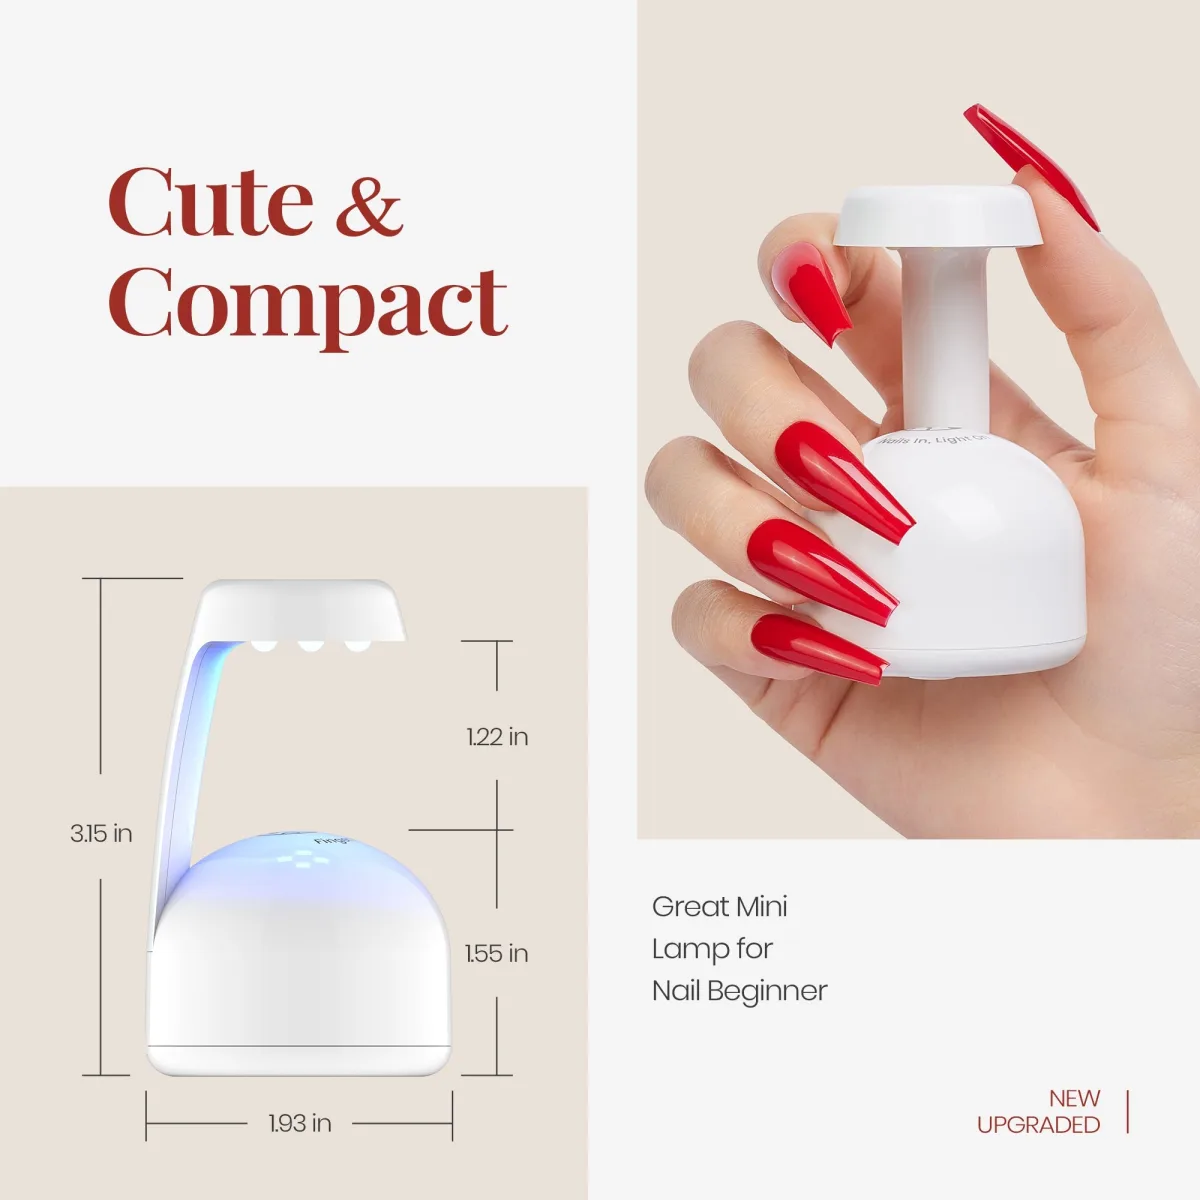
The third graphic sells the lamp’s size. On the left, a side-profile diagram with dimension lines maps the mushroom shape. On the right, a hand with long glossy red coffin nails holds the tiny lamp in its palm, the “Great Mini Lamp for Nail Beginner” caption making the point that this is a single-finger tool, not a salon tunnel lamp. A mini lamp cures one nail at a time: slower than a full-hand lamp, but the right pace for touch-ups and beginners. Gel curing works one nail at a time.
UV, LED, or both: picking your lamp type
Nail lamps come in three types: traditional UV, LED, and dual UV/LED, and the distinction matters because gel formulas are tuned to specific light wavelengths. Many modern gel polishes cure under LED light, which works faster and emits lower UV output than older UV-only tubes. The practical rule: buy the lamp your gel system was made for. A mismatched lamp is a common cause of under-cured, gummy gel, because the wrong wavelengths never fully trigger the hardening reaction. If a set suddenly stops curing well, suspect the lamp: bulbs and LEDs lose output with age. Gel curing needs matching wavelengths.
Beginner mistakes that start at the lamp
Most curing problems are application problems in disguise. Gel flooded onto the cuticle or skin cures into a ridge that lifts early, and it exposes skin to uncured product. Clean up the edges before the finger goes under the light. Keep the nail level and centered under the beads so the light reaches the whole surface evenly. And keep gel bottles away from the lamp and out of sunlight: stray UV thickens the product in the bottle, and thickened product applies thick. Gel curing rewards clean edges.
Flash Curing UV Lamp for Gel Tips, Builder Gel and Nail Art: Shop the Look
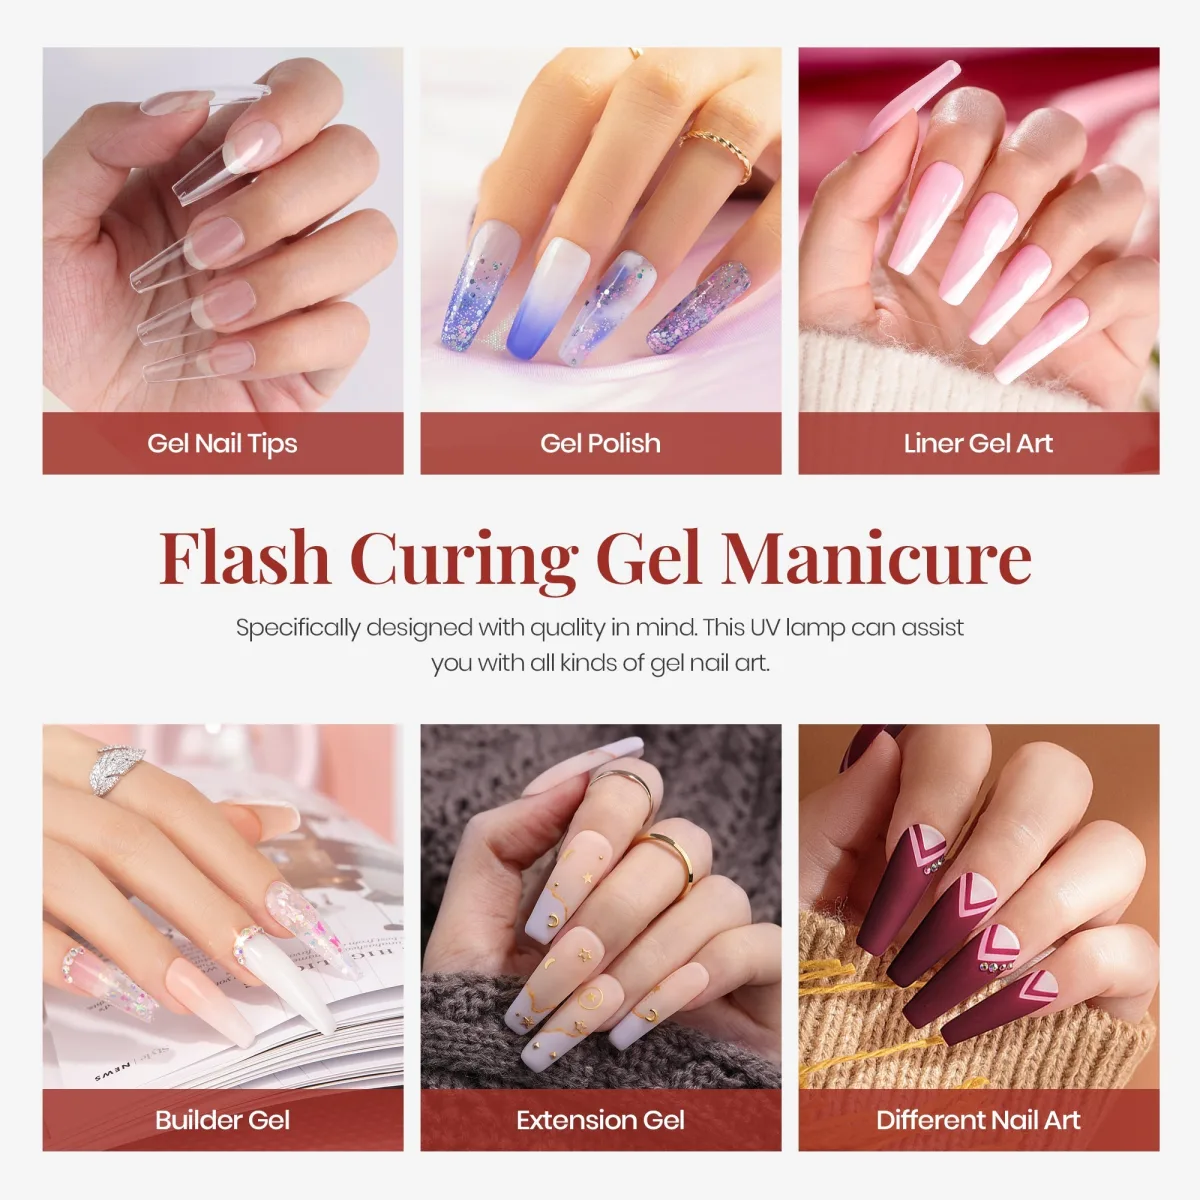
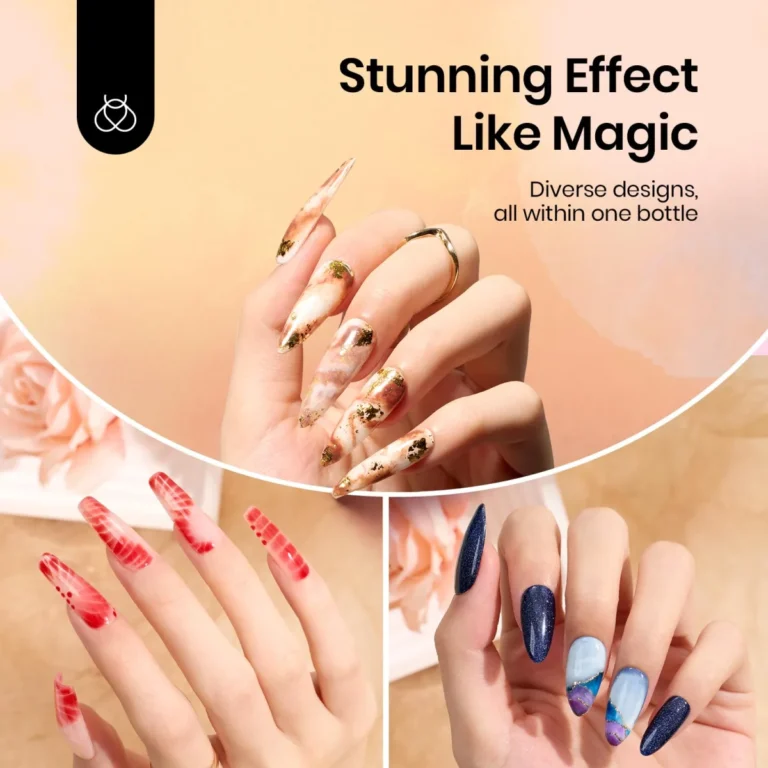
The fourth photo is a collage of six cured manicures, each labelled with the gel job this lamp assists: Gel Nail Tips (clear coffin tips on natural nails), Gel Polish (lavender-blue glitter ombre and lilac gradient), Liner Gel Art (glossy pastel pink coffin nails), Builder Gel (milky white with iridescent glitter and rhinestones), Extension Gel (nude-pink stilettos with gold stars and foil), and Different Nail Art (burgundy coffin nails with pink chevron art and rhinestones). Every one of these looks is a layer cake of cured gel. Gel curing builds every look.
Flash curing between layers, and why every gel type needs it
Professional techs use a trick home users should copy: flash curing. After coating one nail, give it a short burst under the lamp, a few seconds, to freeze the film before it can run or pool, then do the full cure once all nails are coated. It matters most in warm rooms, where gel drifts toward the cuticle, and across gel types: thicker builder gels need their full, unhurried cure, while glitter needs enough light to get through the sparkle. A skipped cure on any layer is a weak link. Gel curing holds every layer.
Heat spikes: what the burn means
If the gel ever feels hot or burning under the lamp, that is a heat spike: too much product curing at once. The hardening reaction releases heat, and a thick layer releases it faster than the nail can shed it. The fix: pull the hand out for a few seconds until the heat fades, then finish the cure and apply thinner coats next time. If a nail throbs or the skin looks irritated afterward, take the set off and let the nail rest. Gel curing stays safe in thin layers.
Beetles Nail Tips and Glue Gel Set with Mini UV Lamp: Shop the Look
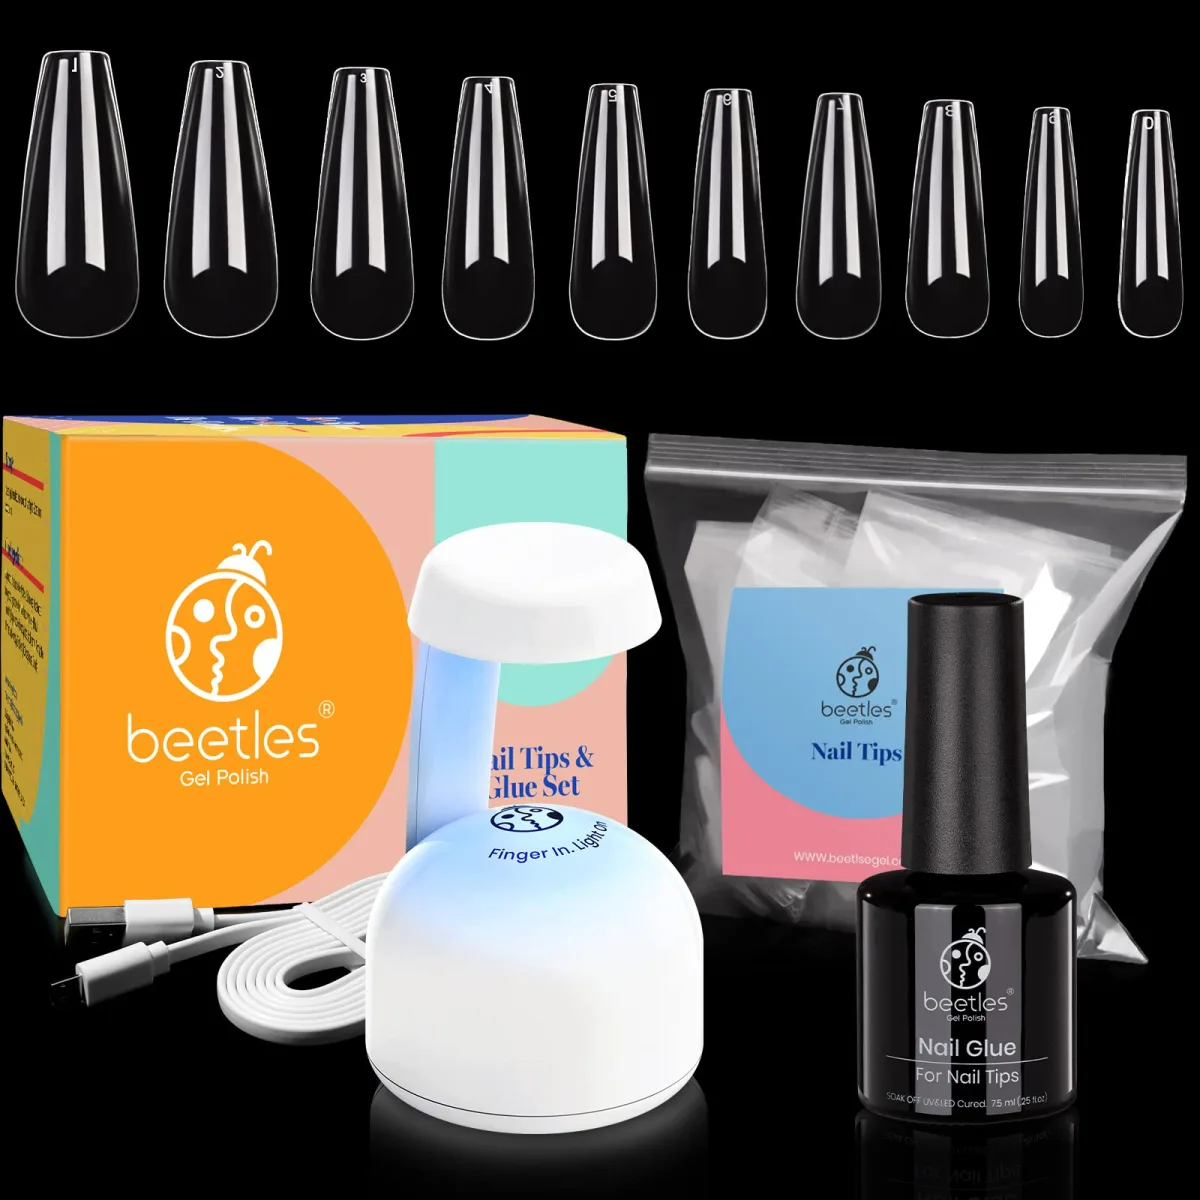
The last photo lays out the complete kit on a black background: a row of ten clear coffin tips in descending sizes, the Beetles “Nail Tips & Glue Set” retail box, the white mini mushroom lamp glowing with its “Finger In. Light On” print, a coiled white USB cable, a zip bag of Beetles nail tips, and the black “Nail Glue For Nail Tips” bottle. This is the full at-home extension workflow in one frame: the tips give the length, glue bonds them, and the lamp cures the glue and every gel layer after it. Gel curing finishes the kit.
The kit order: prep, glue, then cure
Prep comes before any product touches the nail: push the cuticles back, lightly buff the shine off, and clean the surface so it is dry and free of oil and dust. Choose tip sizes that fit each nail edge to edge, apply the glue, press the tip on, and flash cure to lock it in place. Then build the manicure in thin layers, base, colour, top, curing each layer fully before the next. Gel that touches skin should be cleaned off before curing, because polish cured onto skin lifts early. Our matte top coat guide shows how the final top layer fits into this sequence.
The habits that make cures last longer
A good cure sets the gel; good habits keep it on the nail. Cap the free edge at every layer, including the base coat, so the tip is sealed from the first coat onward. Keep gel off the skin and cuticles, since that contact is where lifting starts. Between manicures, follow our step by step nail care routine: cuticle oil, no peeling or forcing gel off, and a proper soak-off when the set is done.
How to Cure Gel Polish Correctly at Home
- Prep the nails: push cuticles back, lightly buff the shine off, and clean the surface so it is dry and free of oil and dust.
- Apply a thin base coat, capping the free edge, and cure for the time your polish brand specifies for your lamp.
- Apply colour in thin coats, curing each coat fully before the next; flash cure briefly between nails in warm rooms to stop the film drifting.
- Cure thumbs separately, flat and centered under the light, so no edge sits in shadow.
- Finish with a thin top coat, capping the free edge again, and give it the full cure.
- If you feel a heat spike, pull the hand out for a few seconds until it passes, then resume; apply thinner coats next time.
- Massage cuticle oil around each nail after the set is complete.
One safety step belongs in every curing routine: the American Academy of Dermatology recommends a broad-spectrum sunscreen with SPF 30 or higher on your hands before a gel manicure, because curing lamps emit ultraviolet light. Apply it before you start.
Frequently Asked Questions
How do I know if my gel is under-cured?
Look for the classic symptoms: a tacky or gummy surface after the cycle, wrinkles or ripples in the colour, a finish that dulls fast, or early lifting. The usual causes are coats that were too thick, a lamp that does not match the gel formula, an aging lamp, or nails held at an angle so part of the surface sat in shadow. Fix the cause: thinner coats, the correct lamp for your brand, thumbs cured separately, and full cure times per the brand’s instructions.
Why does my gel burn under the lamp?
That burning feeling is a heat spike from the curing reaction: the layer was too thick. The hardening reaction releases heat, and a thick layer releases it faster than the nail can shed it. Pull your hand out for a few seconds until the heat fades, then finish curing and apply thinner coats on the remaining nails. If burning happens on every nail of every set, rebuild with thinner passes.
Can I use any nail lamp with any gel polish?
No, and this is a common cause of curing failure. Gel formulas are tuned to specific light wavelengths, so a mismatched lamp can leave the product under-cured no matter how long the cycle runs. Use the lamp your brand recommends, or a quality dual UV/LED lamp rated for your formula. Bulbs and LEDs also lose output over time.
Should I wear sunscreen when curing gel nails at home?
Yes. The American Academy of Dermatology recommends a broad-spectrum sunscreen with SPF 30 or higher on your hands before a gel manicure, because curing lamps emit ultraviolet light, mostly UVA. Fingerless UV-protective gloves are another option. Either way, the protection goes on before the first cure, not after.
Pick the curing habits that fit your routine, and follow Beautylicious Hub on Pinterest for more nail ideas like these.