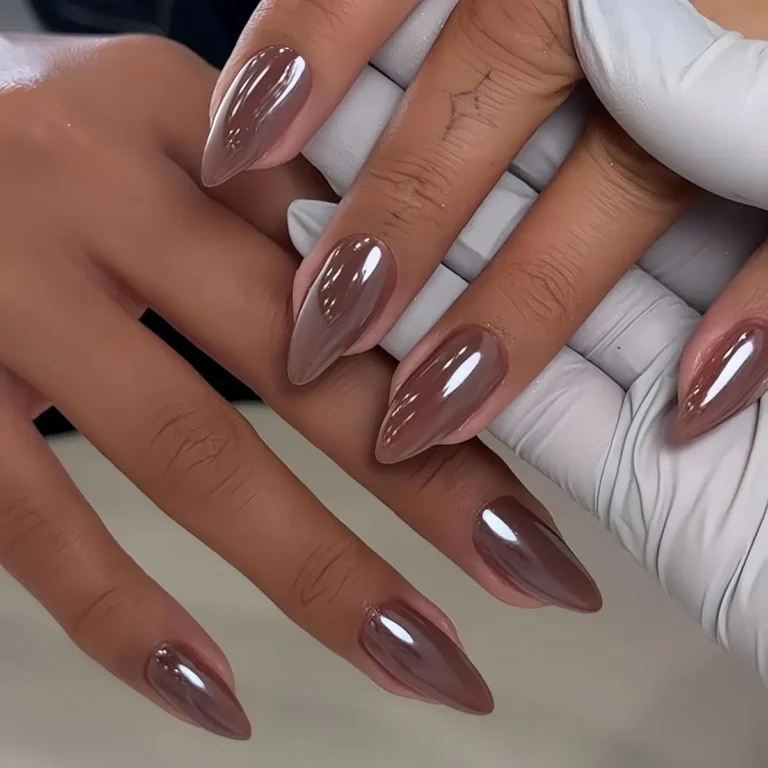
Gel Top Coat: Amazing Guide for Glossy Salon Nails
The difference between a salon manicure and an at-home one is rarely the products in the bottles. It is the technique: how thin each layer goes on, whether the free edge gets sealed, whether gel is kept off the skin, and whether every layer cures fully before the next begins. This post walks through five photos of a gel top coat routine in order, reading each one as a technique lesson, from judging wear claims honestly to setting up a safe curing station. For the curing side of the technique in more depth, see our gel curing tips.
Glossy Red Almond Nails: Shop the Look
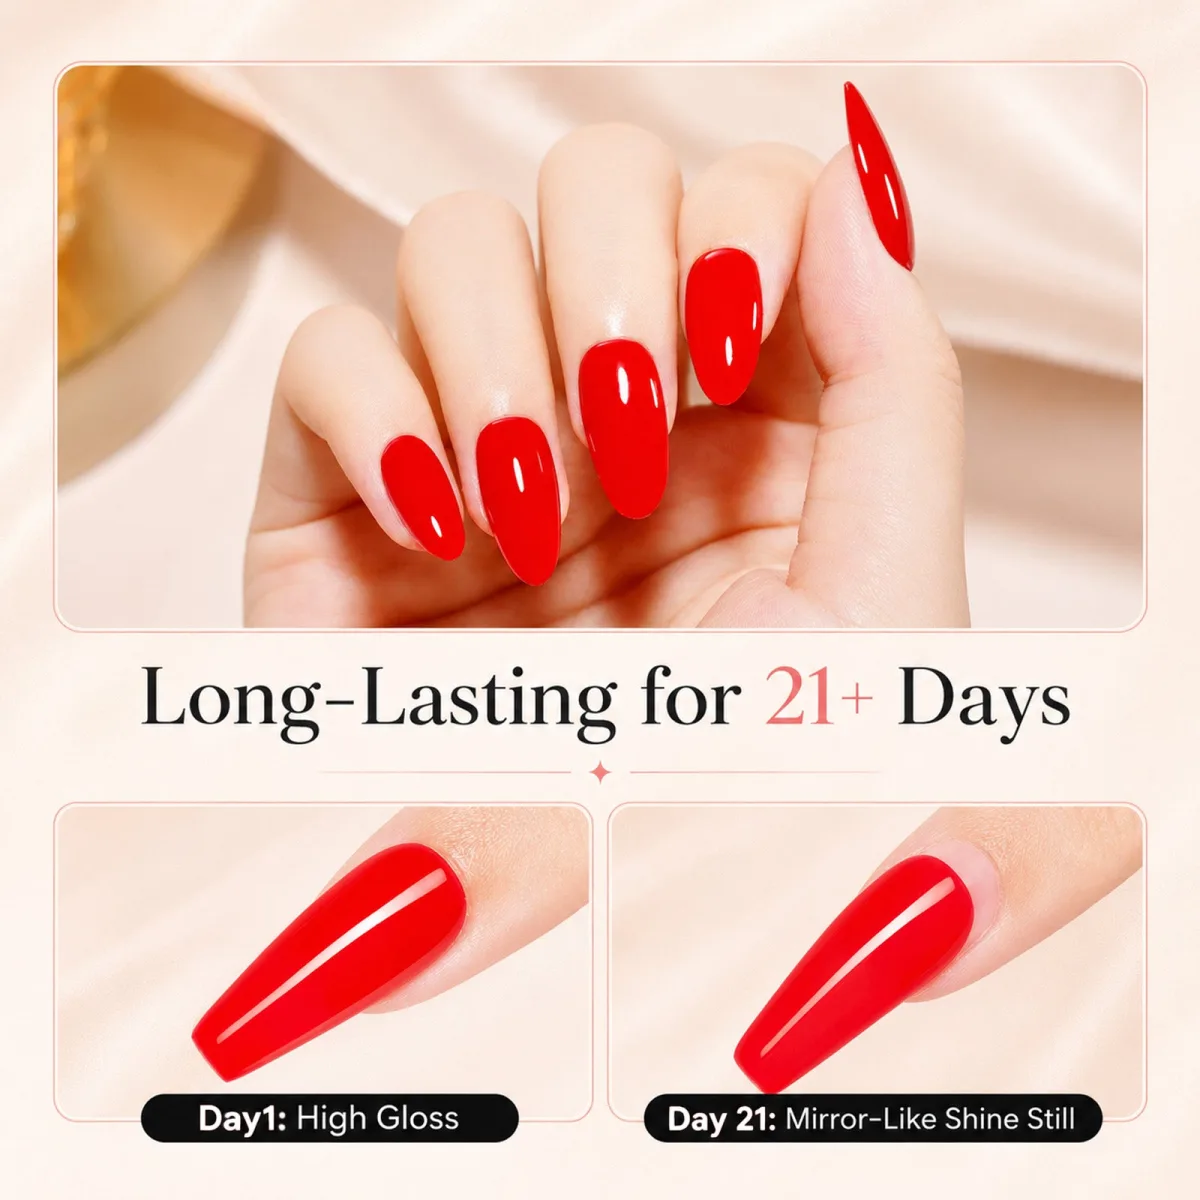
A gel top coat makes this wear comparison easy to read. The first photo is a wear-comparison graphic on a cream background. The top panel shows a woman’s hand with medium almond nails in glossy red. Below it, two close-ups of a single long glossy red nail sit side by side, labeled Day 1: High Gloss and Day 21: Mirror-Like Shine Still, under a headline reading Long-Lasting for 21+ Days. Look closely at the Day 21 nail and you will notice something the brand did not hide: visible nail regrowth at the cuticle. The 21-day claim is marketing and it is not verifiable, but the regrowth is real, and it teaches the central lesson of this post.
Reading the day 1 versus day 21 graphic honestly
A gel top coat cannot stop nails from growing. No technique stops nails from growing, and the Day 21 close-up proves it with the small gap of bare nail at the cuticle. What the graphic wants to show is that the shine and color still look fresh at the tip. What you should take from it is the boundary of what technique can do: a top coat can protect color and gloss through weeks of wear, but it cannot freeze the nail in place. Judging any wear claim starts here: separate what the product controls from what biology controls.
What good technique controls in the later weeks
Here is what sits inside your control. Adhesion, from a clean nail plate, a proper base coat, and keeping gel off the skin and cuticles, because gel cured onto skin lifts early. Tip wear, from capping the free edge at every layer so water and knocks cannot get under the tip. And full curing, from the right lamp time with a still hand, because an under-cured layer never fully hardens. Get those three right and the manicure survives its weeks looking close to day one. The rest of this post is about doing those three things properly.
High-Shine Finish for Any Manicure: Shop the Look
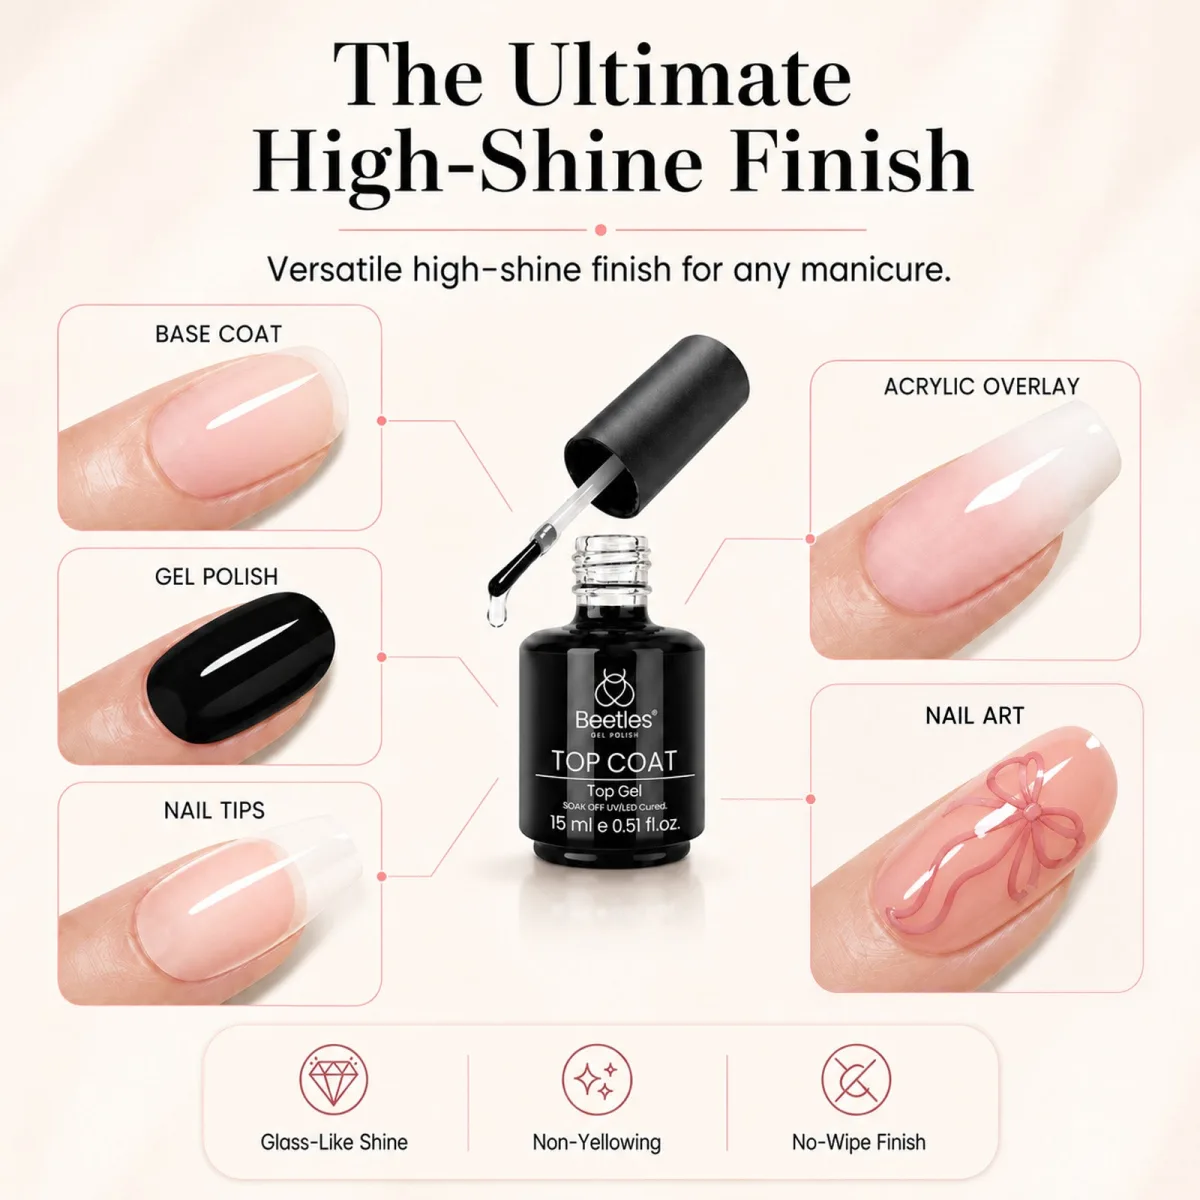
The second photo centers on an open black Beetles bottle labeled TOP COAT and Top Gel, the brush lifted and dripping clear gel. Around it sit five labeled nail close-ups: BASE COAT on a pale pink natural nail, GEL POLISH on a glossy black oval, NAIL TIPS on a pale pink nail with a white tip, ACRYLIC OVERLAY on a pink-to-white ombre, and NAIL ART on a pink nail with pink bow line art. The headline calls it the ultimate high-shine finish for any manicure, with icons reading Glass-Like Shine, Non-Yellowing, and No-Wipe Finish. Those icons are brand marketing, not guarantees. The photo’s real point is versatility: one top coat technique across five manicure types.
One bottle across five manicure types
A gel top coat works the same way on every surface. Strip out the marketing and the photo makes a practical point about technique. Whether the surface underneath is a base coat, a color polish, a nail tip, an acrylic overlay, or detailed nail art, the top coat goes on the same way: one thin layer, floated over the surface, sealed at the free edge, cured fully. Beginners often assume each manicure type needs its own finishing method. It does not. Learn the routine once, properly, and it transfers across every system in this photo.
Adjusting your technique for tips, acrylic and nail art
A gel top coat needs one small adjustment per surface. Each surface has one detail worth adjusting. Over nail tips, make sure the top coat bridges the seam where the tip meets the natural nail smoothly; our gel tip extension guide covers the tip routine this finishing step completes. Over an acrylic overlay, file the surface smooth first, because a top coat cannot hide ridges. Over nail art, float the brush without pressing so you do not drag the design, and cure the art layer fully before the top coat goes near it.
Gel Application and UV LED Curing Safety: Shop the Look
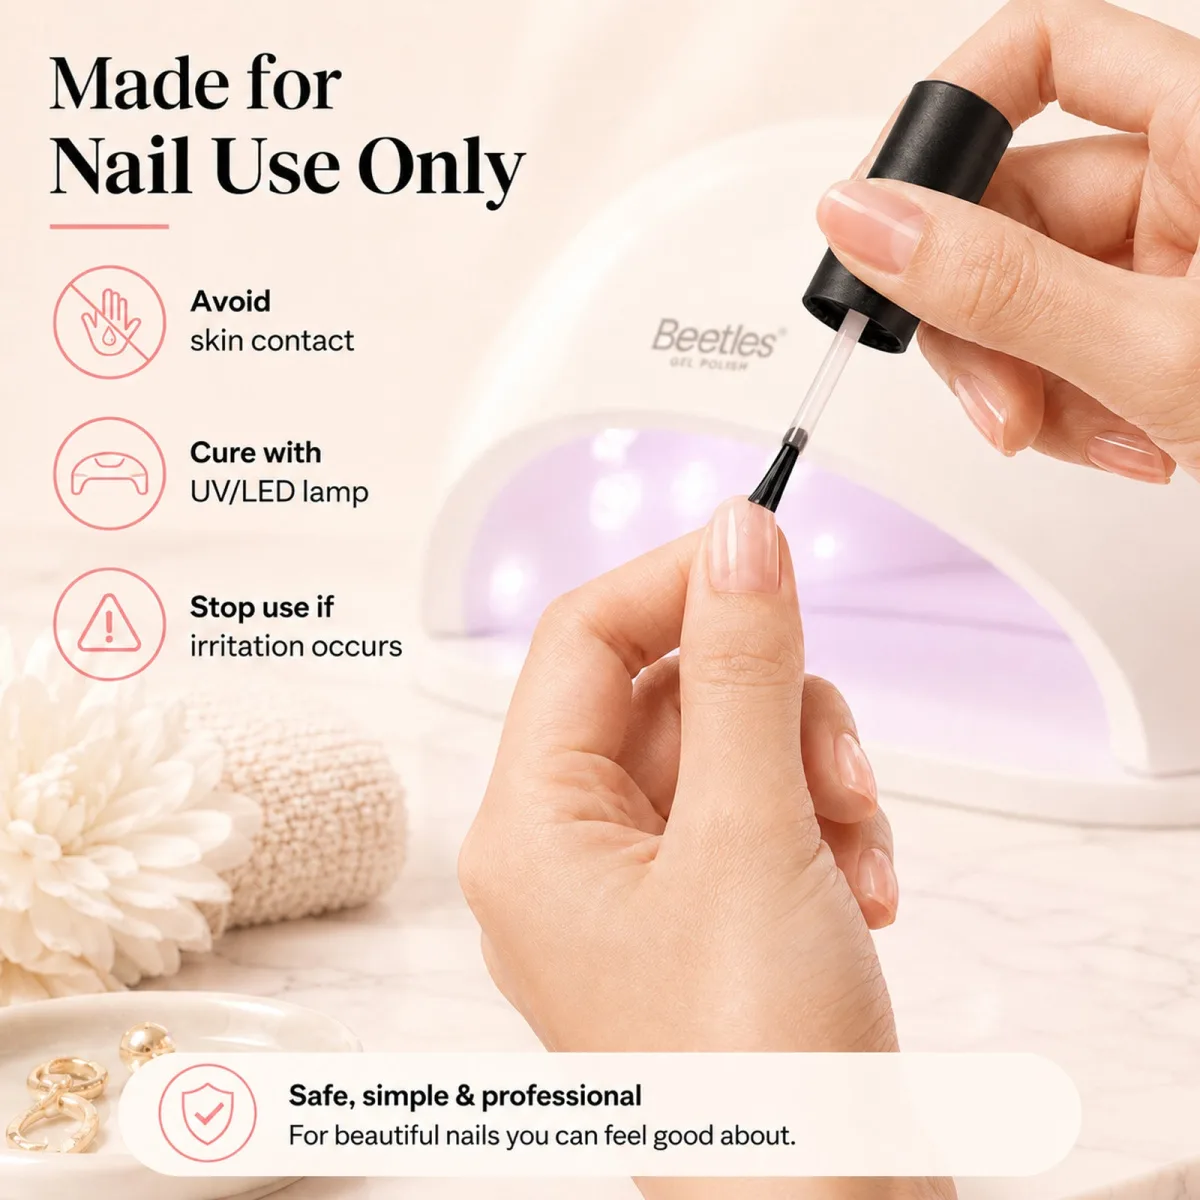
A gel top coat routine starts with these safety icons. The third photo is headlined Made for Nail Use Only. It shows a hand brushing clear gel onto a fingertip nail, with a white Beetles UV and LED lamp glowing purple behind, styled on marble with white flowers, a knit cloth, and gold rings. Three icons run beneath: avoid skin contact, cure with a UV or LED lamp, and stop use if irritation occurs. A pill at the bottom reads Safe, simple and professional. Every icon on it maps to a mistake beginners actually make.
The three safety icons, in plain language
A gel top coat demands the same care at every step. Avoid skin contact means keeping uncured gel off the cuticles and sidewalls. Gel that cures onto skin lifts early at the edges, and repeated skin contact with uncured gel raises the risk of developing a sensitivity to gel ingredients over time. Cure with a UV or LED lamp is a reminder that gel does not air-dry; the lamp hardens each layer. Stop use if irritation occurs is the serious one: redness, itching, or swelling around the nails is a signal to stop and see a dermatologist, not to push through another set.
Setting up a curing station that keeps gel off skin
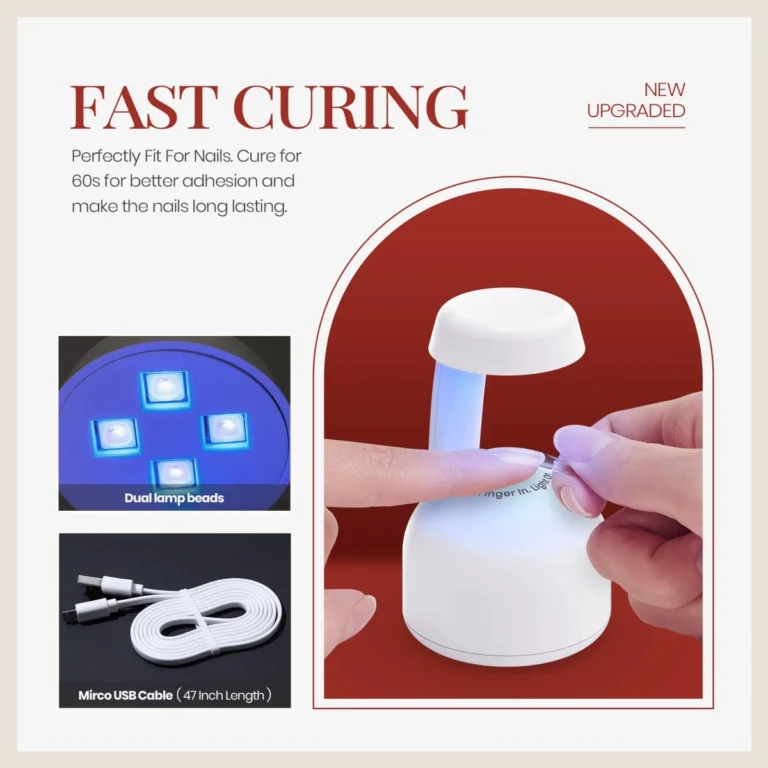
A gel top coat cures best at a tidy station. Good technique is mostly good setup. Work in bright light so you can see the brush edge. Wipe excess gel off the brush against the bottle neck before it touches the nail, so you never carry a loaded brush near the cuticle. Keep a clean-up brush or an orangewood stick with a little alcohol nearby, and remove any gel that touches skin before the hand goes under the lamp, because cleanup after curing is too late. Place the lamp where your hand rests flat and still.
Seal Shine Protect No-Wipe Top Coat: Shop the Look
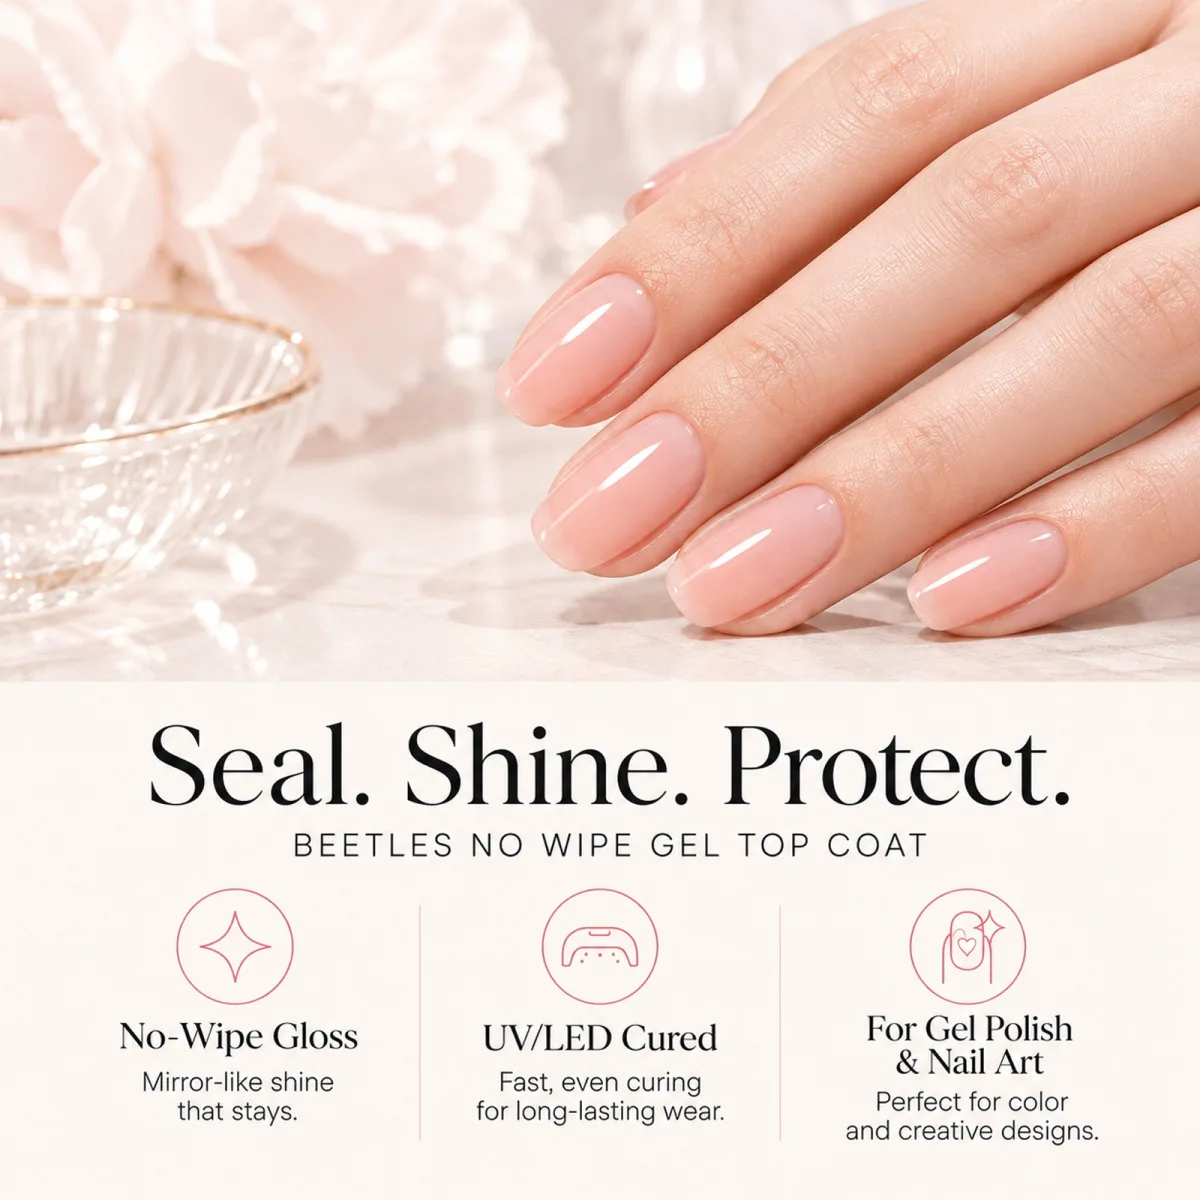
The fourth photo is a close-up of a hand with medium almond nails in a sheer pink, nude glossy finish, resting on a marble surface beside a cut-glass bowl and pink flowers. The headline reads Seal. Shine. Protect. over BEETLES NO WIPE GEL TOP COAT, with three icon columns: No-Wipe Gloss with mirror-like shine that stays, UV and LED Cured with fast, even curing for long-lasting wear, and For Gel Polish and Nail Art, perfect for color and creative designs. The icon text is brand marketing. The photo worth studying is the nails themselves, because sheer shades are the hardest test of top coat technique.
Sealing nail art without dragging the design
A gel top coat seals art without dragging the design. The bow line art in the second photo and any design you paint yourself share one enemy: a heavy brush hand at the top coat stage. The technique is to load the brush lightly, touch it down in the center of the nail, and float the gel outward without pressing into the surface. Pressure drags wet art and smears fine lines. Two details help: make sure the art layer is fully cured first, so there is nothing wet to drag, and keep the top coat thin, because a thick layer is harder to control and pools at the edges.
Why sheer shades need the same careful seal
A gel top coat shows every flaw on sheer shades. A sheer pink like the one in this photo shows everything. Deep colors hide small flaws under their pigment, but a translucent shade puts the surface on display: every ridge, every bubble, every uneven edge of the top coat is visible through it. That makes sheer shades the best practice ground for technique. Work slowly, check the nail from the side for an even reflection before curing, and resist the urge to add a second top coat to fix the first; two top coats double the chance of a thick, uneven finish.
Beetles Base and Top Coat Duo: Shop the Look
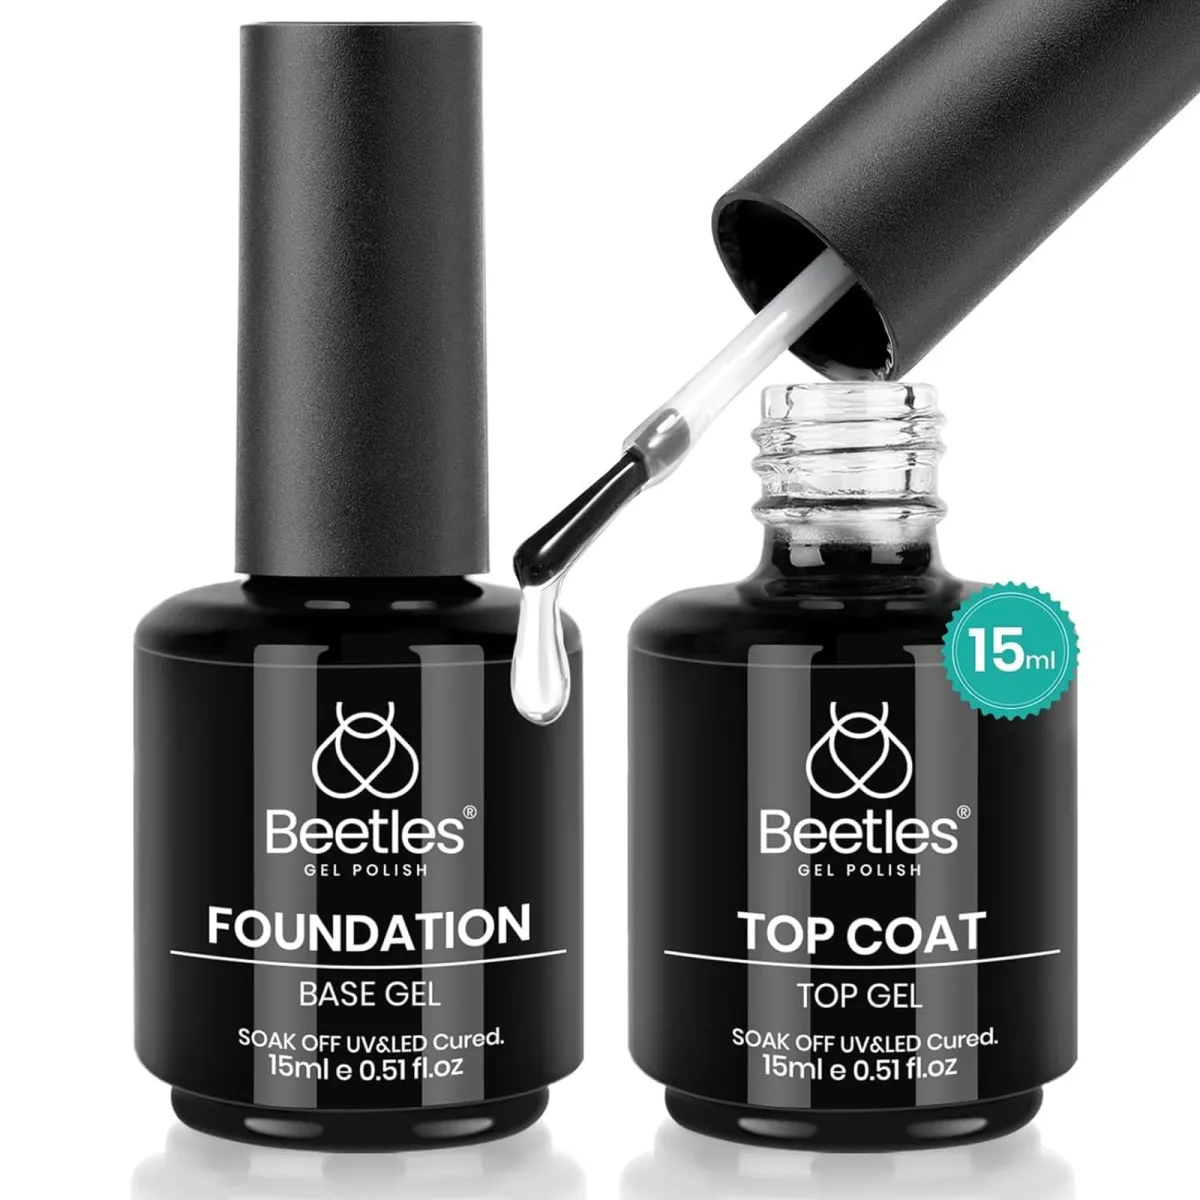
The final photo is a clean product shot on a white background: two black Beetles bottles side by side, one labeled FOUNDATION and Base Gel, the other TOP COAT and Top Gel. Both read as soak-off formulas cured under UV or LED light, 15 ml each, with the top coat bottle open and its brush dripping clear gel. A teal starburst badge on the right bottle reads 15ml. No nails, no hands, no claims beyond the labels. After four photos of technique in action, this one is a reminder of the pairing the whole routine depends on: the base that grips and the top that seals.
Why base and top travel as a pair
A gel top coat seals the system this pair builds. Base and top coats are sold together because they are designed as a system. The base is the adhesion layer that bonds to the natural nail and gives color something to hold, while also standing between deep pigments and the nail plate so the color does not stain. The top is the sealing layer that locks the color in and carries the finish. Beetles’ own guide describes exactly this division of labor. Using the two together removes one variable from your technique: when a set fails, you want the cause to be something you did, not a mismatch between bottles.
Keeping your bottles usable between manicures
A gel top coat thickens fast in a neglected bottle. Gel cures under ultraviolet light, which means sunlight and even a nearby lamp can start thickening the gel in an open bottle while you work. Keep bottles closed when you are not actively loading the brush, and store them in a cool, dark place away from direct sunlight between manicures. Wipe the bottle necks clean before closing so the caps seal properly and dried gel does not flake into the fresh product. A bottle of top coat that has gone thick and stringy will not apply thin no matter how good your technique is, so bottle care is technique too.
How to Apply a Gel Top Coat Like a Nail Technician
- Prep and check the color layer. Nails should be clean, dry, and dust-free, and the color underneath must be fully cured and smooth. A top coat cannot fix a lumpy foundation.
- Load the brush lightly. Wipe excess gel against the bottle neck so the brush carries a small, controlled amount. A loaded brush floods cuticles and pools at the edges.
- Float the coat on thin. Touch down in the center of the nail and glide outward without pressing into the surface. Cover edge to edge and let the gel self-level for a few seconds.
- Cap the free edge and clean up first. Seal the tip of each nail, then check cuticles and sidewalls. Remove any gel touching skin with a clean-up brush before curing, because after the lamp it is too late.
- Cure fully with a still hand. Keep your hand flat under a UV or LED lamp for the full time your product and lamp specify. An under-cured layer never fully hardens.
- Check the cure and finish. Tap the surface: hard and smooth means done, tacky spots mean more cure time. If your formula is not no-wipe, cleanse with an alcohol wipe, then massage cuticle oil around each nail.
One safety step is worth adding. The American Academy of Dermatology recommends a broad spectrum, water resistant sunscreen with SPF 30 or higher on your hands before a gel manicure, since the polish is sealed using ultraviolet light. For the habits that keep nails healthy between sets, our step-by-step nail care routine covers the recovery routine most people skip.
Frequently Asked Questions
How thin should a gel top coat layer be?
Thin enough to self-level into a smooth film within seconds. Visible brush ridges mean the layer is too thick. Thick layers can wrinkle during curing and stay soft underneath while the surface hardens. One thin, controlled layer always beats a generous one.
Should I wipe the top coat after curing?
Only if your formula is not a no-wipe type. A traditional top coat leaves a tacky inhibition layer after curing, removed with a lint-free wipe and a little isopropyl alcohol. A no-wipe formula finishes clean with nothing to remove. Check your own bottle’s instructions first.
What should I do if gel touches my skin before curing?
Remove it before the hand goes under the lamp. Use an orangewood stick or a small clean-up brush with a little alcohol to wipe the skin clean while the gel is still wet. Once gel cures onto skin it cannot be wiped away, and it lifts early at that edge.
How can I tell the top coat is fully cured?
Tap the surface gently after the lamp cycle. Fully cured feels hard, smooth, and dry; tacky areas or soft spots mean more time under the lamp. Follow the times on your own gel and lamp labels.
Technique is what turns the same bottle into a salon result instead of an average one: thin layers, a sealed free edge, clean skin lines, and a full cure every time. Practice the routine on your next set, save this guide for reference, and follow Beautylicious Hub on Pinterest for more technique-focused nail ideas.