Fake Nail Ideas: Stunning Styles for Your Next Manicure
Fake nail ideas have one unbeatable advantage: you can change your whole manicure in an evening, with no salon appointment and no drying time. The five photos in this post cover the full range, from a loud Y2K party set to a quiet everyday neutral set, with two winter sets in between and the base and top gel routine that keeps any set looking polished. A well fitted set looks like a salon manicure.
A poorly fitted set looks like a costume.
Long Square Y2K Press On Nails with Bows and Pearls: Shop the Look
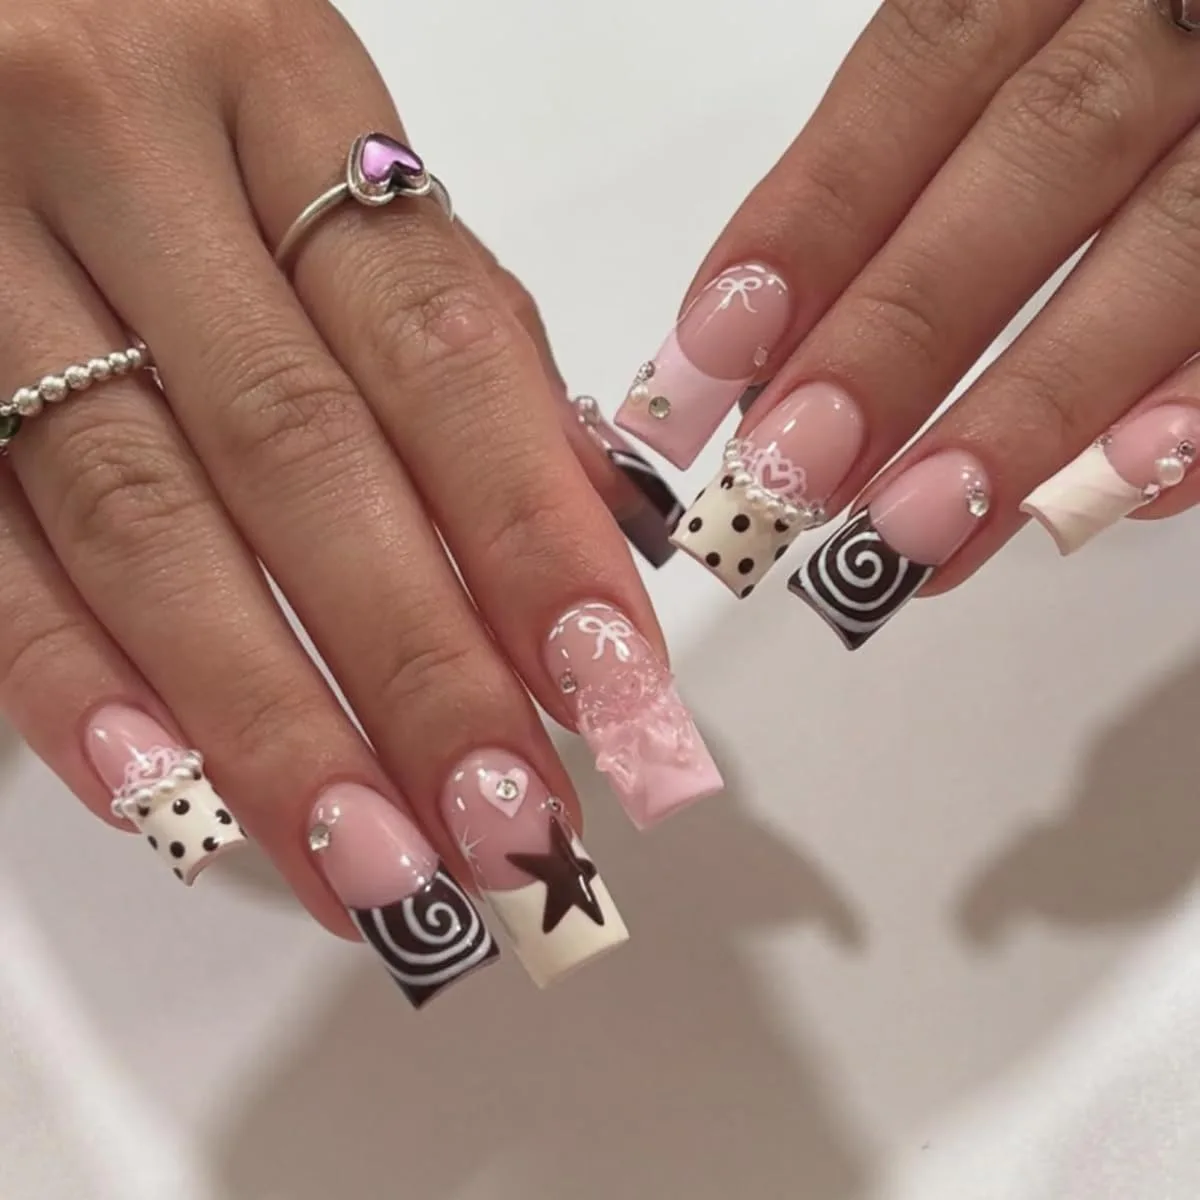
The first photo is pure Y2K energy. Long square press-ons on both hands mix pink, coffee, and cream bases with polka dots, black swirl French tips, a black star, pearls, lace trim, white bows, and rhinestones. No two nails match, and that is the design that makes this set stand out: the Y2K style is a collage, not a uniform. The long square shape is what holds it together.
Every nail has the same length and the same straight free edge, so the busy mix of patterns still reads as one deliberate set rather than ten random nails.
Why the Y2K mix works on a long square shape
A collage design needs a consistent frame, and the long square shape provides it. The straight tip gives each pattern a clean edge to sit against, and the length gives small details like the star, the lace, and the pearls room to breathe. On a long square nail, each design gets its own stage.
Wearing a party set without the party look
Among fake nail ideas for parties, a set this bold suits parties, photos, and nights out, but it can also work for a single day when you want to feel dressed up. The trick is commitment: wear the full set, not a few nails from it, since the collage only reads as intentional when it is complete.
Keep the rest of your look simple, so the nails are the statement, and choose glue over adhesive tabs for a party set, since a long square nail catches on fabric and needs the stronger hold.
White Winter Press On Nails with Gold Snowflakes: Shop the Look
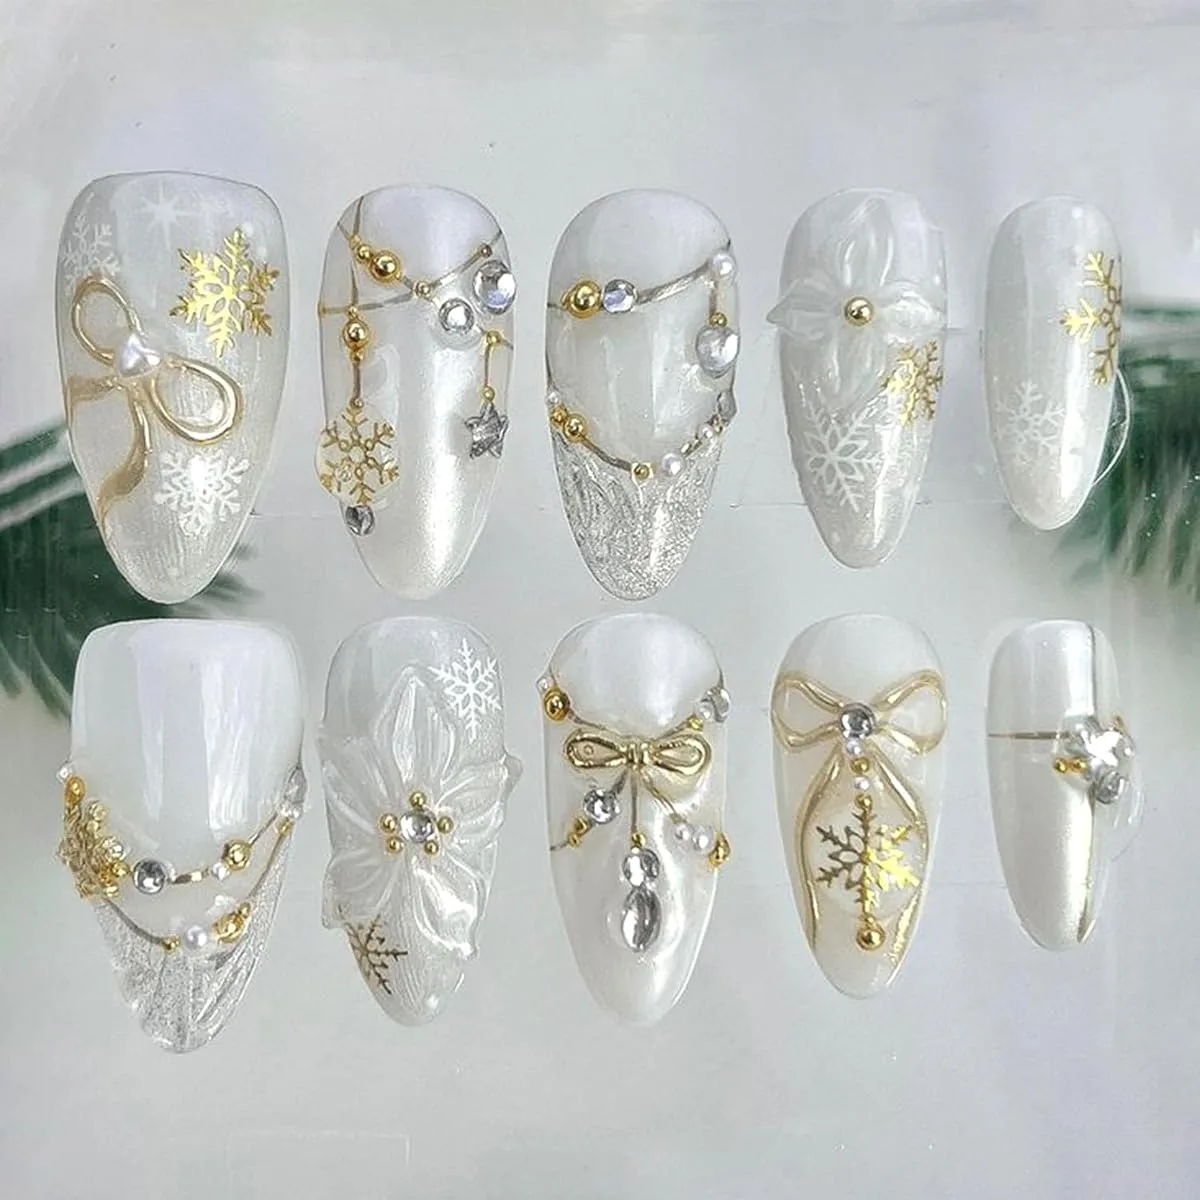
The second photo shows ten white winter press-on tips laid out as a set: gold snowflakes, gold bows, pearls, silver chains with star charms, 3D white flowers, glitter, and pine greenery at the edges. White is the base colour throughout, which makes the set read as winter even before you notice the snowflakes.
White as a winter base colour
White fake nails are harder to wear than they look, because white shows every gap at the cuticle and every bit of regrowth. The payoff is a clean, snowy look that no other colour gives. For white fake nail ideas like this winter set, fit matters more than usual: choose a tip that matches each nail’s width exactly, and press it on from the cuticle outward to push air out.
Gold, silver, and pearls on one set
This set mixes three metallic accents, gold, silver, and pearl, which usually risks looking scattered. It works here because white sits underneath all of them, acting as a neutral that lets each accent read separately. Copy that rule for your own winter fake nail ideas: one neutral base, then two or three accents, and keep the busiest decorations on two or three nails rather than all ten.
The 3D flowers and chains belong on accent nails; the plain white and glitter nails give the eye somewhere to rest.
Blue to White Gradient Press On Nails with Snowflakes: Shop the Look
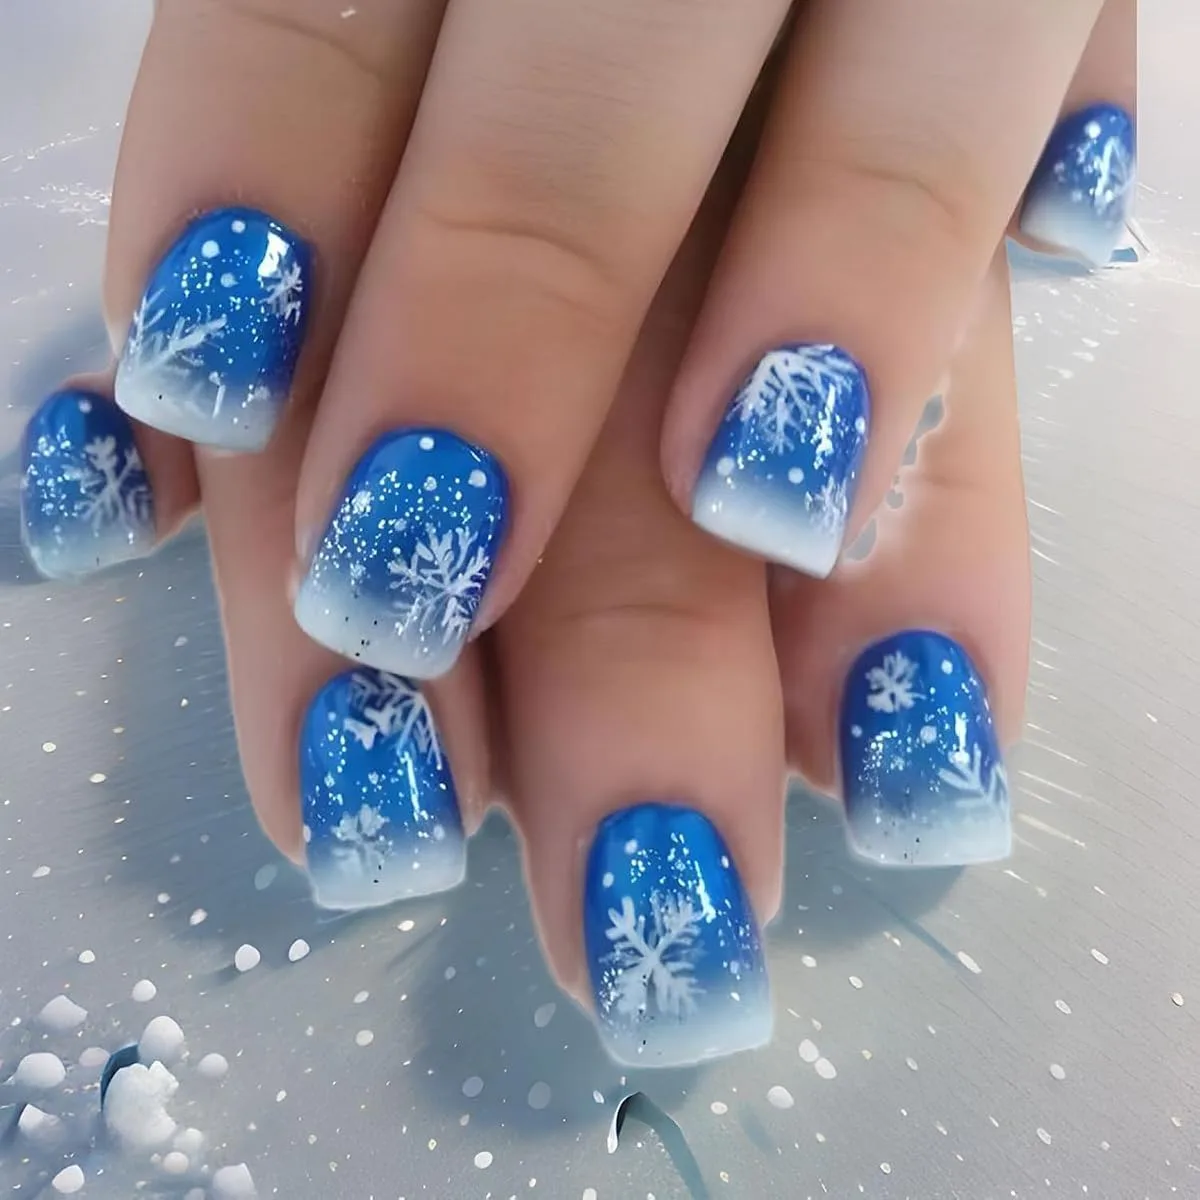
The third photo moves from the product layout back to hands: short square nails in a blue to white gradient, fading from blue at the cuticle to white at the tip, with white snowflakes and glitter dots scattered across the set, photographed on a snowy surface. The gradient, also called ombre, is the gentlest way to wear a winter design. There is no hard line between the colours, so the set looks soft and frosty rather than graphic.
The short square shape keeps it practical: this is a winter set you can type in, cook in, and live in, not just photograph.
Why a gradient suits short nails
A gradient flatters short nails because it draws the eye along the length of the nail, from the darker blue at the base to the bright white tip, which makes the nail look longer than it is. If you have short nails and want a winter design, a blue to white ombre is one of the safest and prettiest fake nail ideas in this whole post.
Gradient press-ons versus painted gradients
Painting a gradient by hand takes sponging, blending, and patience, and it is easy to end up with a muddy middle. A press-on gradient arrives perfect, with the blend already done. That is the core trade of fake nail ideas: you give up customisation and gain a flawless finish in minutes. For a design like this one, where the blend is the whole point, the press-on version is the smarter choice for most people.
Our acrylic false nails guide shows more winter false nail looks in this spirit.
Beetles Base and Top Gel for a Smooth Fake Nail Finish: Shop the Look
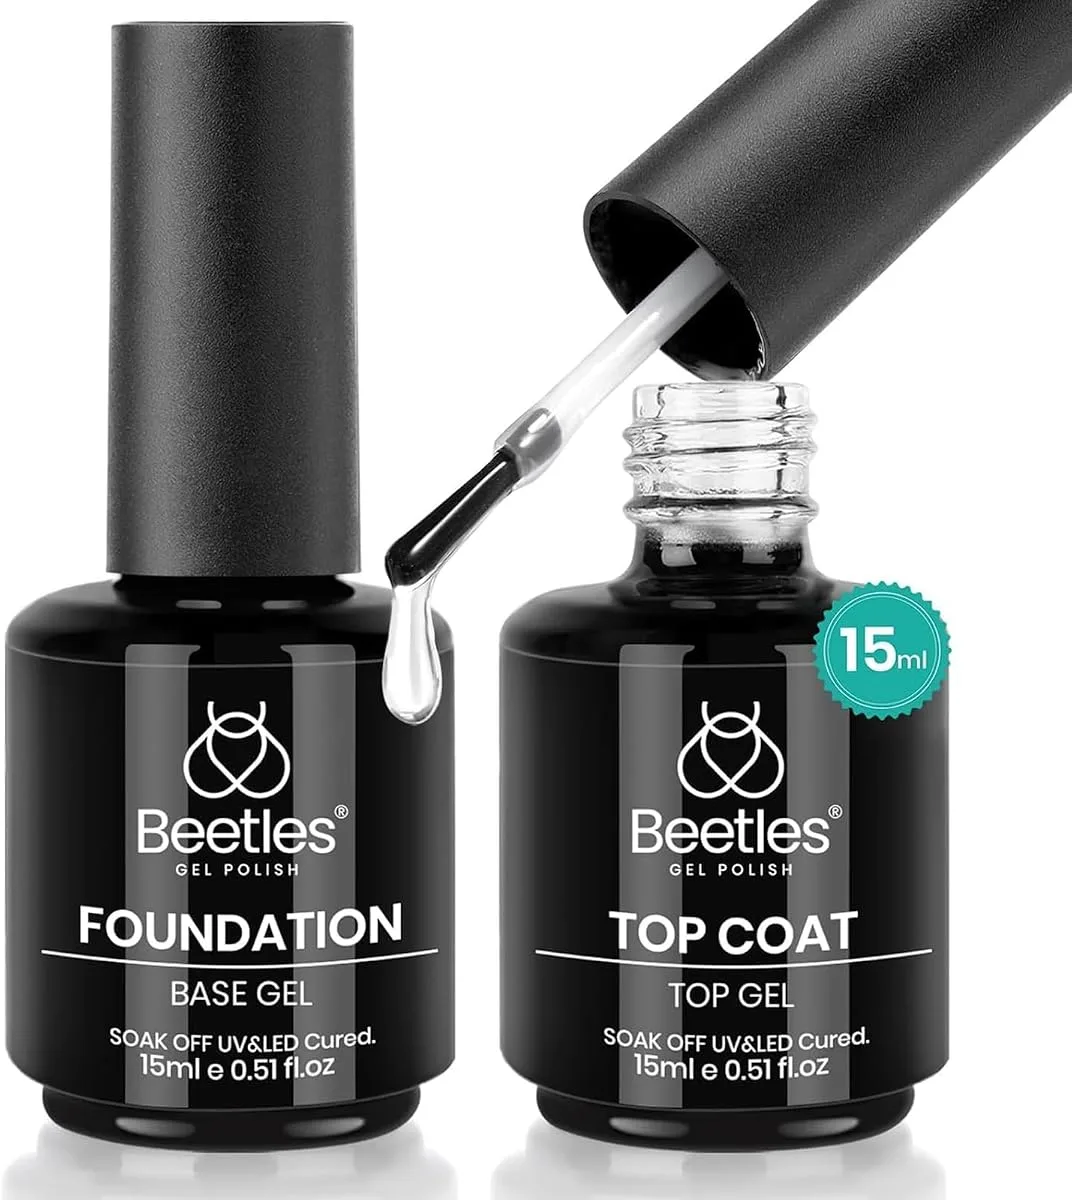
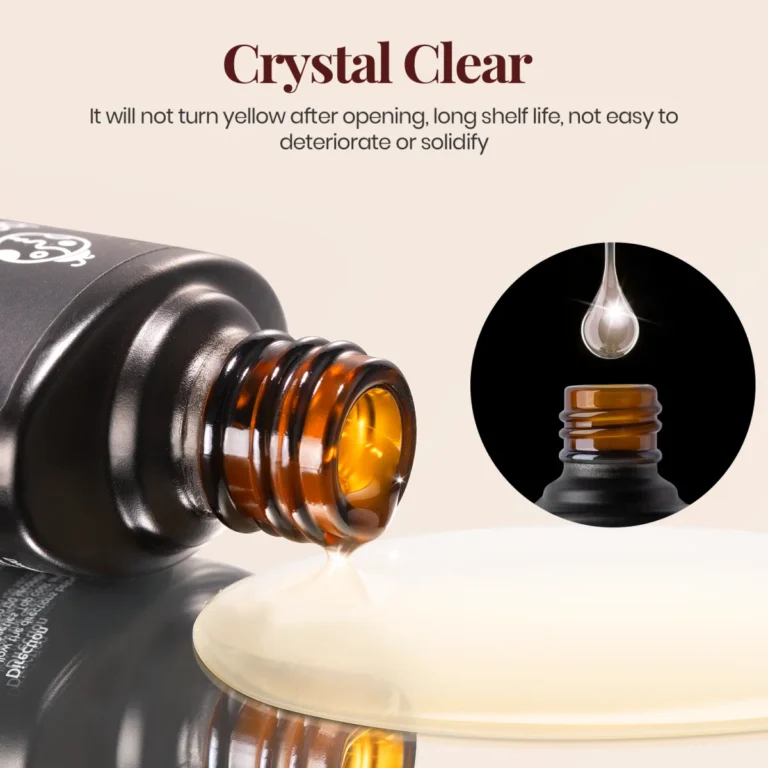
The fourth photo is not a set of nails at all. It shows two Beetles bottles, Foundation Base Gel and Top Coat Top Gel, 15 ml each, one open with a clear drip falling from its brush. These are the two products that sit underneath and on top of a gel manicure, and they matter to anyone trying fake nail ideas too. Base gel grips the nail plate and levels it. Top gel seals everything and adds the shine.
What base gel actually does
Base gel is the grip layer. It goes on in one thin coat over a prepped, buffed nail, and it cures into a slightly tacky surface that the next layer holds onto. With it, the whole manicure has something to anchor to. The brand’s own directions for this product are a thin base coat, cured 60 seconds under LED, before any colour goes on.
What top gel adds to any set
Top gel is the seal and the shine. One thin coat over the finished colour, cured fully, protects the design from chips and gives the set its glossy finish. The brand’s directions add one detail worth copying: seal the free edge by running the brush along the tip, which stops the top coat from peeling back from the edge.
The same habit helps press-on wearers too, since a clear top coat brushed over a press-on set can refresh its shine midweek, as long as the set is glued, not tabbed, so the top coat does not loosen the adhesive. Our black gel nail polish guide shows the same base and top routine inside a full gel system.
Everyday Fake Nail Ideas in Brown and Champagne for Daily Wear: Shop the Look
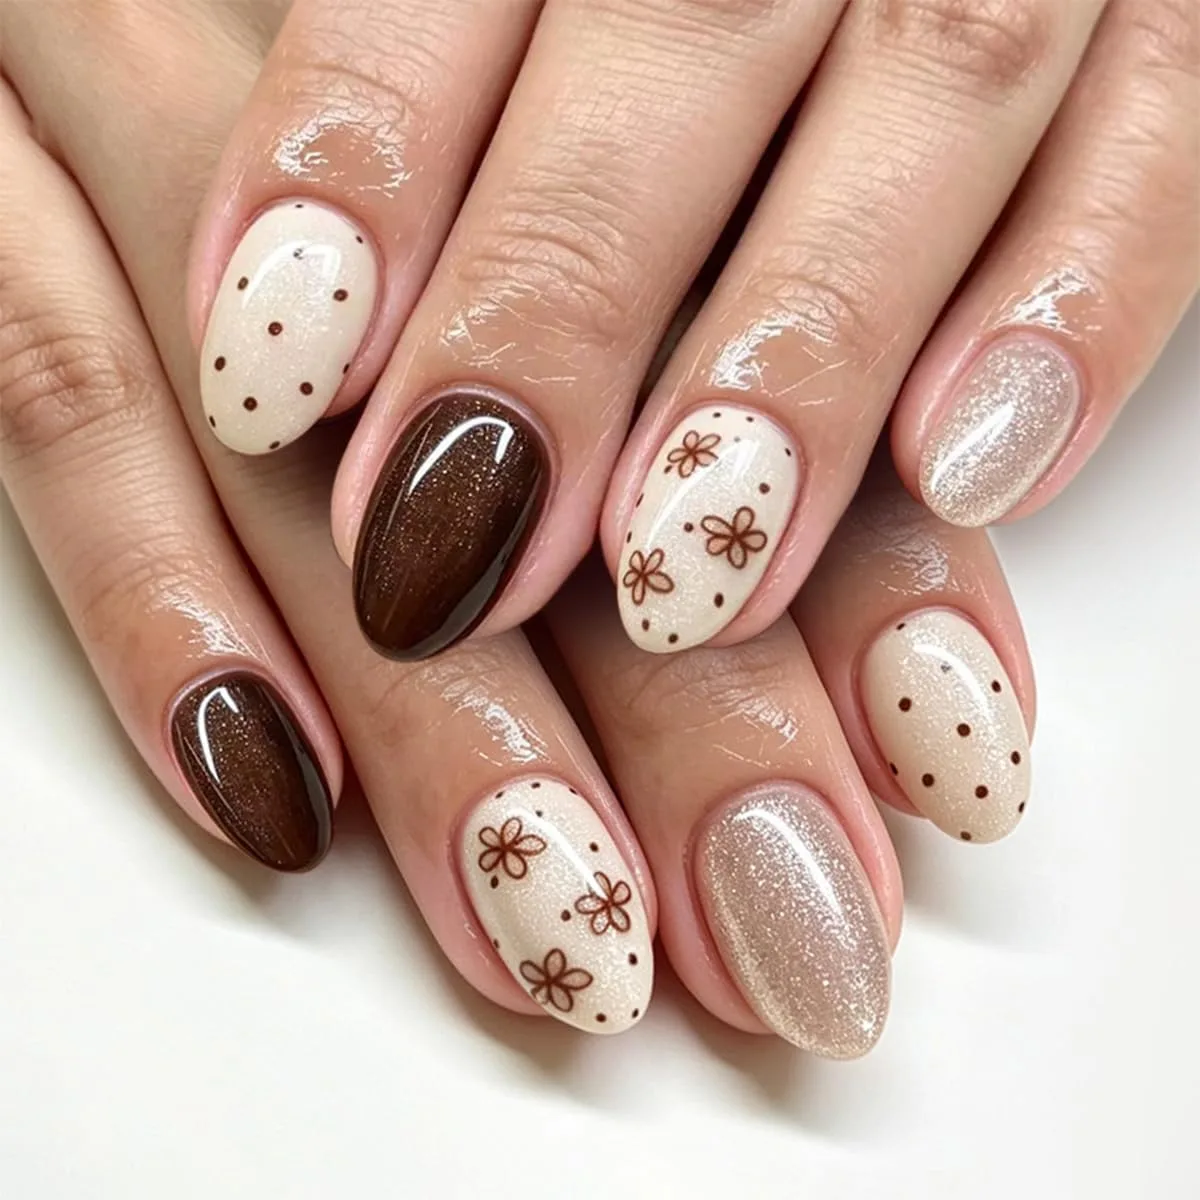
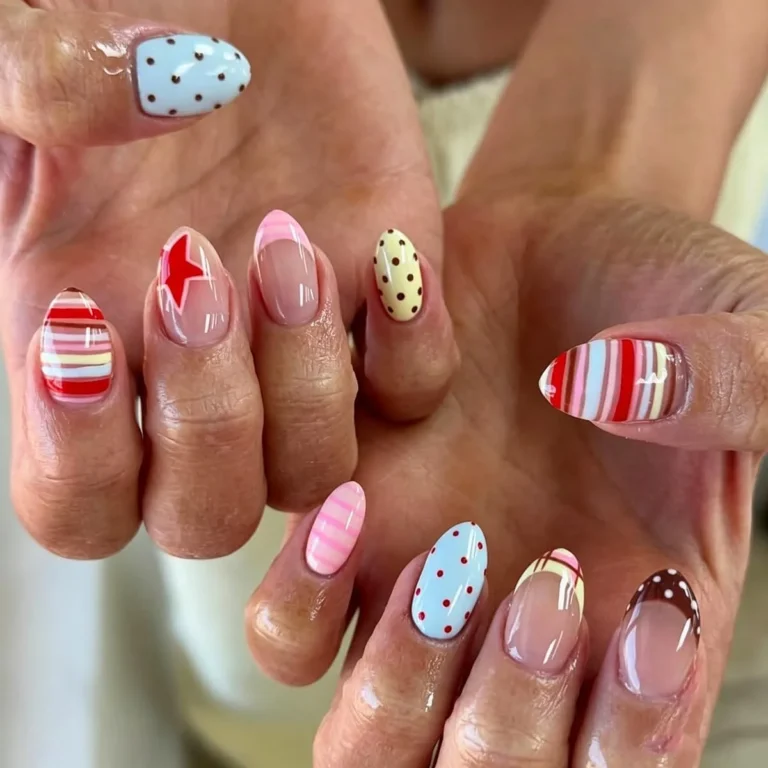
The last photo is the quiet one, and for many readers it will be the most useful. Short oval nails in everyday neutrals: cream with brown dots, dark brown glitter, cream with brown outline flowers, and champagne glitter. Nothing here shouts. The palette is brown, cream, and champagne, the shape is short and oval, and the designs are small and spaced out.
This is the set for work, for school runs, for daily life, and it proves that fake nail ideas do not have to be dramatic to be good.
Why neutrals win the everyday vote
Neutral fake nails work every day for three reasons. First, they match everything, so you never clash with an outfit. Second, small designs on a neutral base hide wear: a tiny chip in a brown dot is invisible, while a chip in a black French tip is obvious. If you wear fake nails daily, these are the fake nail ideas to copy.
Copying the everyday set at home
The formula is simple: a cream base, one or two brown accent designs, and one glitter nail. Keep the dots small and the flower outlines thin, and leave at least one nail plain cream so the set breathes. For daily wear, adhesive tabs are a fair choice for a short set like this, since the nails are short enough not to catch, and tabs let you remove and reuse the set.
For a longer hold, glue wins, and our builder gel for nails guide covers the stronger systems behind extensions. Our acrylic nail kit guide shows more seasonal manicures you can build from a kit.
How to Apply Fake Nails at Home
- Size every nail first. Lay out the tips and match each one to a natural nail, sidewall to sidewall, with no gap and no overhang. A tip that is too wide will lift; a tip that is too narrow will show your natural nail at the sides.
- Prep the natural nails. Push the cuticles back, lightly buff away the shine, and clean off all dust and oil. Skip hand cream before application, since oil under a press-on is the fastest route to lifting.
- Choose glue or tabs. Glue gives the stronger, longer hold and suits long or party sets. Adhesive tabs give a gentler hold and suit short everyday sets, and they let you reuse the tips.
- Apply one nail at a time. For glue, apply a small amount to the press-on and to the natural nail, place the tip at a slight angle from the cuticle, and press and hold firmly until it grips. For tabs, stick the tab to the natural nail, peel the backing, and press the tip on from the cuticle outward to push air out.
- Avoid water for a little while after application, so the bond sets fully before it meets soap and water.
- File lightly only to smooth an edge, never to reshape the whole tip.
- Refresh the shine midweek if the set is glued: a thin clear top coat over the set restores gloss, as long as you keep it off the skin and the cuticle.
The same safety step applies here as with any gel set. The American Academy of Dermatology recommends a broad spectrum, water resistant sunscreen with SPF 30 or higher on your hands before a gel manicure, since the polish is sealed using ultraviolet light.
Frequently Asked Questions
How long do press-on nails stay on?
Among all fake nail ideas, press-ons vary most by the hold you choose and how you treat the set. Glue gives a stronger, longer hold than adhesive tabs, and short sets last longer than long sets because they catch less. Avoid soaking the nails in water for long stretches, wear gloves for cleaning, and do not use the nails as tools.
How do I remove press-on nails without damaging my nails?
Never force or peel a glued press-on off, since that can tear layers from the natural nail, and that rule holds for all fake nail ideas. For tabbed sets, soak the hands in warm water with a little cuticle oil until the tabs soften, then peel gently from side to side. For glued sets, apply nail glue remover around the edges, wait a few minutes, and lift gently with a manicure stick, repeating as needed. Patience is the whole method.
Can I reuse press-on nails?
Yes, if you remove them gently and clean off the old adhesive. Tabbed sets reuse most easily, since the tabs peel away cleanly. Glued sets can be reused if the tips come off intact, but you will need to file or soak off the old glue from the inside of each tip first.
Are fake nails better than gel extensions for everyday wear?
For most people, yes, for daily life. Fake nails apply in minutes, cost less, and come off without soaking or filing. Gel extensions, including the builder gel systems in our builder gel for nails guide, give a stronger, more custom result and suit people who want length for weeks.
Fake nail ideas work best when the set fits the occasion: loud for parties, white and gold for winter, soft gradients for cold days, and quiet neutrals for every day. Pick your set, fit it well, and follow Beautylicious Hub on Pinterest for more nail ideas like these.