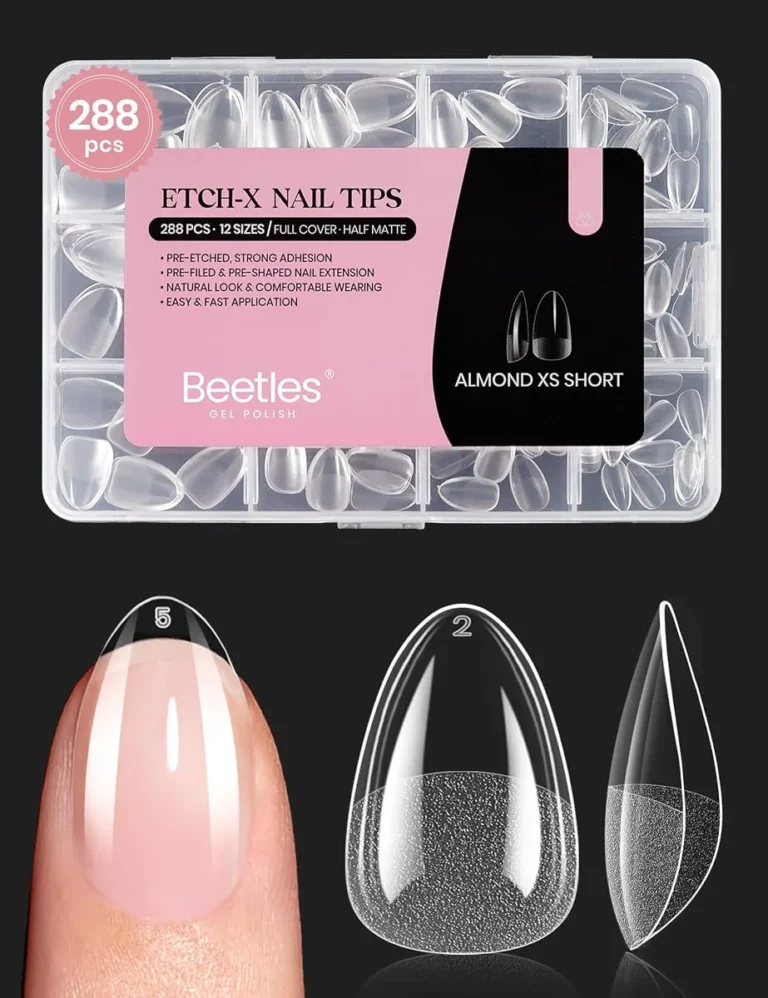
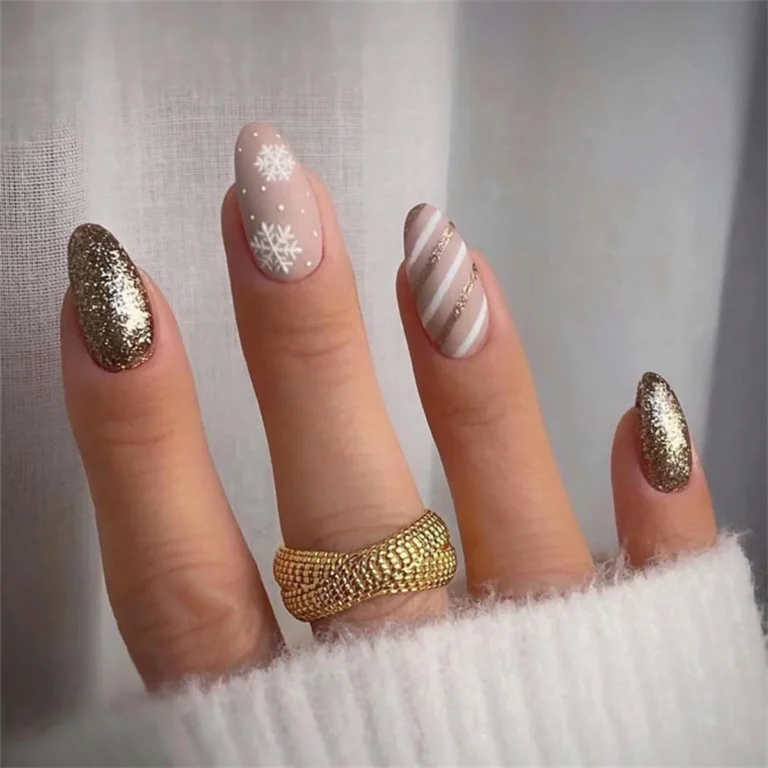
Acrylic Nail Kit: 5 Stunning Seasonal Manicures to Try
An acrylic nail kit is a practical way to try big seasonal looks at home, because one kit gives you the length, the shape and the base for many different designs. A note of honesty first: the five photos in this post do not show kit boxes or bottles. They show the finished seasonal manicures you can create with an acrylic nail kit, from deep burgundy and gold to a full winter wonderland set.
Each look below works as a design goal for your next set. The shapes, colours and decorations are all described exactly as they appear in the photos, so you can pick the look that fits your season and your skill level.
Burgundy and Gold Square Nails for Seasonal Glamour: Shop the Look
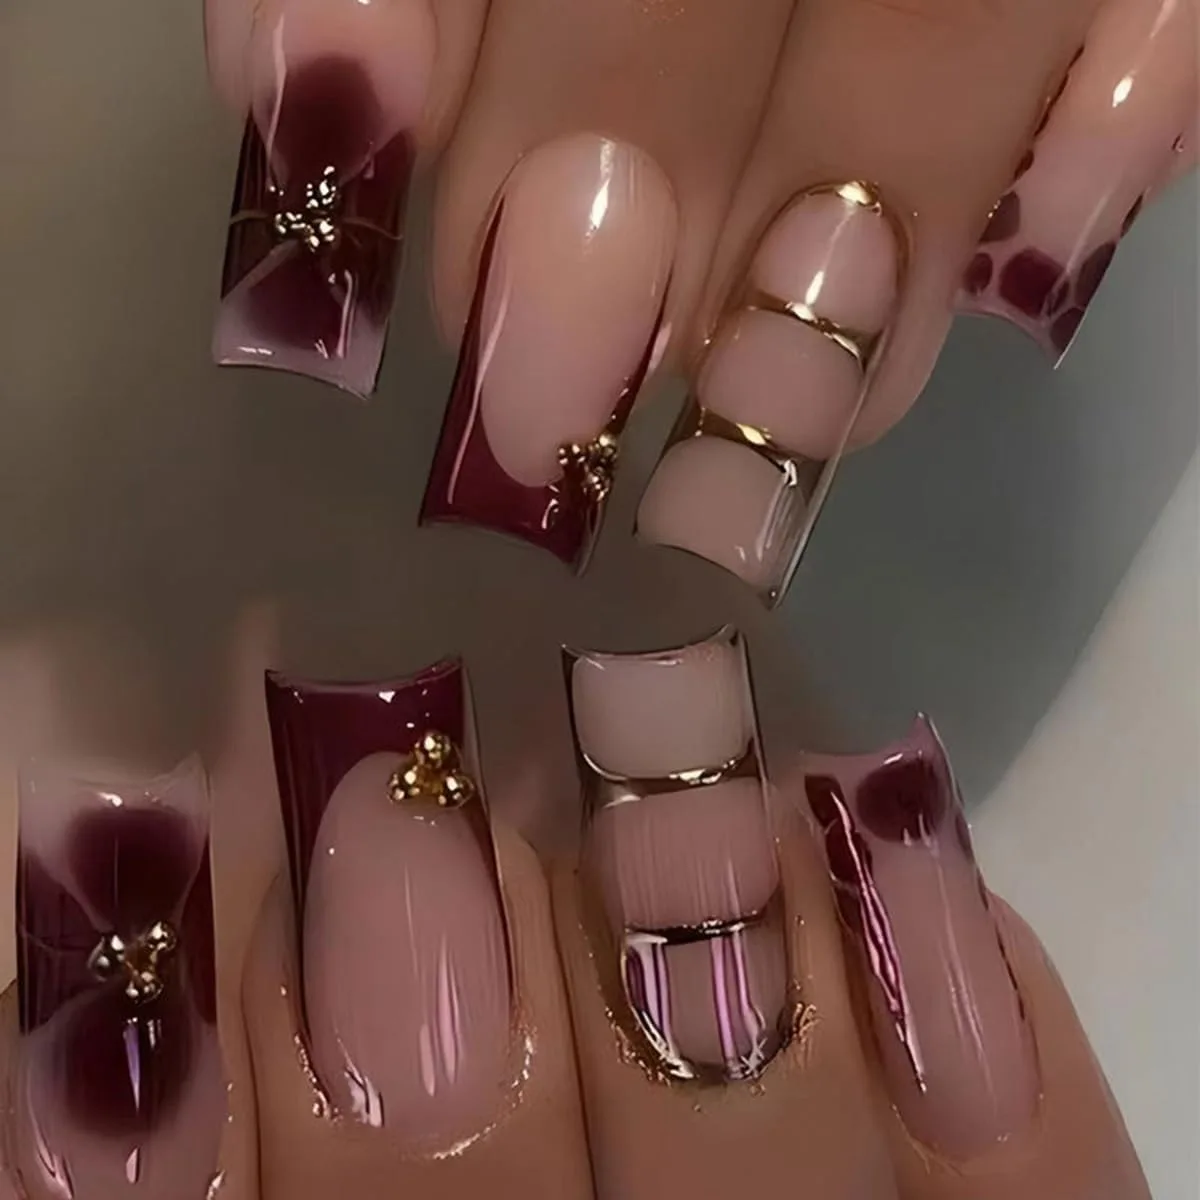
The first photo is pure autumn glamour. Long square nails carry deep burgundy as the main colour, paired with nude pink nails that keep the set wearable. Gold does the decorating work throughout: small bead clusters sit on the burgundy nails, thin gold bands cross the nude nails, and burgundy French tips get a gold bead finish. One nail uses a tortoiseshell style burgundy pattern, which breaks up the solid colours and stops the set from looking flat.
Square shape gives the gold beads a clean edge.
Why burgundy and gold suit the season
Burgundy reads as a cooler, deeper red, which is why it suits autumn and early winter so well. It pairs with gold without shouting, and it flatters both warm and cool skin tones because it sits between red and brown. Gold beads add sparkle without glitter dust, so the set stays elegant rather than festive in a loud way.
If you want a seasonal set from an acrylic nail kit that still works at work, this is the balance to copy: one rich colour, one quiet neutral, and one metallic accent used sparingly.
Placing gold beads so they stay put
Gold beads fall off when they sit on a smooth, already sealed surface. Set each bead into a small dot of uncured top coat or nail glue, press it in gently with tweezers or a wax pencil, and cure or let it set before sealing around the edges. Keep the bead tops clear. For a kit beginner, start with beads on two nails only, as in this photo, rather than beading every nail.
The restraint is what makes the set look expensive.
Christmas Almond Nails with Gingerbread and Candy Cane Details: Shop the Look
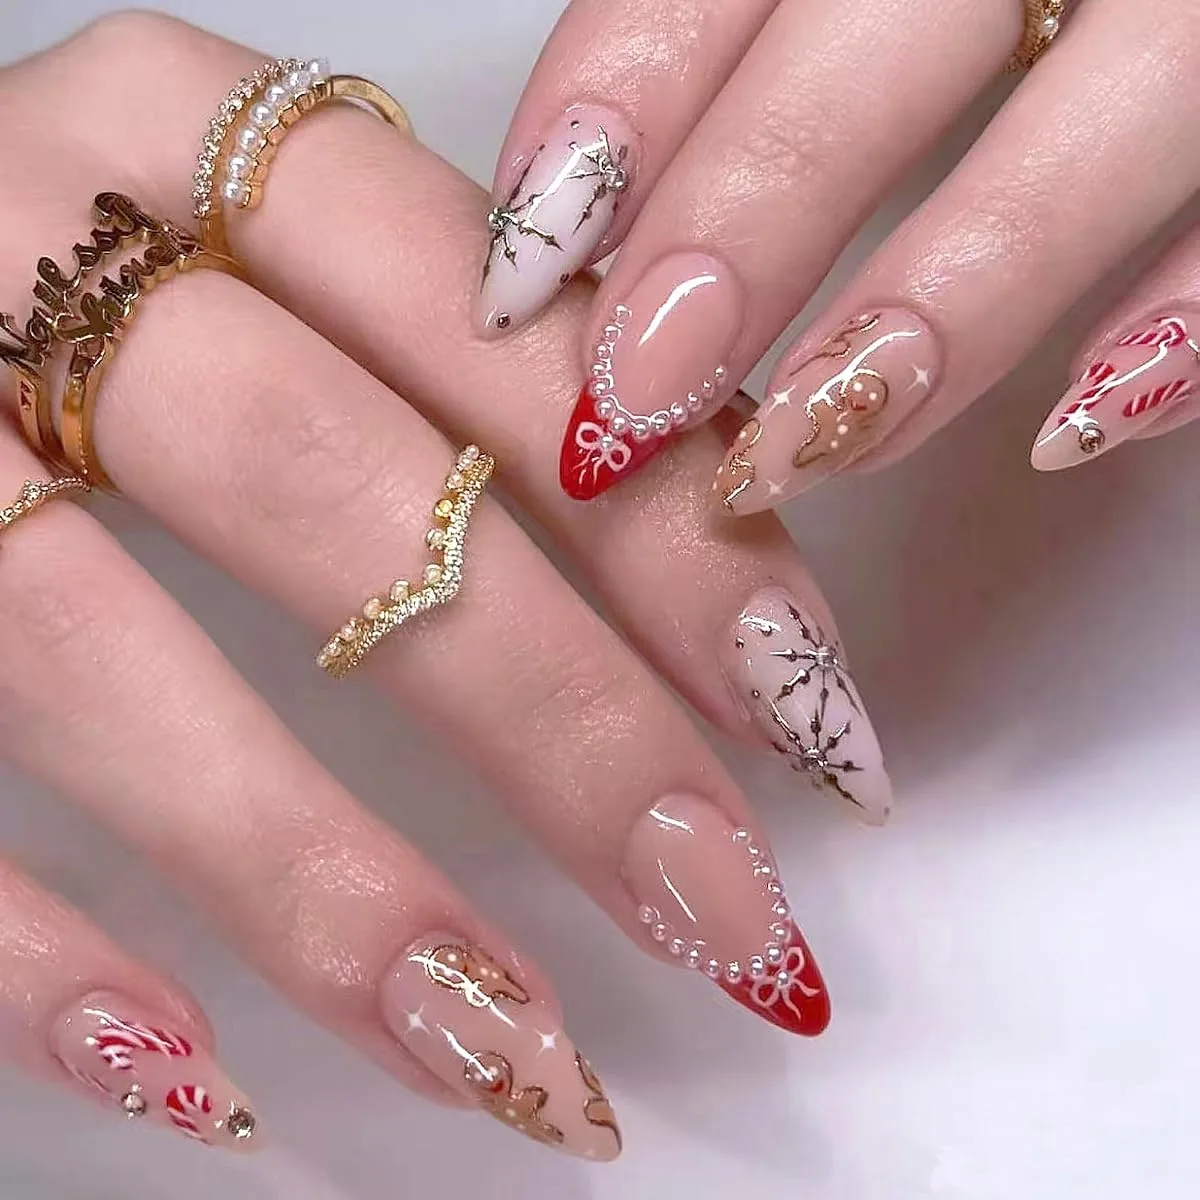
The second photo is the Christmas set of the five, and it is busy in the best way. Long almond nails mix white nails with silver starbursts, red French tips finished with a pearl curve and a white bow, nude nails carrying tiny gingerbread men, candy cane stripes, and gold rings as accents. The almond shape softens all that detail.
Notice the planning: every nail has one idea, and no nail tries to carry two stories at once.
One idea per nail keeps Christmas nails elegant
Christmas nail art fails when every nail becomes a full scene. This photo avoids that trap by giving each nail a single job: starburst, French with bow, gingerbread, candy stripe, ring accent. The red, white and nude palette ties them together, so the set reads as one design rather than five separate ones. If you are recreating this with your acrylic nail kit, sketch the plan nail by nail before you start decorating. Keep the rest simpler.
Painting tiny Christmas details without a shaky hand
Small art needs a fine liner brush and a steady surface, not speed. Rest both hands on a table, paint the base colours first, and let each layer dry or set before adding detail. Gingerbread men and bows are easier than they look: start with simple shapes, then add dots for eyes and buttons. Pearl curves work best as a row of graduated dots along the smile line of the French tip. Seal everything with a thin top coat.
Blue and White Winter Wonderland Nails with a Snowman Scene: Shop the Look
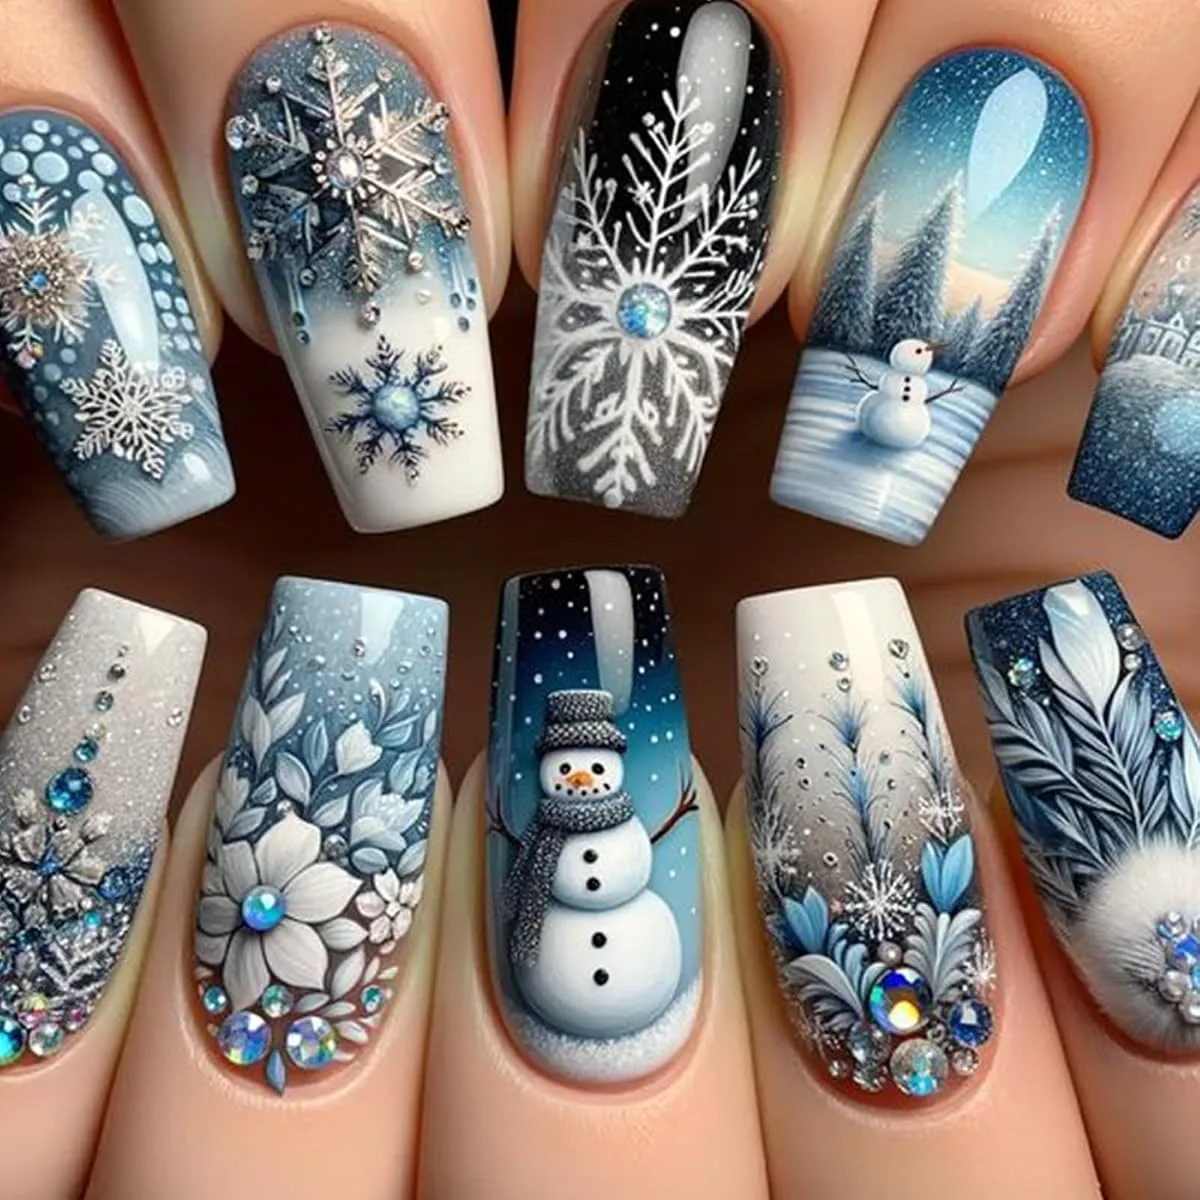
The third photo goes all in on winter. Long square nails in blue and white carry snowflakes, rhinestones, a full snowman scene on one nail, white florals, and feather and fur textures on others. This is the most decorative set in the post, and it works because the palette never leaves blue and white. The snowman nail is the hero, and the other nails support it with simpler snowflakes and texture rather than competing scenes.
The square shape gives the snowman nail a wide, flat canvas, which a narrow shape could not offer.
Building a winter wonderland set around one hero nail
A hero nail strategy saves time and keeps a busy set readable. Paint the snowman scene on one nail per hand, then repeat only its colours and one small motif, like a snowflake, on the other nails. Rhinestones go on sparingly, at cuticles or as snowflake centres, so they read as ice rather than clutter. Feather and fur textures, as seen here, are best used on one nail each. One textured nail adds a tactile surprise.
Snowflakes that look hand painted, not stamped on
Good snowflakes start from a centre dot with six arms, then short branches off each arm. Use a fine liner brush, load it lightly, and paint on a cured base so a mistake wipes off without ruining the colour beneath. White gel paint or polish gives the crispest lines on blue.
For an acrylic nail kit user, practising three snowflakes on a tip before the real set is worth the ten minutes, because the first snowflake is rarely the best one.
Burgundy and Cream Short Almond Nails for Everyday Winter: Shop the Look
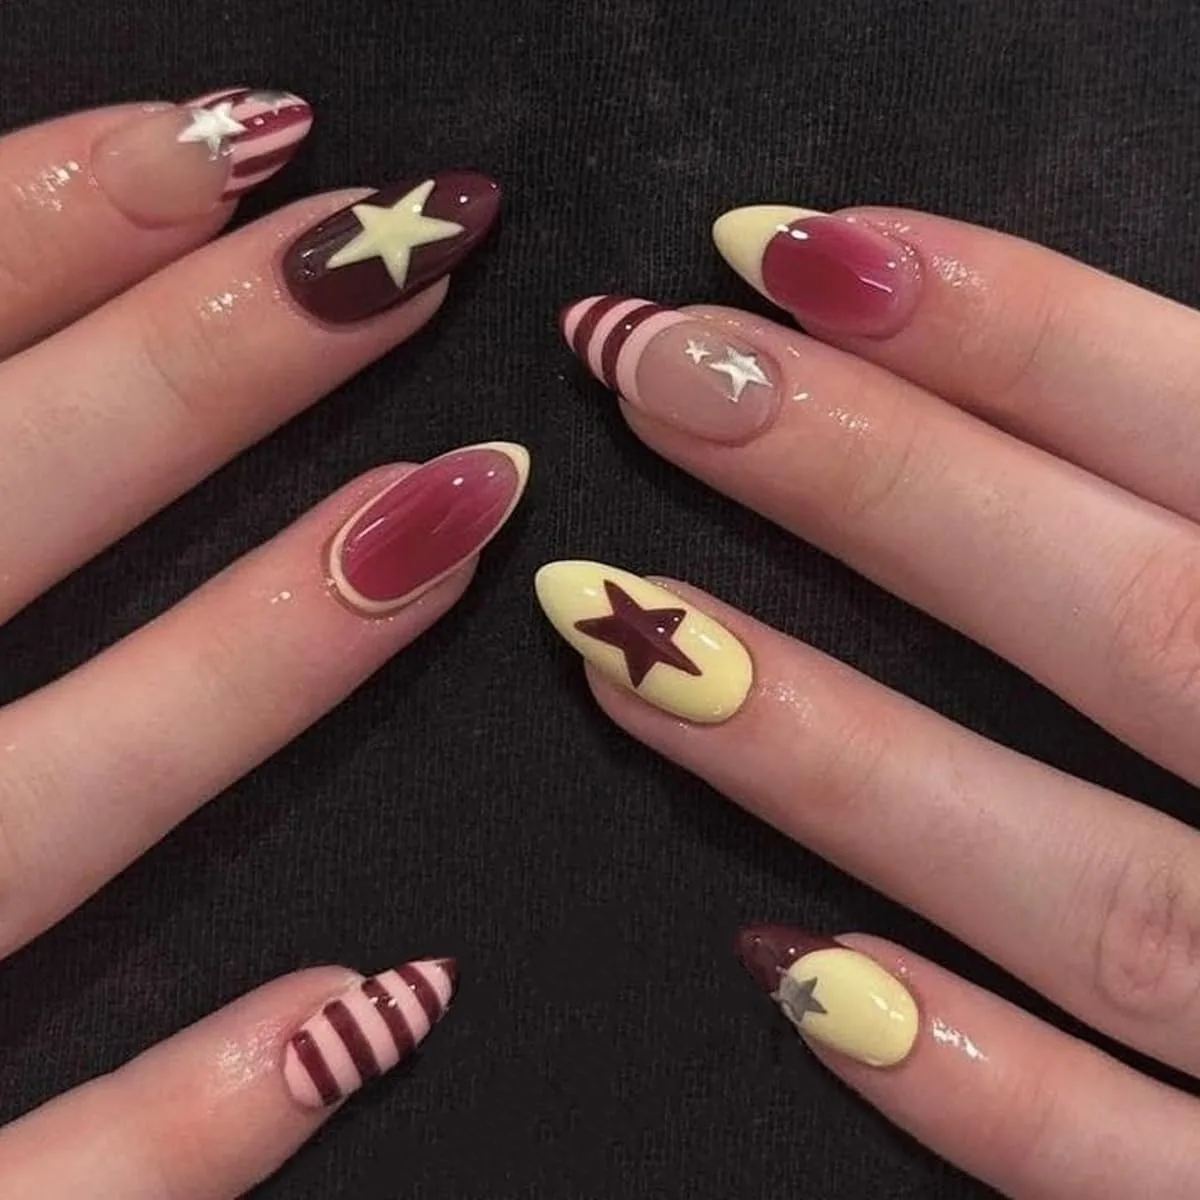
The fourth photo is the everyday answer to the first three. Short almond nails in burgundy and cream mix stars, stripes and two tone French tips, photographed on a black background that makes the cream pop. Short length changes everything about a seasonal set: it is easier to type, easier to keep clean, and far more forgiving for a beginner working with a kit.
The almond shape still gives a tapered, elegant line, but at this length it reads as neat rather than dramatic. This is the set to choose when you want seasonal colour without a long nail commitment.
Short seasonal nails that still feel special
Short nails suit bold seasonal colours because the colour does the talking while the length stays practical. Burgundy and cream is a softer pairing than burgundy and gold, and it suits daytime wear, office days and family gatherings. Stars and stripes are simple motifs that read clearly even at short length, unlike tiny scenes that need space.
Two tone French tips add interest without extra tools: paint the tip in one colour, add a thin stripe in the second, and seal. Our acrylic false nails guide shows more winter looks at varied lengths.
Why short almond is a smart first kit shape
Almond shaping on short nails is forgiving, because a gentle taper hides small filing differences better than a sharp square corner does. File the sides toward the centre in smooth strokes, then round the tip softly rather than pointing it. Check both sides from above so the taper matches. For acrylic nail kit beginners, short almond also means less product per nail, faster filing, and fewer breaks while you learn how acrylic or tips behave.
Champagne Glitter Coffin Nails with Snowflakes and Drip Tips: Shop the Look
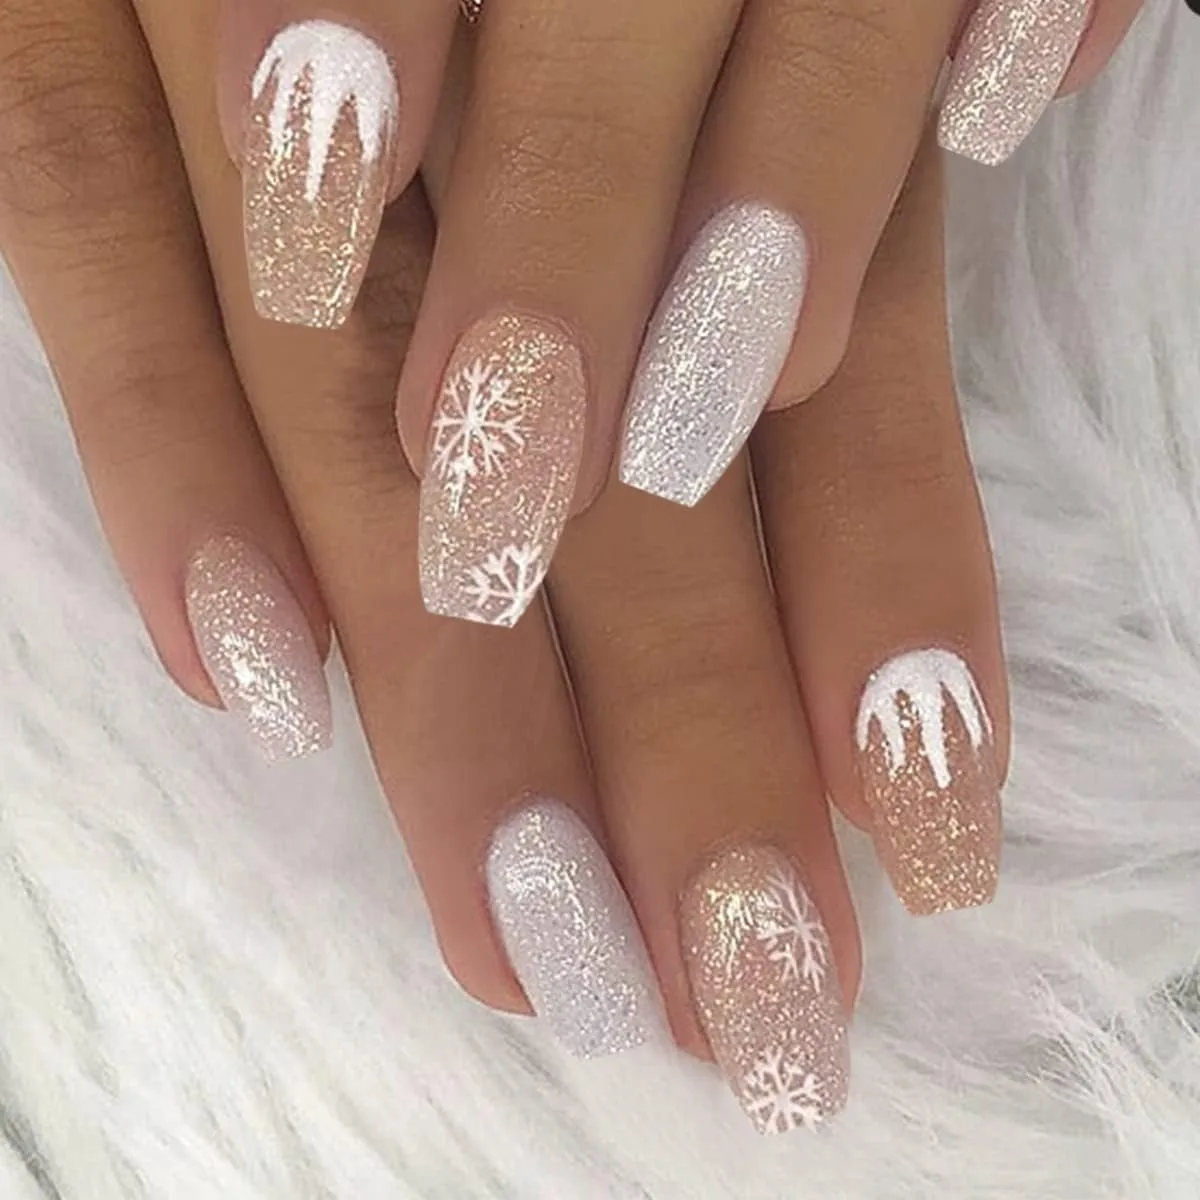
The final photo closes the season in sparkle. Long coffin nails in champagne and silver glitter carry white snowflakes and white drip tips, set against a white furry background that makes the glitter glow. Coffin shape, with its tapered sides and flat tip, suits glitter because the wide tip gives glitter room to show.
The white drip tips are the clever detail: they look like melting snow or icing, and they soften the glitter so the set reads as winter rather than party only. Silver glitter adds the cold sparkle of frost.
Champagne glitter as a winter neutral
Champagne glitter works as a winter neutral because it sits between gold and silver, matching both warm and cool outfits. On long coffin nails it gives full coverage glamour without a single solid colour, which suits evenings, holidays and celebrations. White snowflakes on top stay visible because the glitter beneath is fine rather than chunky. You still get the winter story with less sparkle.
Drip tips and glitter placement that last
Drip tips are painted freehand with a liner brush from your acrylic nail kit: a wavy white line near the tip, with uneven drips falling toward the cuticle. Keep the drips different lengths so they look organic, not printed. Glitter placement matters underneath: press loose glitter into a tacky layer or mix it into a clear coat, then seal with two thin top coats so no edge catches on knitwear.
Our glitter gel polish set guide covers accent placement in detail. Seal the free edge well.
How to Create Seasonal Manicures with an Acrylic Nail Kit
- Prep every nail first. Remove old polish, push cuticles back gently, lightly buff away shine, and clean off dust and oil so the product grips.
- Choose length and shape before colour. Square suits beads and scenes, almond softens busy art, coffin shows glitter best, and short almond is the kindest beginner shape.
- Apply tips or forms, then build the acrylic in thin, even layers, keeping product off the skin and cuticle. Let each layer harden fully before filing.
- File and shape slowly, checking both hands from above and from the side so lengths and tapers match.
- Paint base colours one nail at a time in the order of your plan, with the hero nail decided in advance.
- Add decorations last: beads, pearls, snowflakes and drip tips, sealing around raised details rather than flooding over them.
- Finish with a top coat, cap the free edge, and apply cuticle oil to the skin around the nails once the set is fully set.
The American Academy of Dermatology recommends a broad spectrum, water resistant sunscreen with SPF 30 or higher on your hands before a gel manicure, since gel is sealed using ultraviolet light.
Frequently Asked Questions
Do I need a full acrylic nail kit for these seasonal looks?
No, you need the base for length and shape plus the decorating tools for the look you choose. An acrylic nail kit gives you tips or forms, product, files and a brush in one place, which suits beginners. If you already have length from press on nails, you can recreate most of these designs with polish, a liner brush and decorations alone. Start from the look, then buy only the pieces your kit lacks.
Which seasonal look in this post suits a beginner?
The short burgundy and cream almond set suits a beginner best. Short length files faster, almond shaping forgives small errors, and stars and stripes are simple motifs. The burgundy and gold square set is the next step up, since beads need careful placement. Save the snowman scene for a later attempt.
How do I keep gold beads and rhinestones on my nails?
Set each piece into uncured top coat or nail glue rather than onto a sealed surface, press it in with tweezers, and seal around its edges. Keep the top of the stone clear so it keeps its sparkle. Wear gloves for cleaning and washing up. When the set is done, soak it off rather than prising pieces off.
Can I mix press on nails with an acrylic nail kit?
Yes, and many beginners do exactly that. Use full cover tips from a kit as the base, then decorate them with the seasonal art in this post. The finished look is similar, while the application is faster and easier to remove. The honest difference is durability and shaping control: sculpted acrylic can be filed to any shape, while a tip keeps the shape it came with. For seasonal looks worn for an event, tips are a sensible shortcut.
Our light pink almond gel nails guide shows how a soft pink base pairs with gold, and our matte top coat guide covers changing the finish of any of these sets.
An acrylic nail kit earns its place when it turns one seasonal idea into five different manicures. Pick the look that fits your week, start with the short set if you are new, and follow Beautylicious Hub on Pinterest for more nail ideas like these.