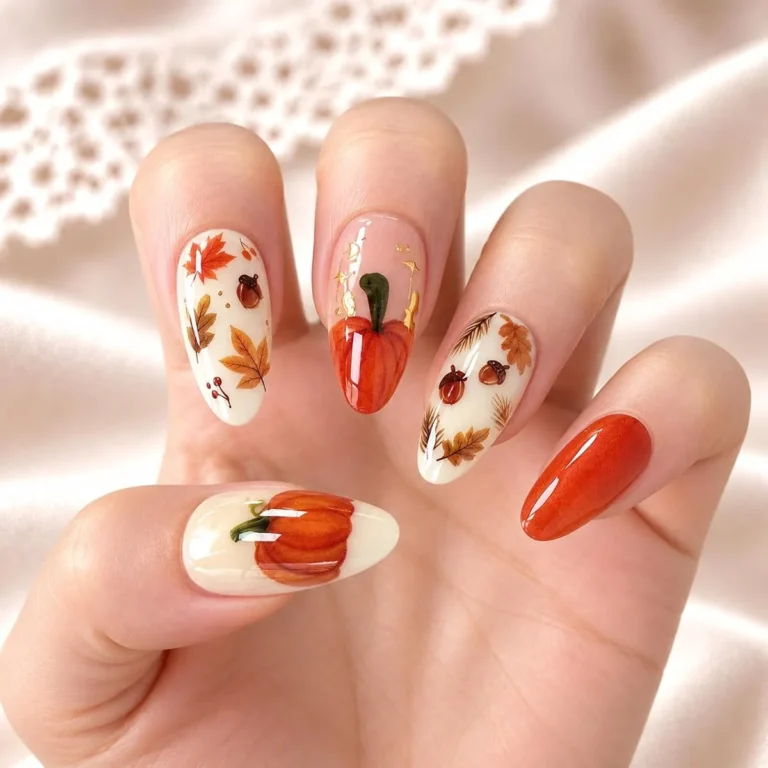
Gel Nail Top Coat: Stunning High Gloss Shine Guide
A gel nail top coat is the final layer of every gel manicure, and it is the layer your eyes actually see. The color underneath provides the shade, but the top coat decides whether that shade looks flat or glassy. This post follows five photos of the top coat routine in order: the bottle itself, the base coat it sits on, the red and black nails that show what gloss looks like at its best, a brand demo of surface protection, and the layering map that ties it all together.
Everything here is about the shine: what creates it, what dulls it, and the small habits that keep it. If you have ever wondered how gloss compares with its opposite, our matte top coat ideas show the other side of the same choice.
No Wipe High-Gloss Top Coat Bottle: Shop the Look
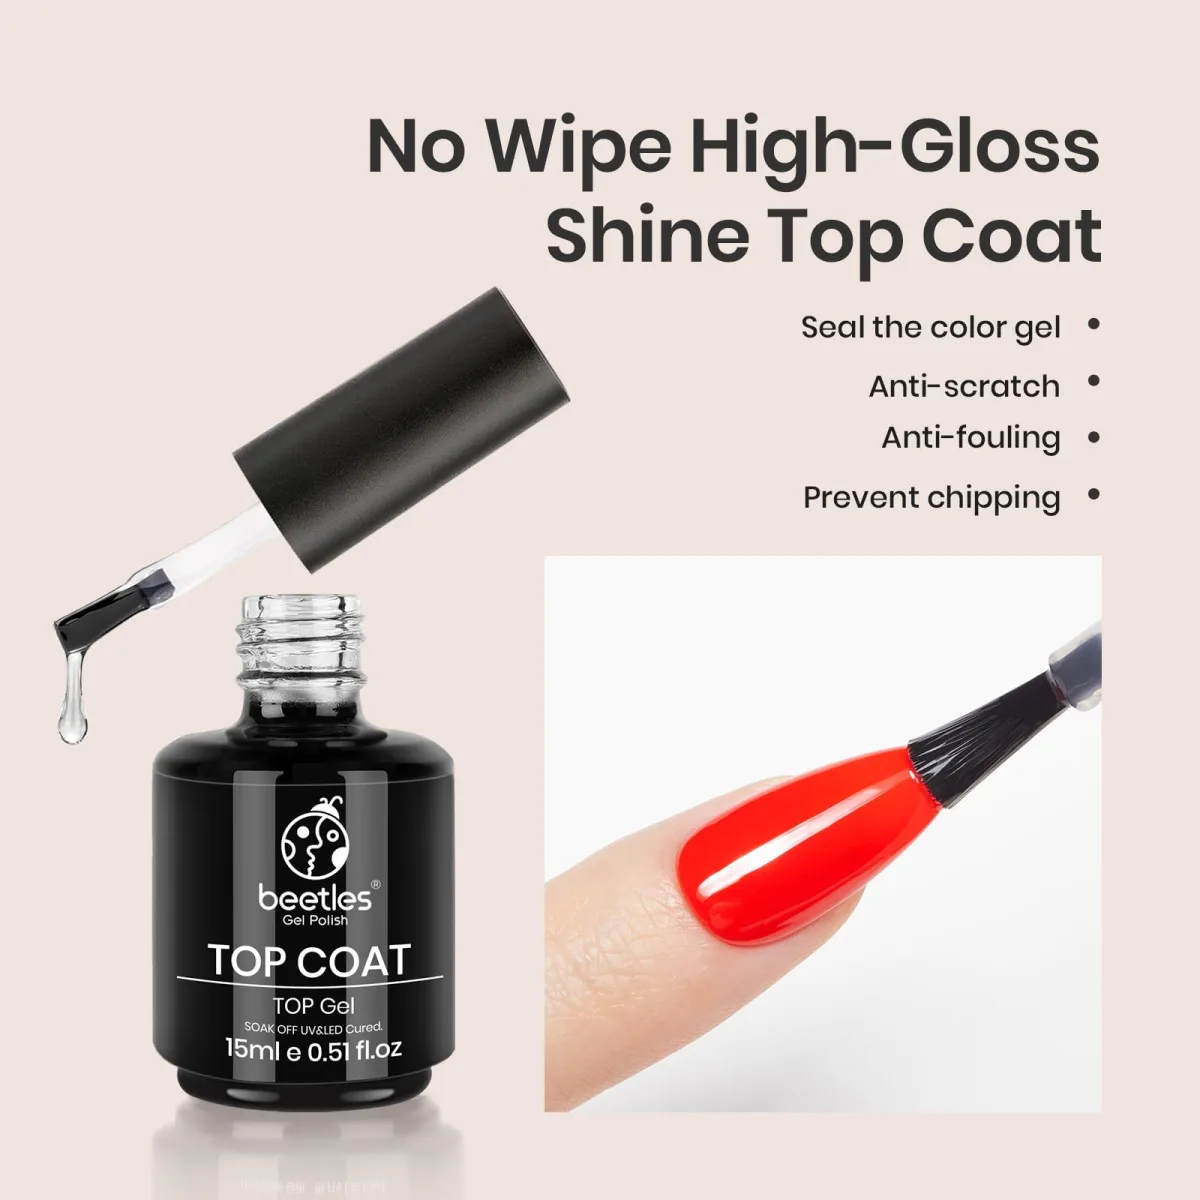
The first photo is a product ad graphic on a cream background. On the left, an open black Beetles bottle labeled TOP COAT and TOP Gel, a soak-off formula cured under UV or LED light, 15 ml, with the brush lifted and dripping clear gel. On the right, an inset shows that brush laying clear gel over a glossy red almond nail. Printed across it are the words No Wipe High-Gloss Shine Top Coat, plus benefit claims: seal the color gel, anti-scratch, anti-fouling, prevent chipping.
Those are marketing lines, so read them as package promises rather than tested facts. What the photo shows honestly is the job description: it goes on last, over color, and its finish is the glossy one.
What no-wipe actually means for your routine
A gel nail top coat like this one skips the final wipe. A no-wipe top coat is formulated so that once fully cured, no sticky layer remains. A traditional top coat leaves a tacky film called the inhibition layer, which you wipe off with alcohol after curing. The distinction matters: wiping a no-wipe coat is wasted effort, while skipping the wipe on a traditional one leaves it tacky. Follow your own product’s label, because wipe rules are set by the formula.
Why the final layer decides the shine
A gel nail top coat decides shine because it is the surface. Shine is a surface property. Light bounces off a smooth, level film and scatters off a rough one, so the gloss reports on how evenly that last layer cured. That is why every good guide repeats the same advice: thin coats, self-leveling, full cures. A thin coat levels under its own weight before the lamp locks it in; a thick coat can wrinkle or cure unevenly. The bottle in this photo drips for the camera, but on your nails the winning move is restraint: a small amount of gel, floated gently, edge to edge.
Beetles Base Coat for Gel Manicures: Shop the Look
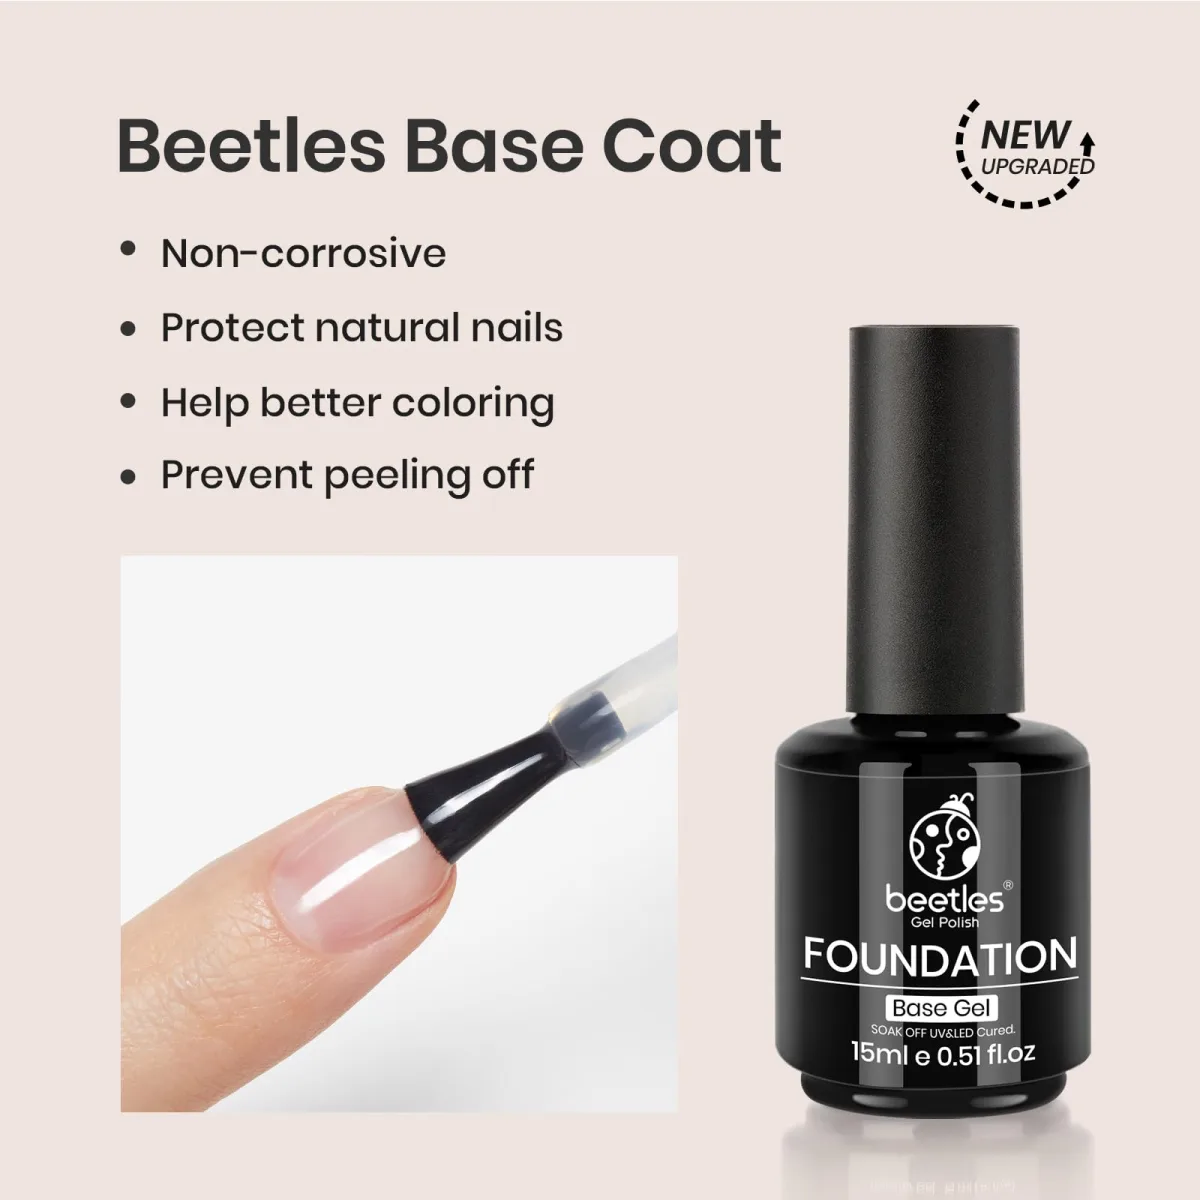
A gel nail top coat needs this base layer beneath it. This photo is honest about something most shine guides skip: the bottle is not a top coat at all. It is a closed black Beetles bottle labeled FOUNDATION and Base Gel, and the inset shows a brush laying clear gel onto a bare natural nail. Printed text calls it a new upgraded base coat with claims about protecting nails and helping color adhere. Those are the brand’s words. The useful truth is the order of operations: gloss never sits directly on the natural nail.
The grip layer underneath the gloss
A gel nail top coat grips best over a sealed base coat. Color gels are made to look good, not to hold on. The base coat is engineered for adhesion: it bonds to the natural nail plate and gives the color something to grip. Beetles’ own guide describes it as the layer that seals the natural nail and provides a smooth surface for color. Think of the manicure as a stack where every layer has one job: the base holds, the color shows, the top coat shines. When a glossy set fails early, the fault is often in this layer rather than the shiny one on top.
Staining, peeling, and why the base comes first
A gel nail top coat seals the color this base protects. There is a second reason the base earns its place, and it shows on the exact nails in this post’s third photo. Deep red and black pigments can stain the natural nail when they sit directly on it, and the base coat stands between the pigment and your nail plate. Beetles’ guide names stain prevention as one of the base coat’s jobs. Skipping the base to save a minute risks the two failures that ruin gloss fastest: color that lifts because it never bonded, and a stained nail plate that looks dull under even a perfect top coat.
Long-Lasting Glossy Red and Black Coffin Nails: Shop the Look
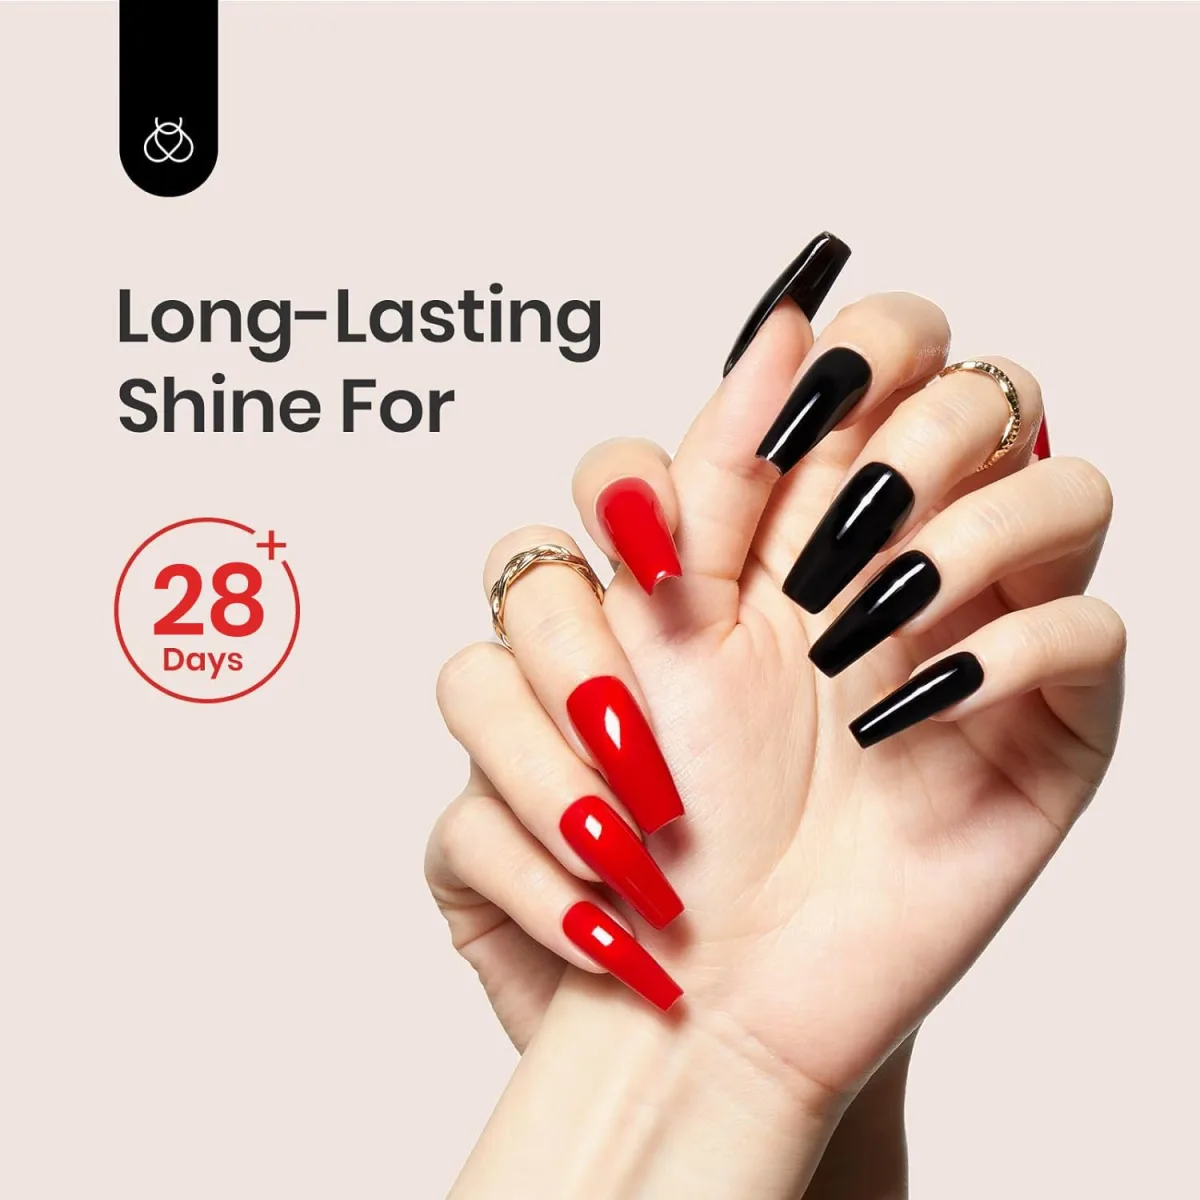
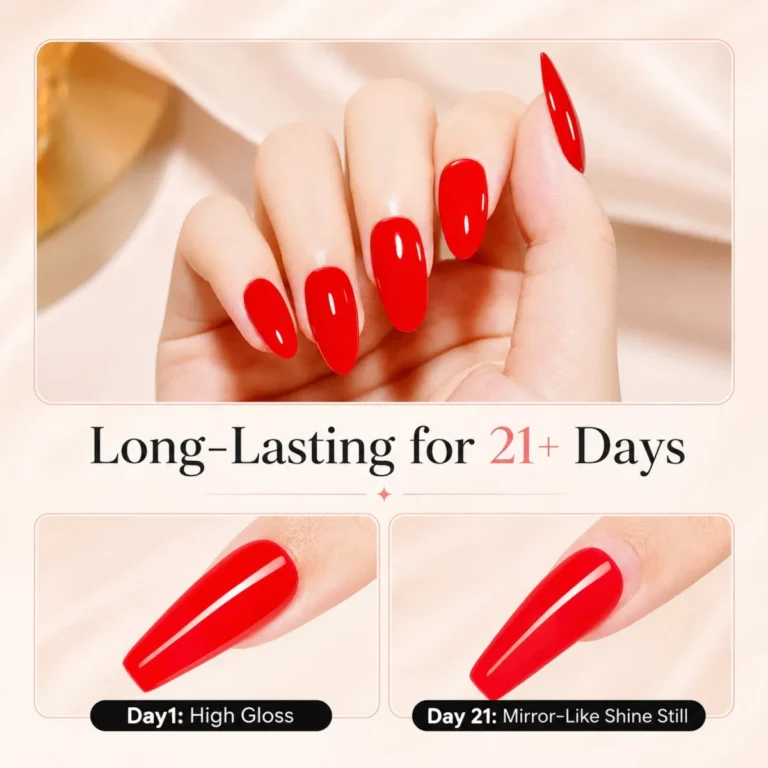
A gel nail top coat shows its gloss best on deep colors. Here is the payoff photo. Two hands with very long coffin nails, one hand in glossy red and the other in glossy black, gold rings on the fingers, with a black brush-cap graphic in the corner. The printed text reads Long-Lasting Shine For beside a red circular badge stamped with 28+ Days. That number is a marketing claim printed by the brand and it is not verifiable, so set it aside. What is verifiable is right in front of you: the nails genuinely carry a high-gloss finish, and the photo is a good teacher about which colors show gloss at its best.
Why deep colors show shine better than pale ones
A gel nail top coat looks richest over deep red and black. Gloss is reflected light, and dark colors give reflection something to work against. On the red hand, the shine reads as depth, like light sitting inside the color. On the black hand, it reads as a bright edge traveling along the curve of each nail. Pale and sheer shades reflect light too, but the contrast is softer and the gloss is harder to see. This is one reason red and black are the classic demonstration colors for top coat advertising: if a top coat looks impressive over a deep red, it will look impressive over everything.
The coffin shape gives gloss a bigger stage
A gel nail top coat shines brightest on long coffin nails. The coffin shape matters here as well. Tapered sides and a flat tip create long, smooth planes, and a long smooth plane is the ideal surface for a reflective finish. Our complete guide to nail shapes covers how each shape changes a manicure’s look, including why the coffin suits long nails and bold color. The trade-off is honest: dark glossy shades show every flaw and every millimeter of regrowth, so long dark nails demand thin, careful application more than any short, pale set would.
Nail Surface Protection Demo: Shop the Look
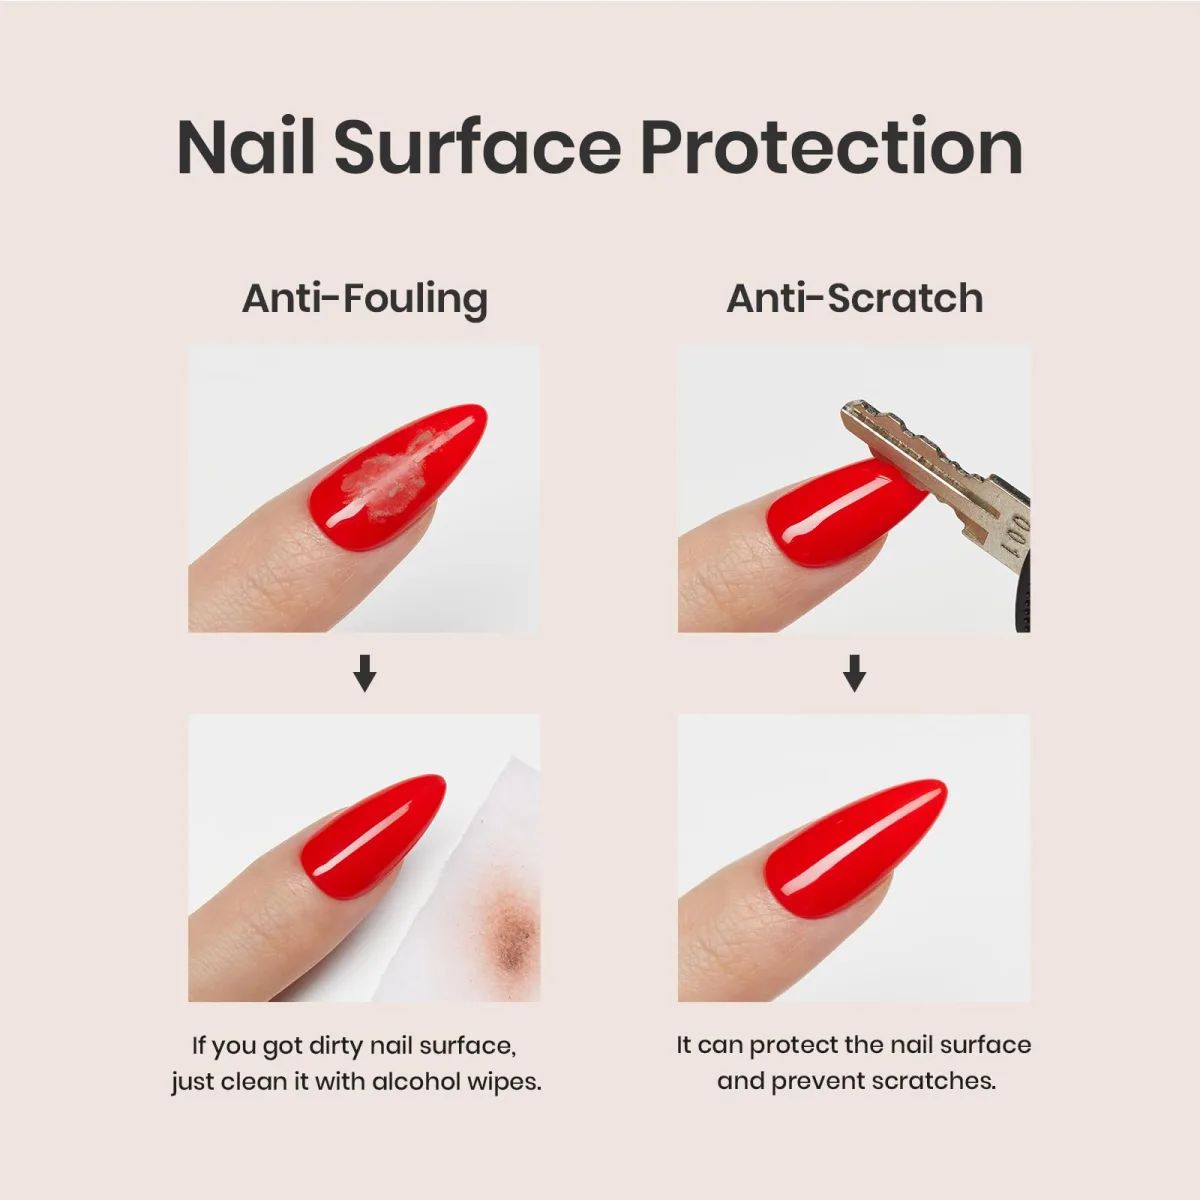
A gel nail top coat earns its protection claims in demos like this. The fourth photo is a before-and-after demo layout headlined Nail Surface Protection. On the left, under the label Anti-Fouling, a red almond nail appears with a brown smudge in the top frame and clean in the bottom frame, next to a used alcohol wipe, with a caption saying a dirty nail surface can simply be cleaned with alcohol wipes. On the right, under Anti-Scratch, a metal key scrapes across a red almond nail up top, while the bottom frame shows the same nail still pristine. Read this photo for what it is: staged brand advertising, not a laboratory test.
What the demo is actually showing
A gel nail top coat protects the surface this demo tests. Strip away the staging and the photo makes two modest points. First, a cured gel surface is non-porous, so surface dirt sits on top of it instead of soaking in, and a wipe with alcohol takes it off. That is the entire anti-fouling story, and it is true of gel in general rather than special to one bottle. Second, a hard cured film resists light scuffing better than bare color would. The words anti-scratch and anti-fouling sound like guarantees, but here they are labels on a marketing graphic, so judge the product by how your own manicure behaves.
Real habits that keep the shine longer
A gel nail top coat lasts longer with these daily habits. If you want the protection this graphic advertises, the habits are unglamorous and they work. Wipe the nail surface with an alcohol pad when it looks dull from hand cream or cooking oils, exactly as the left panel suggests. Wear gloves for cleaning and dishwashing, since harsh chemicals and hot water are harder on a manicure than any key scratch. And cap the free edge with top coat, because the tip is where wear starts and a sealed tip resists it.
Gel Polish Layering Order Infographic: Shop the Look
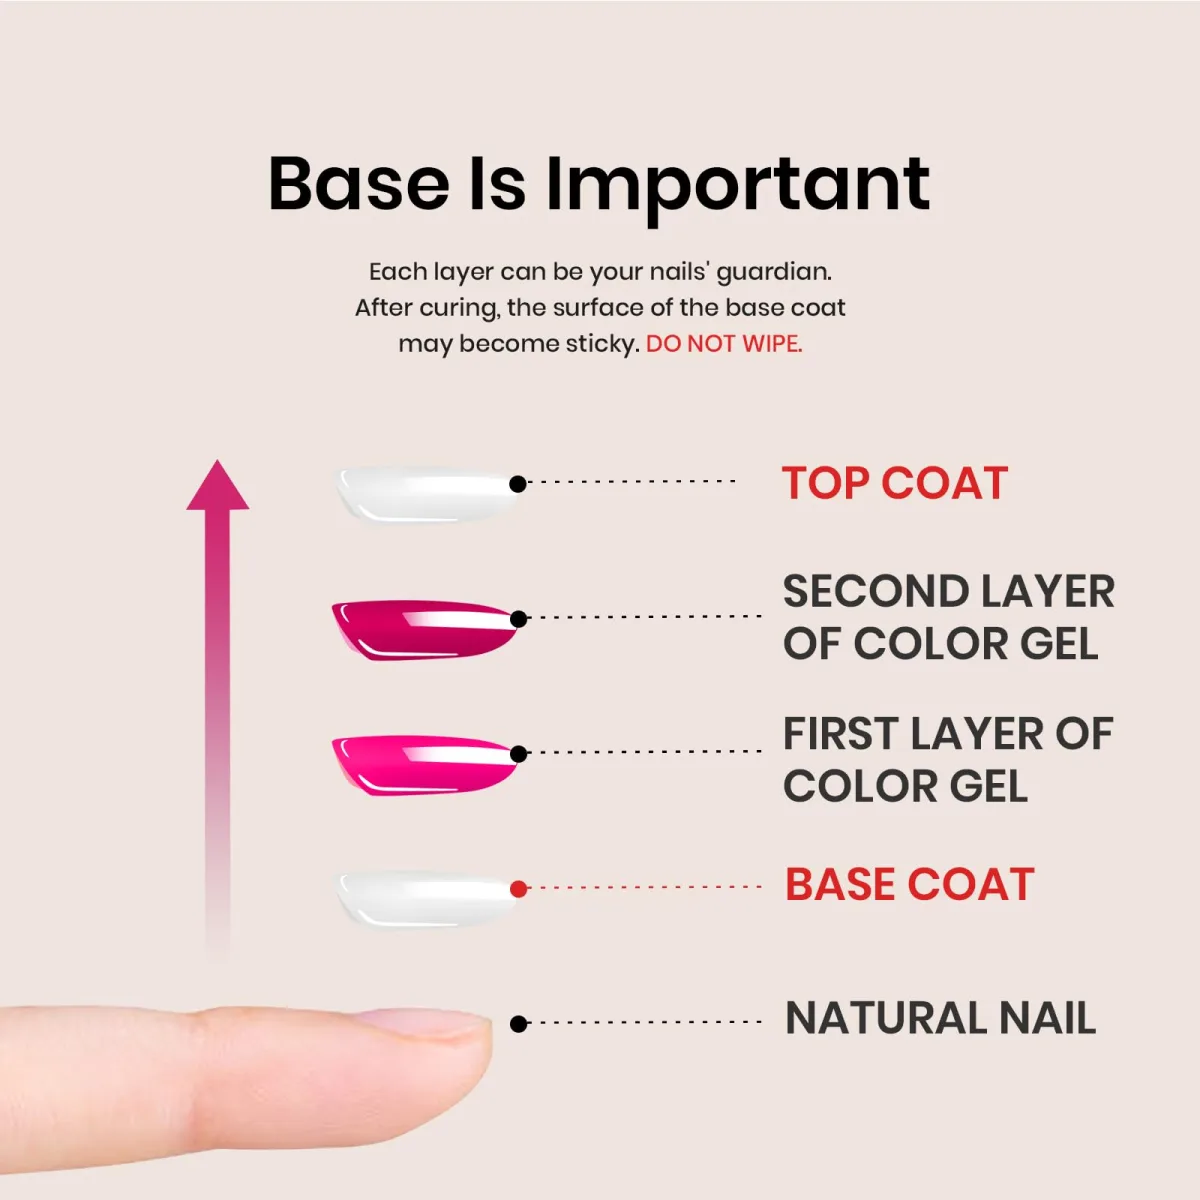
A gel nail top coat sits at the peak of this layer stack. The last photo is an infographic headlined Base Is Important. A pink arrow climbs through a nail cross-section diagram, labeling each layer from bottom to top: the natural nail at the base, then base coat, then the first color gel layer, then the second, then the top coat at the peak. The subtext says each layer can be your nails’ guardian, with one explicit instruction in capital letters: after curing, the base coat surface may become sticky, and you should not wipe it. This is the map of everything the previous four photos showed.
The five-layer stack, bottom to top
Count the layers and the logic becomes clear. The natural nail is the foundation. The base coat bonds to it. Two thin color coats build the shade, because two thin coats cover more evenly than one thick coat and cure more reliably. The top coat seals the stack and supplies the gloss. Every layer is thin, every layer is cured before the next goes on, and the top coat is always last. Our gel curing tips go deeper on getting each of those cures right, since under-cured layers are the quiet cause behind most dull finishes.
Why you do not wipe the sticky base layer
That capitalized instruction deserves attention because it surprises beginners. After curing, the base coat often feels tacky, and the instinct is to wipe it clean. The infographic says not to, and the chemistry agrees: that tacky surface is the inhibition layer, and it is what the next coat grips onto. Note the distinction that confuses people: this no-wipe rule is about the base coat in the middle of the routine, not the top coat at the end. Whether you wipe the final layer depends on your top coat’s formula, as the first section explained.
How to Get a High-Gloss Finish From Your Gel Nail Top Coat
- Start with a smooth foundation. Make sure your color coats are fully cured, then brush away dust and check that the surface is clean and dry. A top coat cannot level over bumps, so the gloss work starts before the bottle opens.
- Float on a thin, even layer. Take a small amount on the brush and glide it over the nail without pressing down. Cover the nail edge to edge and let the gel self-level for a few seconds before it goes under the lamp.
- Cap the free edge. Run the brush lightly along the tip of each nail to seal it. The tip takes the most knocks in daily life, and a sealed tip keeps the gloss intact exactly where wear starts first.
- Cure fully and keep still. Place your hand flat under a UV or LED lamp for the full time your product and lamp specify, and do not move mid-cure. An under-cured spot never fully hardens and will look dull beside the rest.
- Finish without wiping, then oil. A no-wipe formula needs no cleanse after curing. Massage cuticle oil around each nail to keep the surrounding skin from looking dry against the glossy set.
One safety step is worth adding. The American Academy of Dermatology recommends a broad spectrum, water resistant sunscreen with SPF 30 or higher on your hands before a gel manicure, since the polish is sealed using ultraviolet light.
Frequently Asked Questions
What makes a gel nail top coat glossy instead of matte?
The finish is set by the formula. A high-gloss top coat cures into a smooth, clear film that reflects light evenly, which reads as shine. A matte top coat scatters the light instead, giving a velvety surface. Beetles’ own guide presents the two as a straight choice: high gloss for brilliance, matte for a modern flat finish.
Do I need to wipe a no-wipe top coat after curing?
No. A no-wipe formula finishes clean, with no sticky layer left after a full cure. The confusion comes from the base coat, which stays tacky after curing and should not be wiped, because the next layer grips that tackiness. Mid-routine stickiness is for grip; the final layer follows your own bottle’s instructions.
Why does my gel shine go dull after a few days?
Dullness usually comes from the surface, not the product. Hand creams, cooking oils, and cleaning products leave a film on the nails that scatters light. An alcohol-pad wipe restores the gloss in seconds. Gloves for chores and cuticle oil keep the set looking fresher for longer.
Can I skip the base coat and still get a glossy finish?
You can get the gloss, but you may not keep the manicure. Without the adhesion layer, color can lift or peel early, and deep shades can stain the natural nail. One thin base layer and one cure cost almost no time, so skipping it risks the whole set for nothing.
Gloss is the simplest upgrade a gel manicure has: one thin final layer, fully cured, and the color underneath looks deeper for the rest of its wear. Save this guide for your next set, and follow Beautylicious Hub on Pinterest for more shine-focused nail ideas.