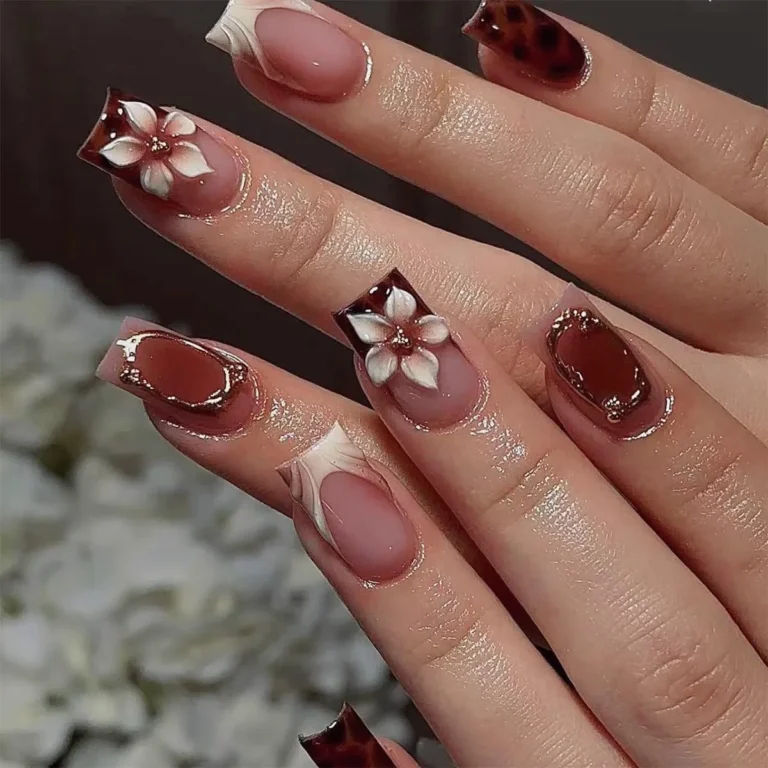
Anti Scratch Finish: Stunning Gel Top Coat Ideas
An anti scratch finish is not a miracle product, it is a set of habits with a top coat at the center. The top coat seals your color, takes the daily knocks so the color underneath does not have to, and decides whether your manicure still looks fresh in its second week or starts chipping at the tips. If your main interest is shine rather than protection, our gel nail top coat guide covers the high gloss angle.
An anti scratch finish ties these photos together. The photos in this post are Beetles ad graphics, and two of them say the quiet part out loud: one shows the top coat itself with its anti scratch pitch printed on it, and another shows a peeling nail with the brand’s own prevention tips. The last three photos show the caramel color gel that a top coat is meant to protect.
Anti-Scratch Clear Top Coat Gel: Shop the Look
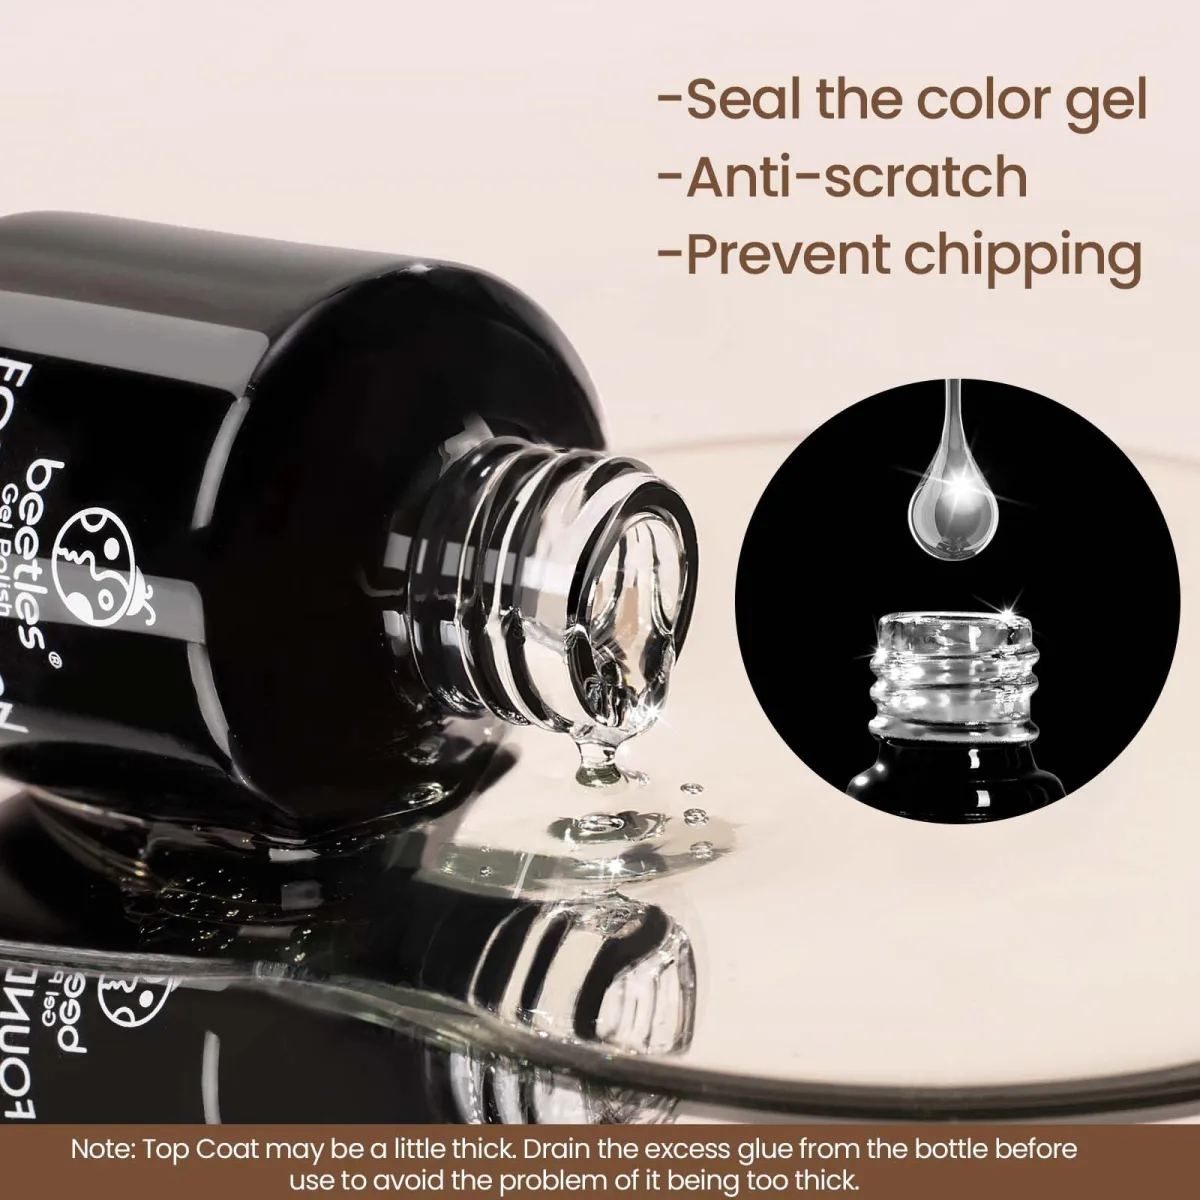
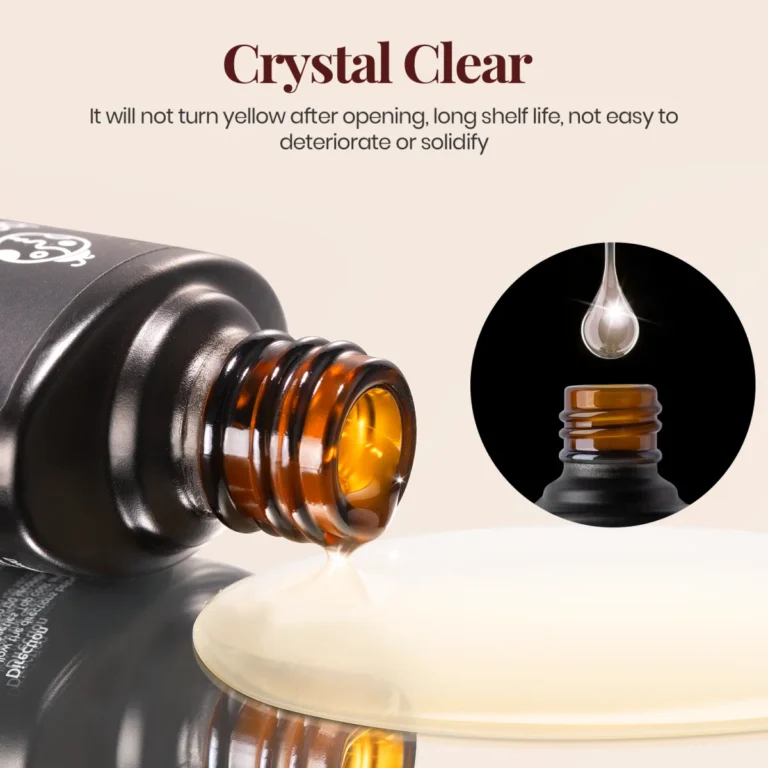
An anti scratch finish is exactly what this photo promises. The first photo is the product, unstyled. A black Beetles bottle lies tilted while clear gel drips from its neck onto a reflective surface, and a circular inset shows a drop of clear gel falling from a brush into the bottle neck against black. Printed on the graphic are the words “Seal the color gel”, “Anti-scratch” and “Prevent chipping”. Read those words for what they are: the brand’s pitch, printed on its own ad. The photo shows you the product and the promise in one frame.
What the photo actually shows
Notice what is dripping: clear gel, not color. A top coat is a transparent sealing layer, the last thing applied and the first thing the world touches. Every scratch lands on the top coat, not your color: that is the entire logic of an anti scratch finish. The photo also quietly demonstrates the product’s texture: the gel falls in a slow, thick ribbon, which tells you this formula runs heavy, and the fine print at the bottom of the graphic addresses that directly.
A thick top coat needs a lighter touch
An anti scratch finish starts with thin coats like this. The bottom of the graphic carries a usage note worth quoting: the top coat may be a little thick, and you should drain the excess gel from the brush before use to avoid problems from it being too thick. This is genuinely good advice, and it matches the brand’s official guidance that the thinner each coat is, the better, because thick gel shrinks and peels during curing. Wipe the brush lightly on the bottle neck, work in one thin pass, and let the product self level for a few seconds before curing. Thin cures fully and flexes with the nail; thick cures unevenly and chips first.
Preventing Gel Nail Peeling: Shop the Look
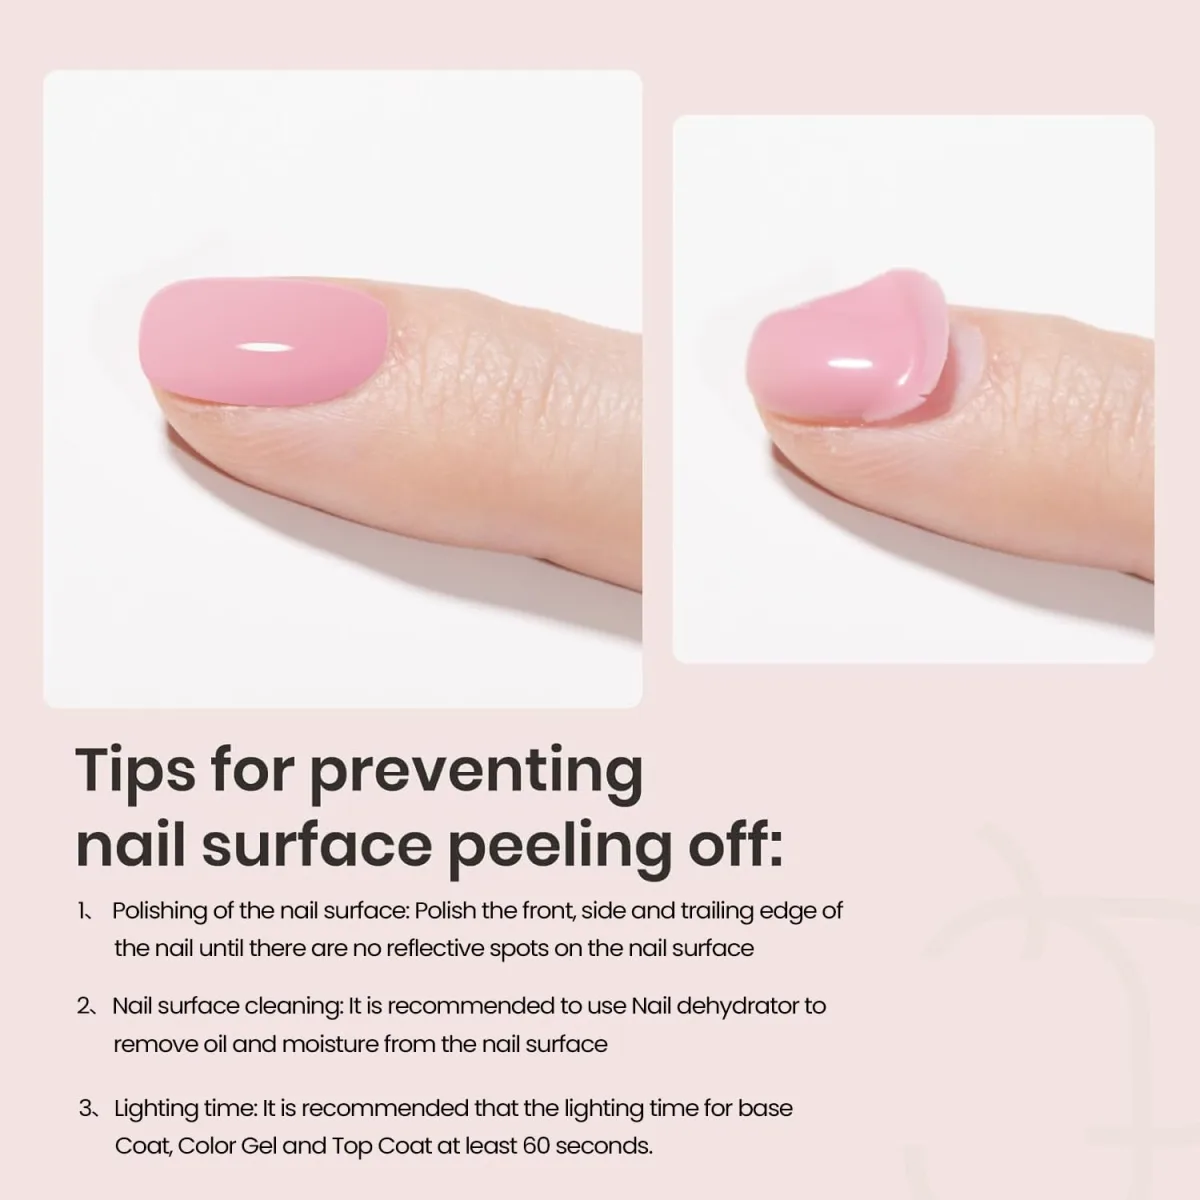
An anti scratch finish is decided in prep, not at the tip. The second photo is the most honest one in the post: two close ups of a short pink glossy nail, one intact and smooth, one with the gel layer visibly peeling and lifting off the free edge. Beside them, the graphic prints three prevention tips. Study this photo before blaming your top coat: the failure usually starts three steps earlier, in prep.
Peeling starts at the free edge
An anti scratch finish lives or dies at the free edge. Look at where the gel is lifting: the tip. That is where every peel begins, because the free edge is where nails take impact and where an unsealed edge lets moisture creep under the gel. The fix is capping the free edge: a small amount of product over the very tip at every layer, so the whole manicure is wrapped shut. Anti chip guides call this the single most effective step against chips, and the photo is the visual proof of why. The intact nail on the left has a sealed, closed edge. The peeling nail on the right does not.
Three prep habits printed on the graphic
The graphic’s three tips are solid, and worth expanding. First, buff the front, side and trailing edge of the nail until no reflective spots remain. Shiny spots are smooth spots, and gel needs a slightly roughened surface to grip. Second, clean the nail surface with a nail dehydrator to remove oil and moisture. Skin oils are the invisible reason gel lifts.
Third, cure each layer, base coat, color gel and top coat, for at least 60 seconds. The graphic calls it “lighting time”, the brand’s wording for cure time, and it lines up with the brand’s official page. Under cured layers stay soft underneath and peel early, so treat the timer as part of the product, not an optional extra. Our gel curing tips cover lamp timing in more depth.
Beyonce Caramel Color Gel Bottle: Shop the Look
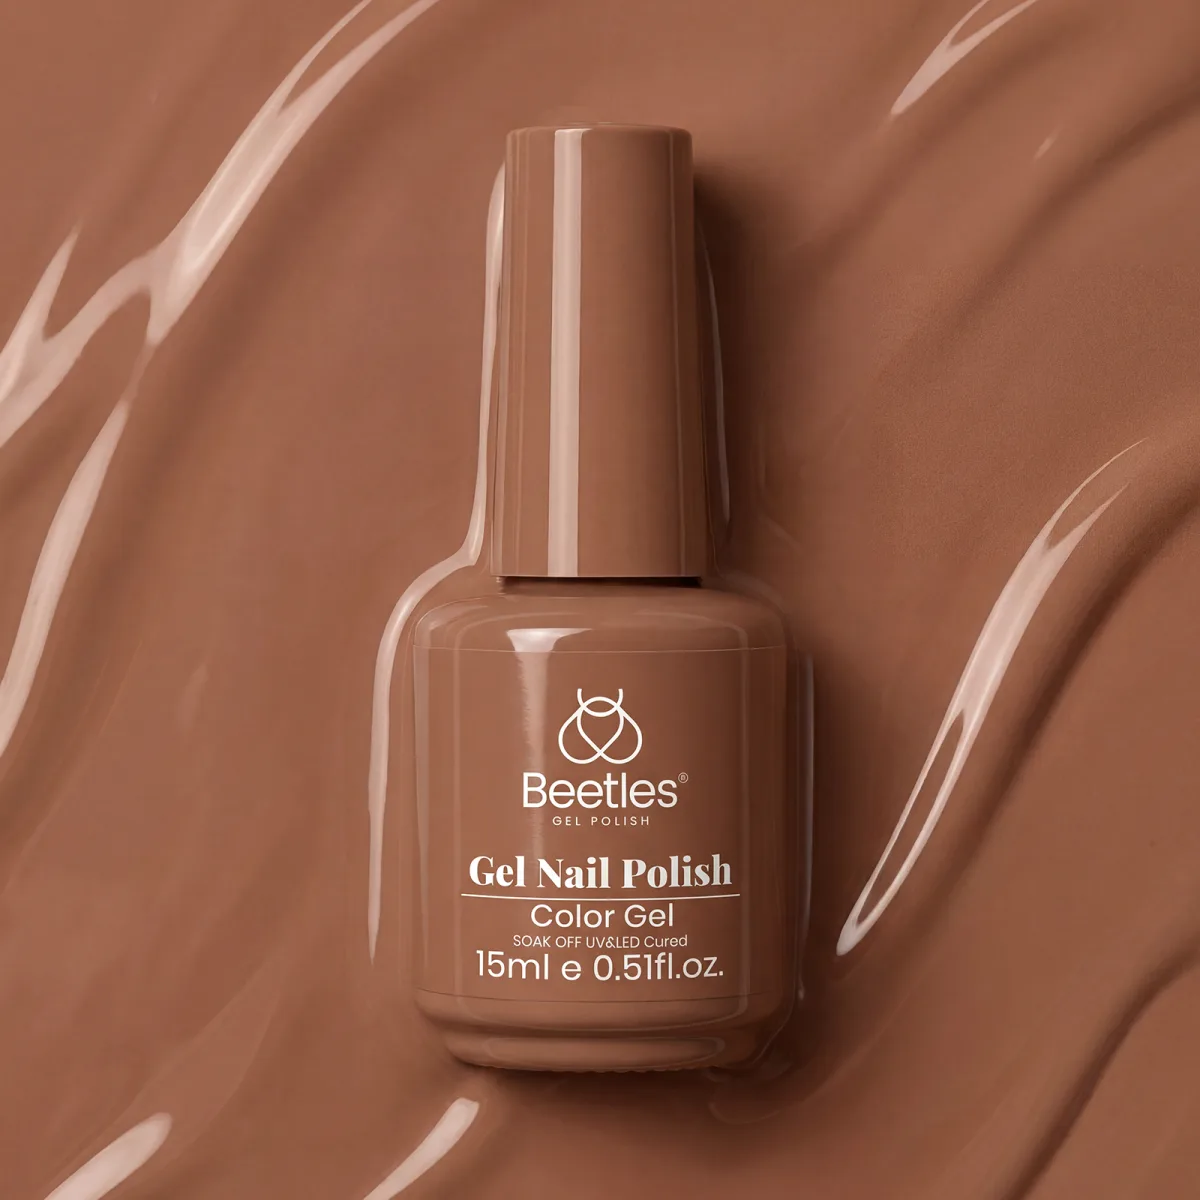
The third photo switches products, and honesty requires saying so: this is a color gel, not a top coat. A caramel brown Beetles bottle labeled Gel Nail Polish, Color Gel stands centered on a background of glossy caramel gel swirls. No hands, no nails, no ad text beyond the label. It belongs in this post because an anti scratch finish only exists in relation to something worth protecting. This bottle is that something: the color coat your top coat seals.
The color coat your top coat protects
An anti scratch finish is the armor over this color. Think of the manicure as layers with jobs. The base coat grips the nail. The color coat, this bottle, provides the color you actually see. The top coat armors all of it. Scratches and chips attack from the outside in, which means they meet the top coat first, and a good seal keeps them from ever reaching the color. That is why the order of the photos tells the real story: product, prevention, then the color being protected. If you want the full caramel look built from this exact shade, our caramel gel polish post covers five ideas with it, from glitter accents to marble.
Sealing deep color has a quiet bonus
An anti scratch finish pays off most on deep colors. There is a practical reason color like this caramel benefits most from careful sealing. Deep, pigmented shades show every flaw: a chip in a dark color reveals pale nail underneath in a way a chip in a sheer nude never does. So the sealing habits in this post, thin coats, capped edges, full cures, pay off visibly more on rich colors. The swirl background shows the goal: glossy, unbroken caramel, which the top coat keeps looking that way. Protect the color well and the color returns the favor by hiding regrowth and small wear far better than pale shades do.
Short Oval Caramel Gel Nails: Shop the Look
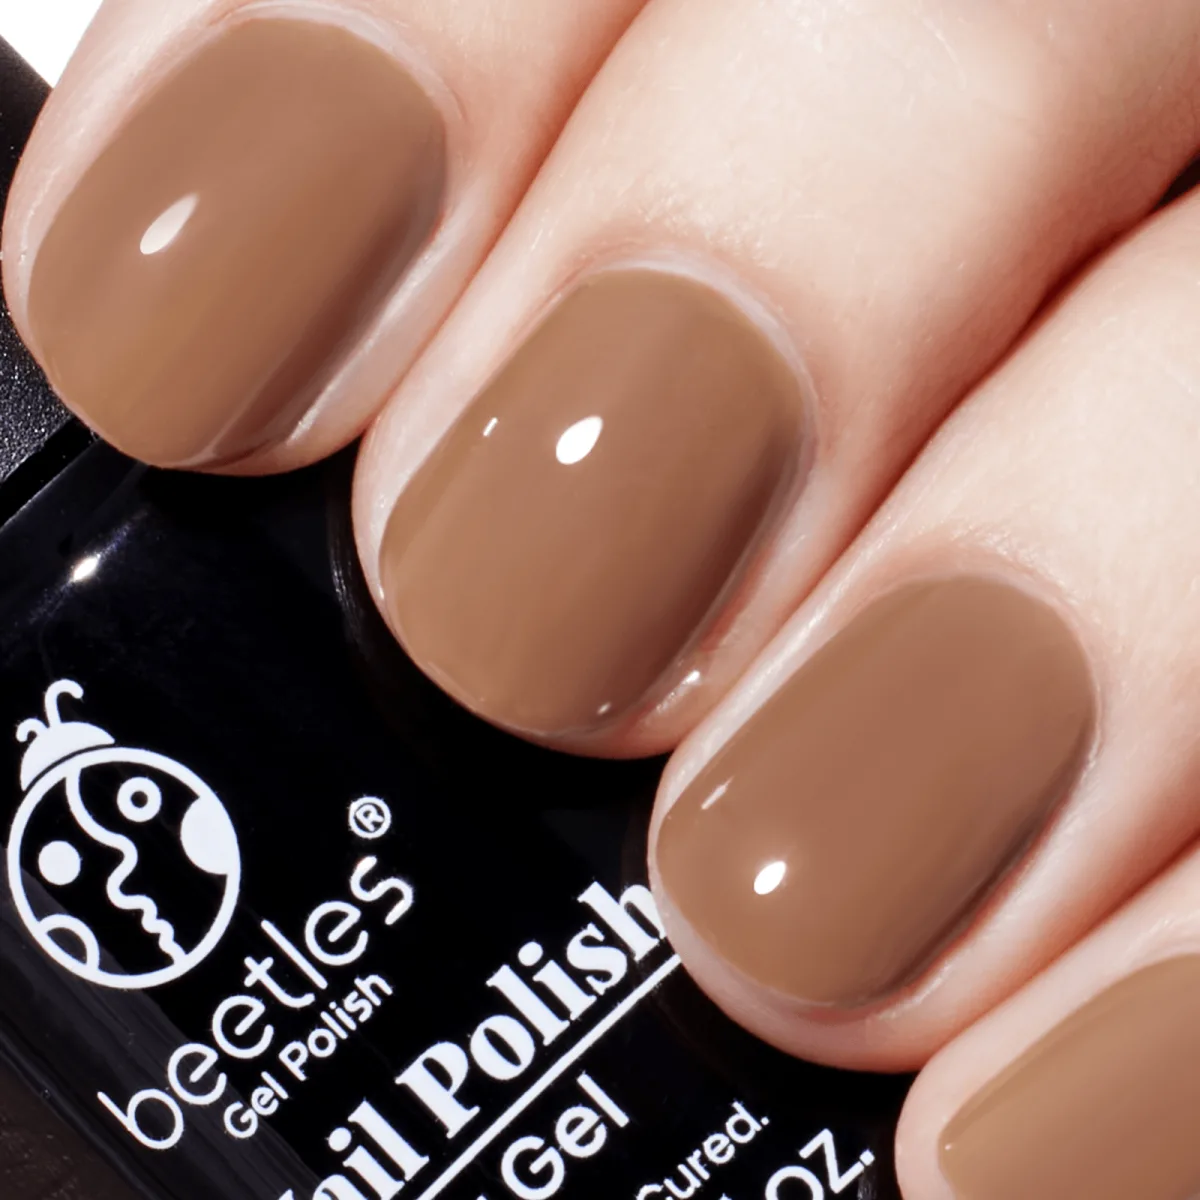
An anti scratch finish looks like this when it leaves the lamp. The fourth photo shows the payoff: three fingers with short oval nails in glossy caramel brown, resting next to a black Beetles bottle, light reflections moving across the surface. This is what a properly sealed color coat looks like when it leaves the lamp: smooth, reflective, edges closed. Short nails like these are also the easiest length to keep scratch free, which makes them the right example for this post’s angle.
Short nails take fewer hits
Length is leverage. Long nails catch on keyboards, bags and packaging, and every catch is a potential chip or scratch. Short oval nails keep the free edge close to the fingertip, so impacts land softer and the sealed edge stays sealed. Long nails can last too, but short nails start with an advantage you do not have to work for. If you love the glossy caramel finish here but prefer a different look, a matte top coat gives the same protected seal with a velvety finish that shows fine scratches less obviously than high gloss.
Daily habits do what the bottle cannot
An anti scratch finish survives on daily habits like these. A top coat protects against accidents, not against routine abuse, so the days between manicures matter as much as the application. Wear gloves for dishes, cleaning and gardening, since detergents and chemicals break gel down over time. Stop using your nails as tools for opening cans or scraping; that is the fastest route to a chipped edge. Type and tap with the pads of your fingers rather than the tips. And massage cuticle oil in daily: it keeps the skin around the nails flexible, and dry, cracking cuticles are what make a sealed edge start lifting.
Beyonce Caramel Gel Polish Shade: Shop the Look
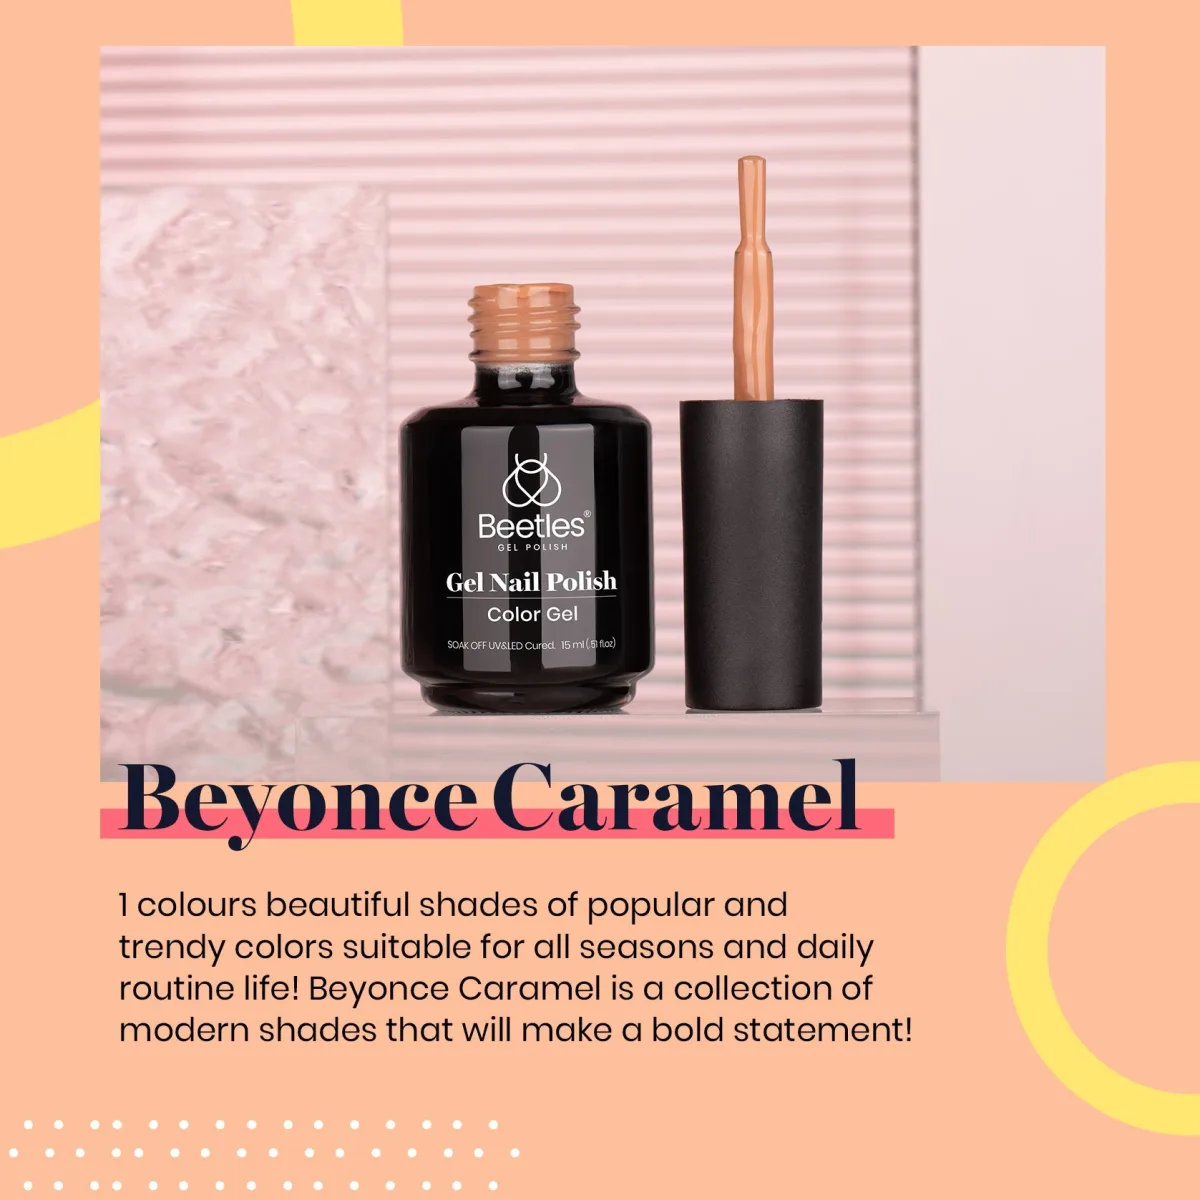
An anti scratch finish is decided at the brush. The last photo returns to the color gel: an open black Beetles bottle with its brush cap beside it, the brush carrying caramel polish, against a pink ribbed backdrop with yellow arcs. The headline reads Beyonce Caramel. It is a product beauty shot, and the useful detail is not the styling but the brush, because the brush is where thick or thin application is decided.
The open bottle, up close
The label reads Gel Nail Polish, Color Gel, SOAK OFF UV and LED Cured, 15 ml, the same practical facts as the earlier bottle photo: a soak off color gel that cures under light, in the warm brown shade called Beyonce Caramel. The open bottle shows the polish at working consistency, and the brush bristles are visibly loaded with product. That loaded brush is exactly what the first photo’s fine print warned about with the top coat: too much product on the brush becomes too thick a layer on the nail. The fix is the same for color and top coat alike. Wipe, then paint.
Watch the brush, not the bottle
Beginners watch the bottle, choosing shades. Experienced home users watch the brush, controlling load. A brush carrying the right amount of gel lays down a thin, even coat that cures fully and bonds properly. A overloaded brush lays down a thick coat that looks rich in the bottle’s glow but shrinks, wrinkles or peels after curing. Before every stroke, wipe the excess on the neck, paint in thin passes, and cure each layer for the time your brand and lamp specify. The shade on the label gets the compliments. The discipline on the brush keeps them coming.
How to Seal Gel Nails Against Scratches
- Prep for grip. File your shape, push cuticles back, buff the nail surface until no shiny spots remain, and dehydrate away oil and moisture so the gel has something to hold.
- Apply a thin base coat, capping the free edge, and cure for the time your brand and lamp specify.
- Apply color in thin coats, capping the free edge at each layer and curing fully between coats.
- Finish with a thin top coat. Drain excess from the brush first, apply one smooth pass, cap the free edge again, and cure for the full recommended time.
- Maintain daily. Wear gloves for wet work and cleaning, use the pads of your fingers instead of your nail tips, and massage cuticle oil around each nail every day.
One safety step is worth adding. The American Academy of Dermatology recommends a broad spectrum, water resistant sunscreen with SPF 30 or higher on your hands before a gel manicure, since the polish is sealed using ultraviolet light.
Frequently Asked Questions
What does an anti scratch finish actually do?
It adds a hard, transparent sealing layer over your color that takes daily knocks so the color underneath does not have to. What it cannot do is compensate for bad prep: gel applied over oily, unbuffed nails or cured too briefly will peel regardless of the top coat.
Why is my gel top coat so thick?
Some top coat formulas are simply made thicker, and the Beetles graphic in this post says so itself, advising you to drain excess gel from the brush before use. Wipe the brush on the bottle neck, apply one thin pass, and give it a few seconds to self level before curing. Thin is the setting that lasts.
Why does my gel keep peeling off at the tips?
Peeling at the free edge almost always traces back to one of four causes: the nail was not buffed enough to give the gel grip, oil or moisture was left on the surface, the free edge was never capped at each layer, or a layer was under cured. The photo’s three printed tips, buff fully, dehydrate, cure at least 60 seconds per layer, are the fix; check all four causes before blaming the product.
How do I keep my manicure looking good between sets?
Daily habits decide the second week. Wear gloves for dishes and cleaning, avoid harsh chemicals on bare nails, use your fingertip pads instead of your nail tips, and oil your cuticles every day so the sealed edges stay flexible. When regrowth shows, soak the set off with remover and foil rather than peeling.
Pick the habits that fit your routine, save the checklist, and follow Beautylicious Hub on Pinterest for more nail ideas like these.