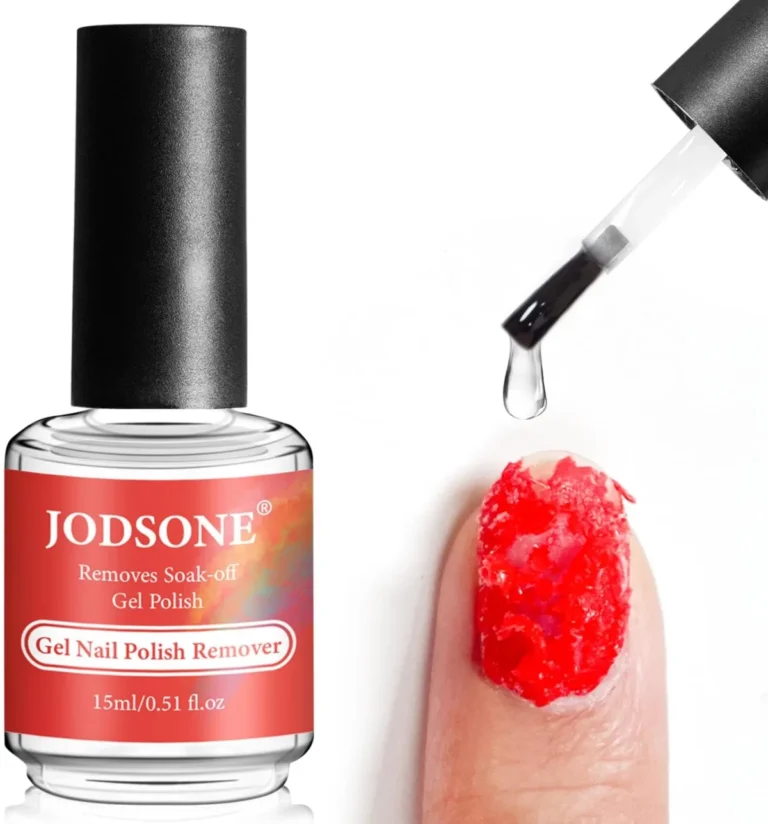
Clear Nail Extension Ideas: Tips, Ombre & Teal Looks
Clear nail extension ideas ask more of everything underneath them. Colour can hide a rushed base; transparency cannot, which is why most of the photos in this post are not finished manicures. They are the building blocks of the clear look, in the order you meet them: the glue that bonds a clear tip, the one finished set (a rainbow ombre), the box of clear almond tips, a single teal colour gel, and the full kit. For the construction method in depth, our Clear Poly Gel Nail Extension guide walks through building with poly gel step by step. This post stays with the looks, and with keeping them genuinely clear.
The Bond Underneath: Nail Glue for Clear Tips: Shop the Look
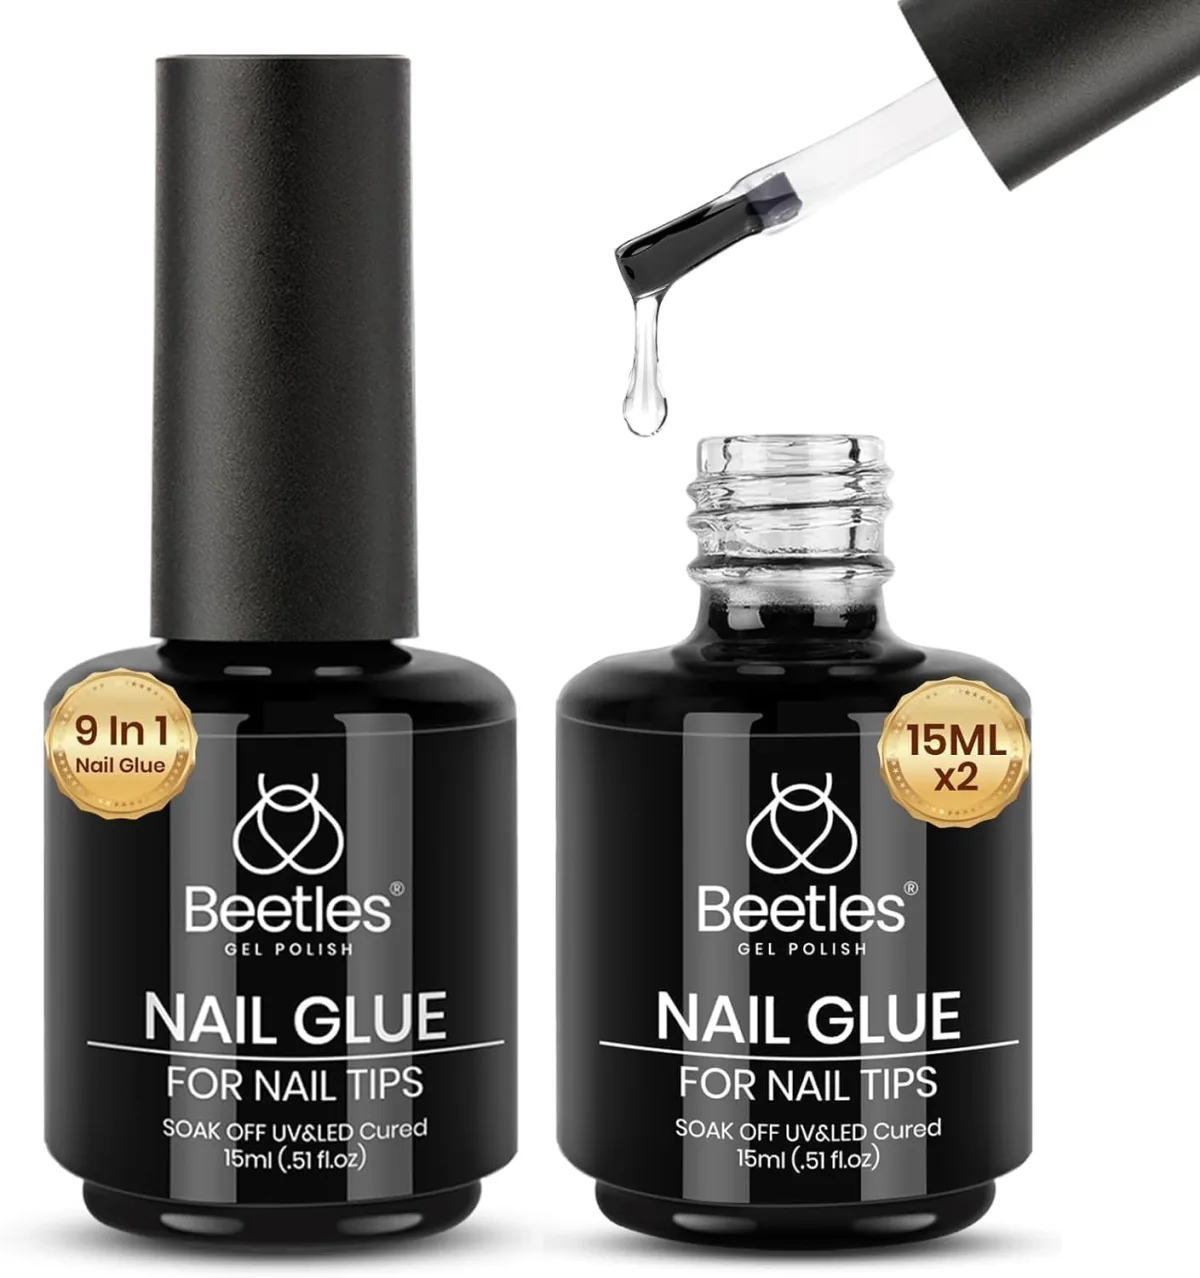
The first photo shows two black 15 ml bottles of Beetles 9 in 1 nail glue for nail tips, one open, a drop of clear glue falling from its brush. It is the least glamorous photo in this post, and the most important one. The glue layer hides under colour on an opaque set; on a clear tip it stays part of what you see, so the quality of the bond decides how clear the finished extension looks. Clear nail extension ideas depend on that bond, because no opaque colour is there to hide a weak glue line.
Why the glue line decides a clear look
A slightly uneven glue layer disappears under an opaque polish. Under a transparent tip it shows up as shadows, pale patches or tiny bubbles between the tip and the natural nail. Air is the main enemy: a bubble sealed under clear material catches the light, and no top coat can polish it away. Dust or moisture trapped at the bond shows too, and weakens the hold. A clean, dry, prepped nail plate therefore matters twice as much when the look is see through. Clear nail extension ideas fail most often at this hidden layer, so checking the bond in good light is worth the extra minute.
Laying glue so no air gets trapped
Work in a thin, even film, not a blob in the centre. Set the tip on at a slight angle from the cuticle end and press slowly toward the free edge, so air is pushed out ahead of the contact line, not sealed under it. Hold it steady while the glue sets or cures, following your product’s timing, and wipe away squeeze out at the sides before it hardens: a cured ridge beside a clear tip shows as a bright line.
If a tip rocks or a corner lifts, remove it and start that nail again rather than adding more glue on top. Clear nail extension ideas reward this slow, angled press, since trapped air shows up at once under a transparent tip.
Rainbow Ombre Tips Melting Out of a Clear Base: Shop the Look
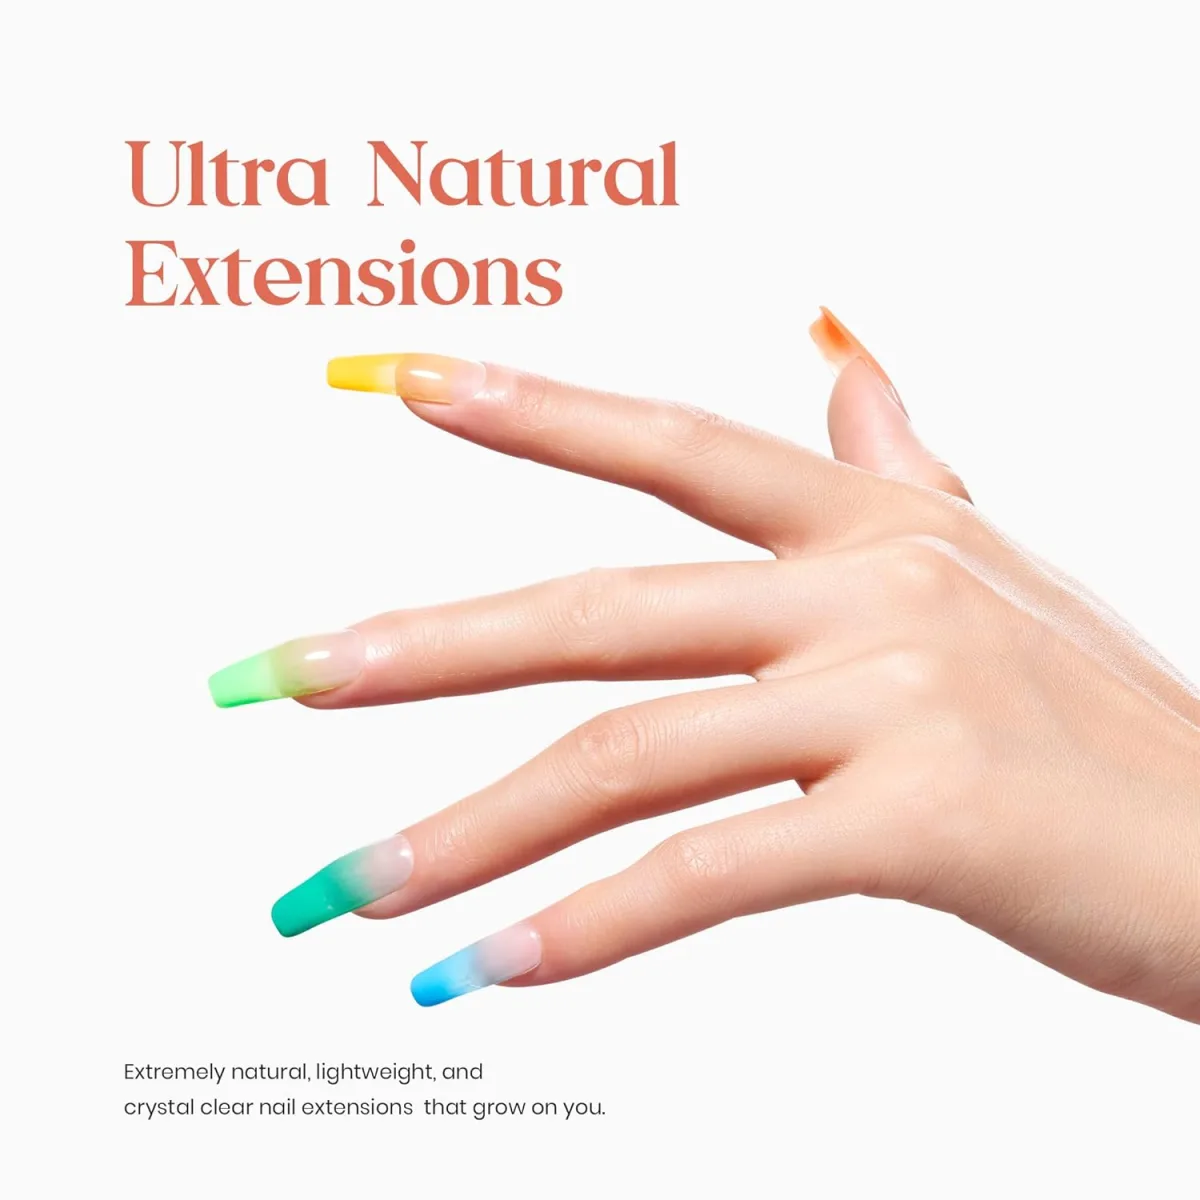
This is the only finished manicure in the post, and it earns its place. Long square extensions, glossy from cuticle to tip, start clear at the base and melt into a different saturated colour on every nail: yellow on the index finger, lime green on the middle finger, teal on the ring finger, sky blue on the little finger and orange on the thumb. The advertisement behind the photo calls them ultra natural extensions, which sounds odd for rainbow tips, until you notice the natural part is the clear cuticle zone, not the colours. Clear nail extension ideas can still feel natural when the clear cuticle zone stays visible, even under bold colour.
Five colours, one clear thread
Five unrelated brights should clash. They hold together here because every nail shares the same clear start, the same fade point and the same glossy finish, so the eye reads one set with five endings, not five separate designs. The shared transparency does the organising and softens each colour too: light passes through the translucent fades instead of stopping at an opaque surface, so the brights look juicy, not flat. Keep the fades at one height on every nail and the set stays deliberate, however bold the colours get. Clear nail extension ideas hold bold sets together this way, because one shared transparent start ties every colour to the rest.
Why the long square shape carries a melt
A colour melt needs distance to travel, and the long square shape gives it the longest, straightest canvas available. Its parallel sides keep the fade even from edge to edge, so the blend reads as a smooth melt, not a diagonal smear. Square tips show transparency honestly too: hold this set against the light and the coloured ends glow. And because the cuticle area stays clear, the regrowth gap that gives an older set away is far less visible than under a hard line of colour. Clear nail extension ideas suit this shape well, since the long straight edge gives a fade room to travel evenly.
The Clear Canvas: Almond Stiletto Tips in Every Size: Shop the Look
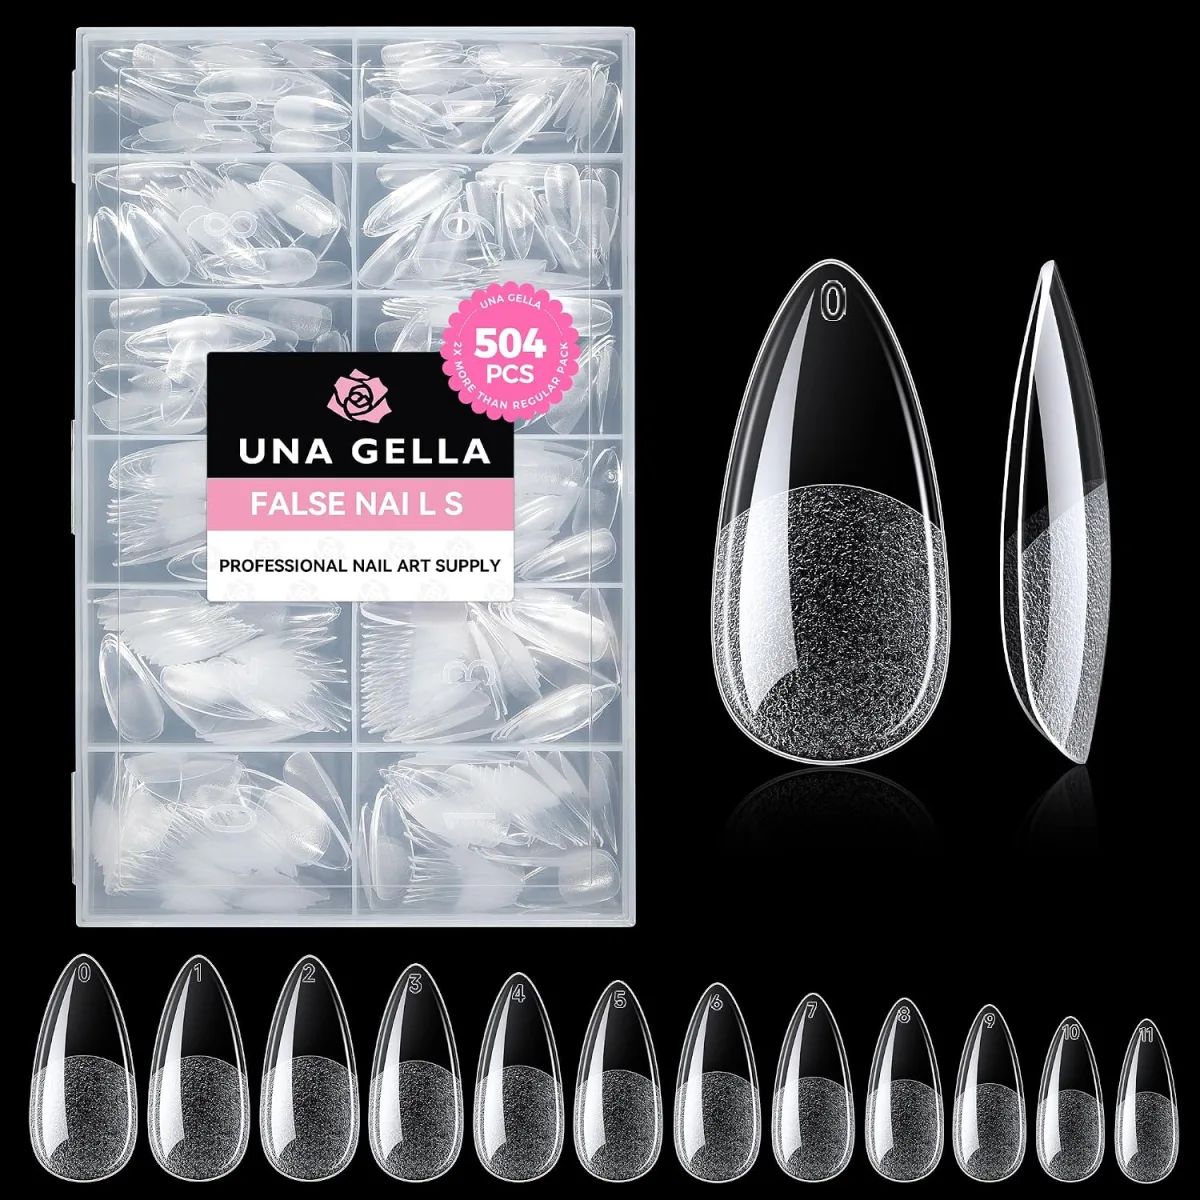
The third photo is the raw material: a box of UNA GELLA clear false nail tips, 504 pieces, in an almond stiletto shape. Each tip is built in two zones. The base half, which sits over your own nail, is frosted and matte. The free end is fully transparent and glossy. The packaging lays out the size run, numbered 0 to 11, because the box only works if every natural nail finds its match. Clear nail extension ideas start with this kind of raw material, where the frosted base and clear end do different jobs.
Sizing is the invisible half of the look
Fit is the part of a clear look that nobody photographs. A tip that is too narrow leaves the sides of the natural nail exposed and stresses the bond at the edges. A tip that is too wide overlaps the skin, lifts early, and its edges stay visible through the clear as pale lines. The right size covers the nail from sidewall to sidewall without force.
If a nail falls between two sizes, take the larger tip and file its sides to fit rather than squeezing a smaller one on: a forced tip springs back toward its own curve and fights the glue while worn. Clear nail extension ideas depend on fit as much as colour, because a wrong size shows through the clear tip at once.
Frosted base, glossy tip: two finishes, two jobs
The two finishes on one tip are not decoration. The frosted base imitates the soft surface of a natural nail bed, so once the tip is glued on, the join and glue layer fade into something that reads as your own nail. The glossy clear end is the display window, where an ombre fade, a white French tip or a single strong colour shows at full brightness. Same clear material, two different jobs, and the split between them is what lets a glued on tip pass as an extension rather than a sticker. Clear nail extension ideas use this split finish on purpose, so the glued join reads as a natural nail bed.
One Deep Teal Over a Clear Base: Shop the Look
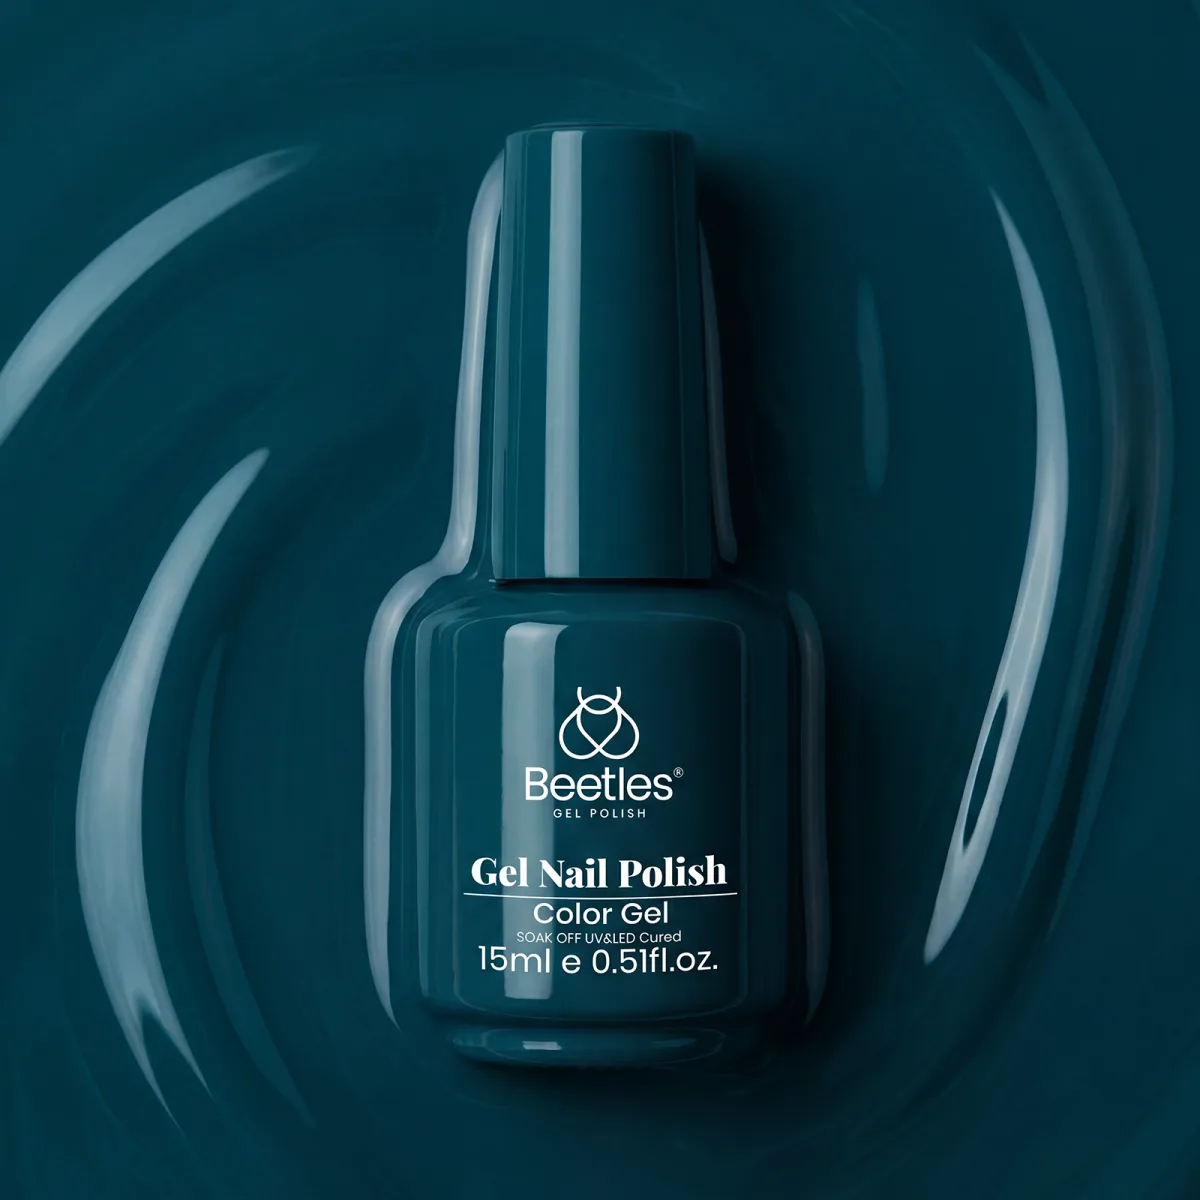
After the rainbow set, this photo is a study in restraint: one bottle of Beetles gel nail polish, 15 ml, in a deep teal, photographed against a swirl of the same teal gel. No shade name is printed on it, so judge it by the swirl: a dark blue green, saturated and glossy. Worn over a clear extension, a single colour like this stops behaving like a coating and starts behaving like tinted glass: dark at the centre, lighter at the edges where the clear tip shows through. Clear nail extension ideas can be as simple as one strong colour over a clear base, letting the glass effect do the work.
Teal over clear reads as tinted glass
Teal is a useful middle colour. It has the depth of a dark polish and the brightness of a jewel tone, so it suits more settings than a flat navy or black, and on a clear base it keeps a freshness the same shade loses over opaque white tips, where it can look heavy. Wear it plain, with the gloss doing the talking, and it crosses from daytime to evening without a change. For one variation, leave a single nail clear among the teal: the contrast sharpens both. Clear nail extension ideas gain freshness from this approach, because the clear base stops a deep shade looking heavy.
Thin layers keep a deep shade bright
Deep colours punish thick application. The poly gel manuals make the point through curing: clear gel needs the shortest cure, pigmented gel noticeably longer, because light has to fight through the colour. Thick, undercured teal turns dull and can wrinkle. Work in thin layers, cure each fully, and build depth gradually: two or three thin passes give a brighter, cleaner teal than one thick pass, and the clear base keeps it luminous rather than flat. Clear nail extension ideas stay bright when colour is built in thin, fully cured passes over the clear base.
The Kit Behind the Looks: A Whole Colour Library: Shop the Look
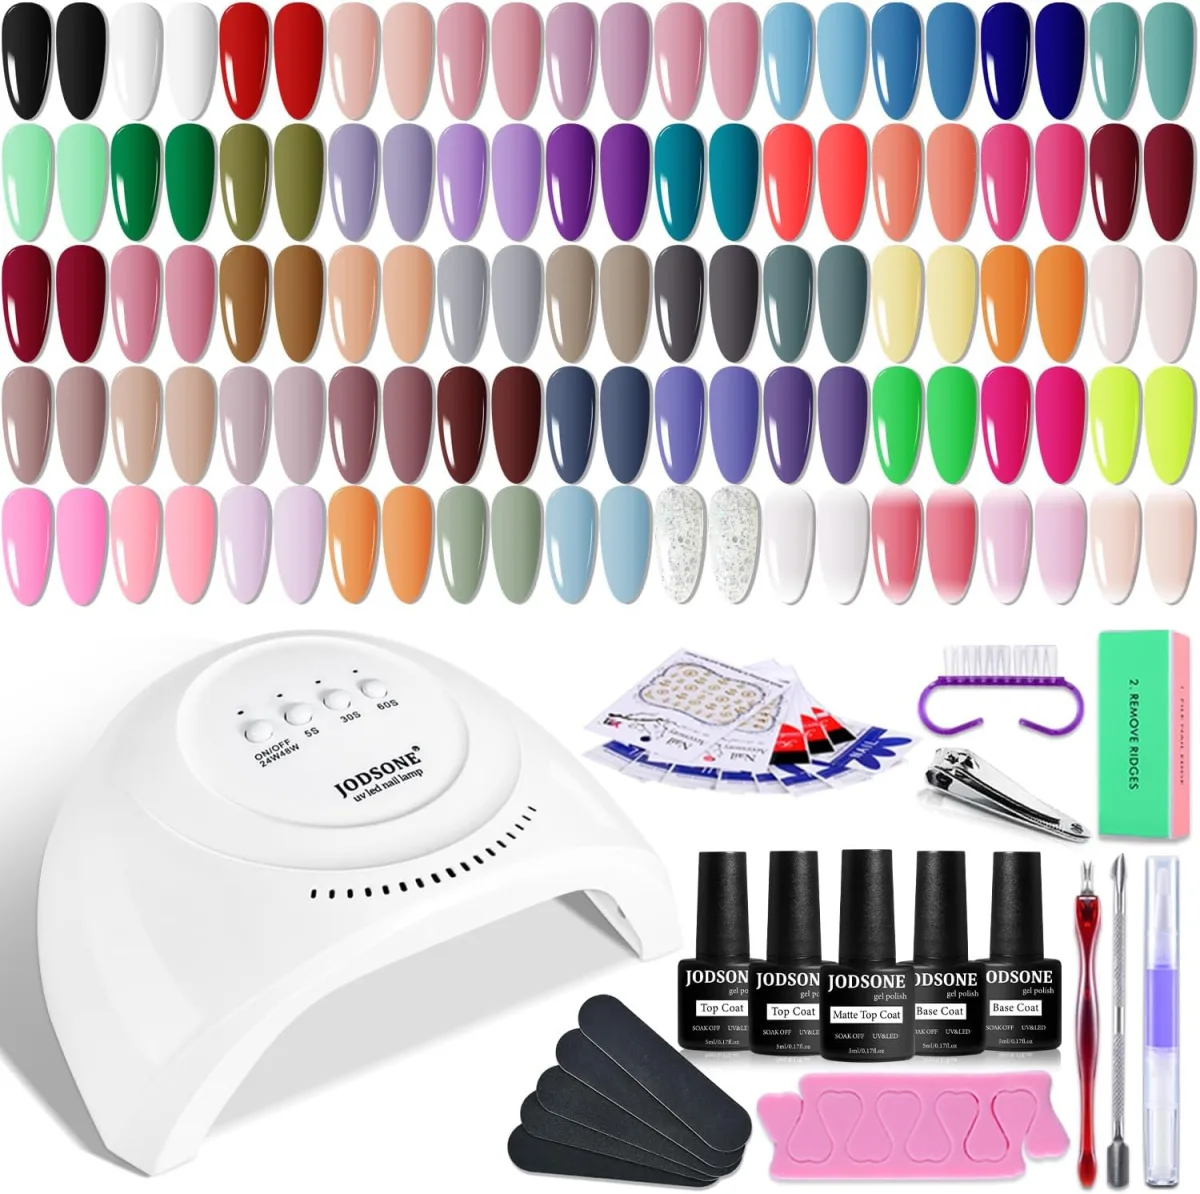
The last photo is a full kit laid out flat, and it explains where every look in this post comes from. Across the top sit rows of almond shaped swatch tips, 110 of them, showing the colour library: cremes, glitters and ombre fades. Below them sit a JODSONE UV LED lamp, five small bottles (base coat, glossy top coat, matte top coat), plus stickers, a brush, a clipper, a buffer, files, toe separators and cuticle tools. Nothing here is a finished manicure. It is the workshop the manicures are built in. Clear nail extension ideas come from a workshop like this, where swatch tips and tools are ready before any set begins.
Test on the swatch tips before you commit
The swatch tips are the most useful part of a kit like this for clear looks. A colour that seems perfect in the bottle can turn muddy or overpowering over a transparent base, so paint it on a swatch tip first and hold it against your nail. You see the true shade, its opacity and how it behaves inside a fade, before anything touches your hands. Test finishes the same way: one colour under glossy and matte top coat behaves like two colours, and the finish also changes how much light a clear nail lets through.
Matte or glossy: the finish is a design decision
That top coat choice is the last design decision on any clear set. A glossy top coat is the glass choice: it deepens colour, sharpens transparency and gives the lit from inside effect the ombre set relies on. A matte top coat turns the same clear extension frosted, like sea glass, and quiets bright colours down. The base never changes, which is the real advantage of building in clear. An ombre this week, one teal the next, a French tip after that: the structure is built once, only the surface gets redecorated.
Clear Nail Extension Ideas: How to Build a Clear Poly Gel Extension That Stays Clear
These steps follow the poly gel makers’ own manuals, focused on clarity. Our crystal clear glossy manicure ideas go deeper on protecting the shine itself.
- Prep for adhesion and clarity. Push the cuticles back, buff the shine off the natural nail, then wipe the plate clean with nail cleanser or 70 to 75 percent isopropyl alcohol. Oil or dust shows through clear gel and weakens the bond, so this step matters twice here.
- Apply a thin base coat and cure it. If your system includes a dehydrator or primer, it goes on before the base coat.
- Choose a dual form that fits, place clear poly gel inside it, and spread it with a brush dipped in slip solution or alcohol. Keep the brush damp, not dripping, and leave enough thickness at the stress points near the sides, where extensions crack.
- Press the form on gently, pushing trapped air out instead of sealing it in as bubbles. Cure for the time your brand specifies, the underside as well as the top.
- Ease the form off, then file and shape. Hold the nail up to the light and check it now: bubbles or cloudy patches are easier to fix before colour goes on.
- Add colour or art, or leave the set clear, then seal with top coat and cure again. The American Academy of Dermatology advises broad spectrum, water resistant SPF 30 sunscreen on your hands before lamp curing; our step by step nail care routine covers keeping natural nails healthy under extensions.
Frequently Asked Questions
Why does my clear poly gel look cloudy instead of clear?
Air bubbles sealed in during application show as white specks, so press the dual form on gently. An undercured centre turns milky, so give clear gel its full cure, top and underside. The tacky residue left after curing dulls the surface, so wipe it away with cleanser or alcohol.
Can I wear French tips on clear extensions?
Yes, and a clear base is one of the best foundations for them. Build and cure the clear extension, or glue on a clear tip, shape it, then paint the white or pastel tip over the transparent end. The smile line stays sharp against the glassy base, and the natural nail showing through keeps it light.
Can I change the colour without removing the clear extension?
Usually, yes. The gel colour sits on top of the cured clear build, so it can be filed back to the clear layer and replaced. Work gently near the base; if the extension is lifting, cracked or grown out, rebuild it rather than layering colour over damage.
How is removing poly gel different from removing gel polish?
Poly gel does not soak off cleanly like gel polish. Clip the length down, file the bulk away with a coarse file, then switch to a finer file or buffer near the natural nail, stopping before you reach it. A thin remaining layer softens with acetone wraps for 15 to 20 minutes. Never pry or peel a set off; finish with cuticle oil.
Build the clear base once and let the colour do the changing. Follow Beautylicious Hub on Pinterest for more clear extension ideas.