Blue Gel Polish Ideas for Stunning At-Home Manicures
Blue gel polish is not one colour. It runs from pale sky shades through royal blue to deep teal and navy, and each depth behaves like a different manicure. The five photos here cover that family three ways: the shade itself, the kit and layers behind it, and two finished sets.
Look 1: Christina Aegean, a Dusty Teal-Blue in Liquid Form: Shop the Look

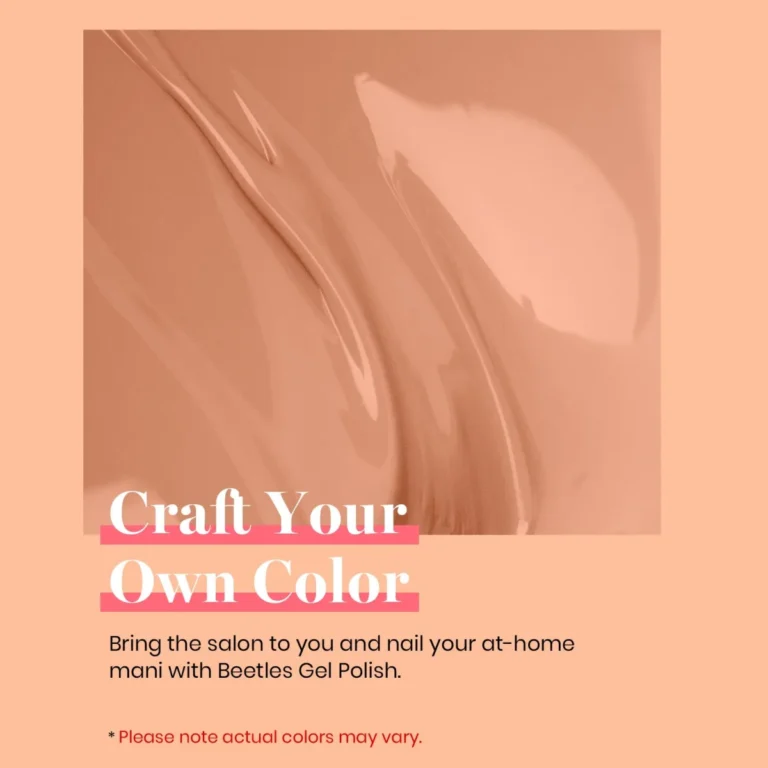
This post starts with the polish itself rather than a finished set. The photo is a close-up of the gel swirled in liquid form, and the shade, named Christina Aegean in the image, is a muted dusty teal-blue, closer to slate than to a bright royal blue. Judging a shade like this in liquid form matters, because dusty shades can look softer in the bottle than they cure on the nail. Blue gel polish in this muted tone suits short nails as well as long ones, since the colour reads calm rather than loud.
Where this shade sits among the blues
Shade guides group the blue family by depth, and depth changes the mood completely. Sky blue and cerulean sit at the light, calm end. Royal blue is the bright, saturated middle. Teal and petrol blues add a green leaning depth, and navy closes the range as the most formal option. This Aegean shade belongs to the teal half of the family: muted, greyed, and calmer than a jewel toned blue. It also tends to cover evenly, since mid depth shades usually reach full colour in two thin coats, while pale blues may need a third. Blue gel polish at this depth also pairs easily with silver jewellery, since the muted tone does not compete with it.
Who should start with this shade
Start here if you want one strong colour instead of nail art. A single muted shade needs no design skill, only neat application, and the greyed tone flatters most skin tones because it never shouts. It pairs naturally with silver jewellery, white shirts and denim, and it works across seasons.
On shorter nails a dusty shade like this reads tidy and modern. On very long nails it covers a bigger area, so the colour becomes the whole statement. If your taste runs brighter, treat this swatch as the quiet end of the range and work toward royal or sky. Blue gel polish is a forgiving first choice here, because a single muted shade hides small application slips better than a bright colour.
Look 2: The Beetles Kit Flat-Lay, and How to Start Without Wasting It: Shop the Look
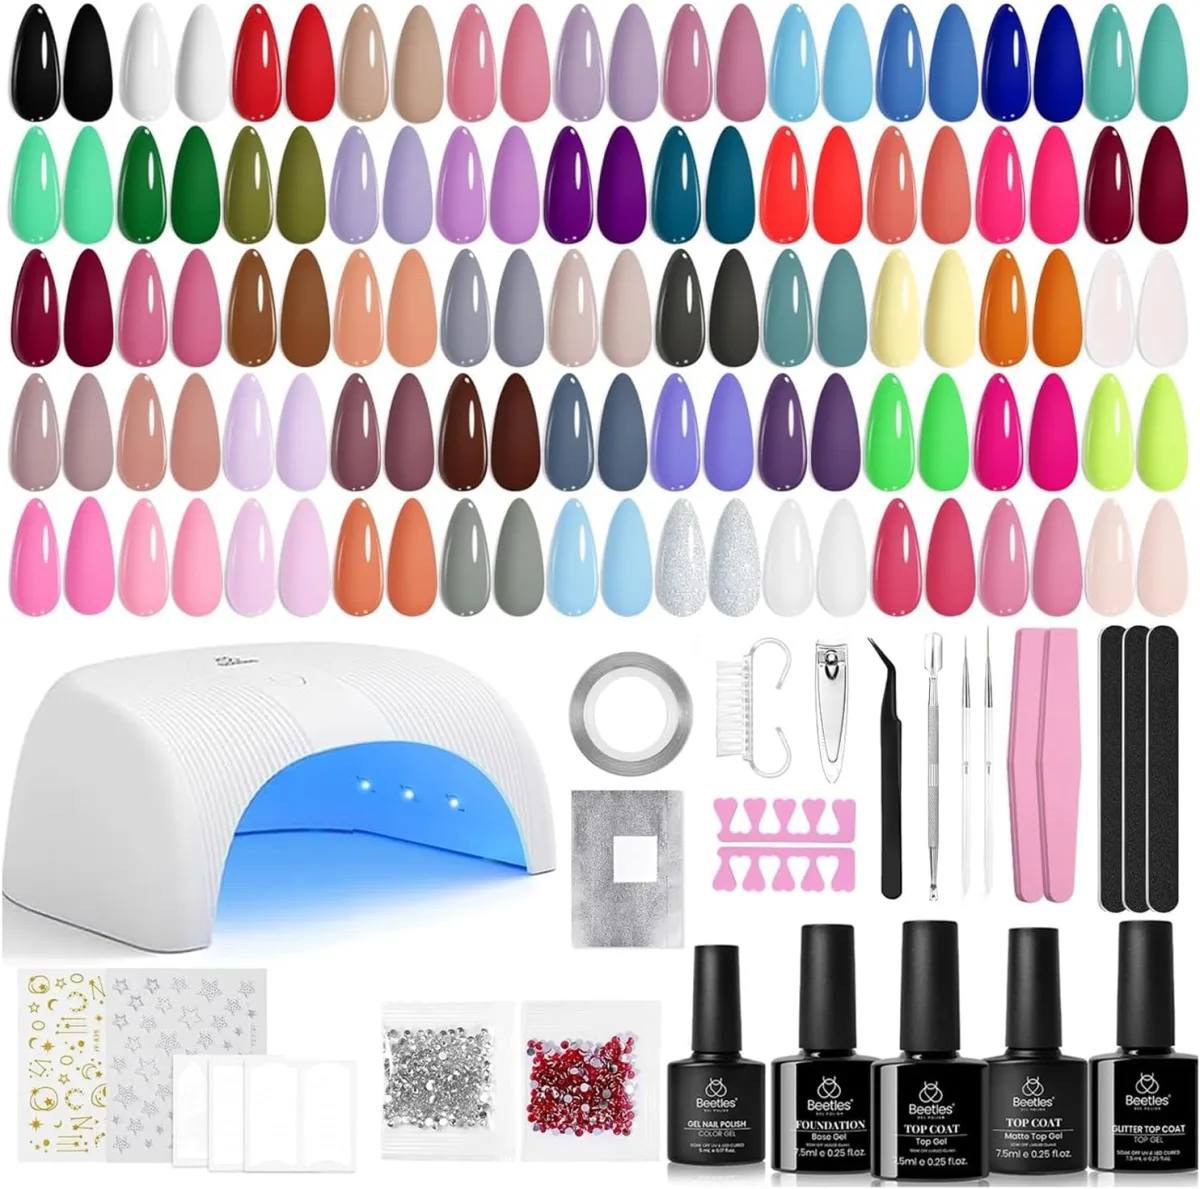
The second photo is not a manicure at all. It is a flat-lay of a Beetles gel kit: rows of almond shaped swatch tips painted in pairs across many colours, a white UV and LED lamp, files, brushes, stickers and gems, and five black bottles covering colour gel, foundation base gel, top coat, matte top coat and glitter top coat. Kits like this are how most people start at home, and also where beginners stall, because a wall of colours makes the first manicure harder to plan, not easier. Blue gel polish is easier to choose from a kit like this when you first narrow the choice to one depth, such as muted teal, before looking at the rest.
Swatch before you wear
The swatch tips laid out in this photo are doing the kit’s most useful job. Before your first set, paint the kit’s blues onto spare tips, cure them, and line them up from light to dark. Cured gel rarely matches the bottle exactly, and blue is one of the families where the shift shows most: royal can dry deeper, teal can dry greyer. Label each swatch, then pick one shade for your first attempt instead of planning a design that uses five. Blue gel polish swatches are worth keeping for later, since they let you compare a new shade against shades you already own.
Check the system, not just the colours
The colours are the fun part of a kit, but the system decides whether the manicure survives the week. This flat-lay shows why: alongside the colour gel sit a base gel and three different top coats. Confirm your own box includes a base coat and a top coat before you start, since some colour sets assume you own them already. Then cure by the kit’s own instructions. Gel systems are matched to their lamps and curing times vary between brands, so the manual in the box outranks any time quoted online.
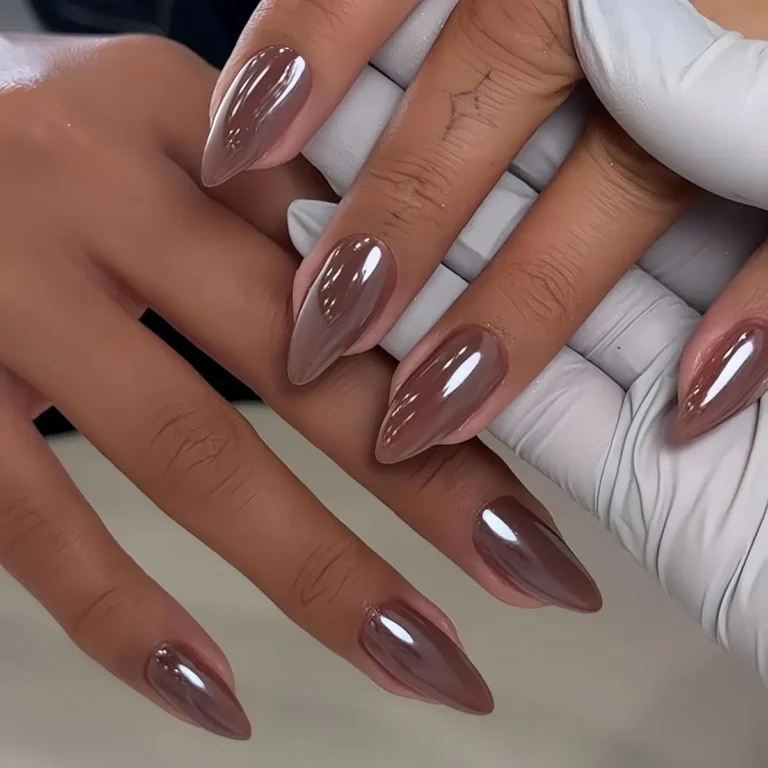
Look 3: Dark Teal Stiletto Nails, All One Colour: Shop the Look
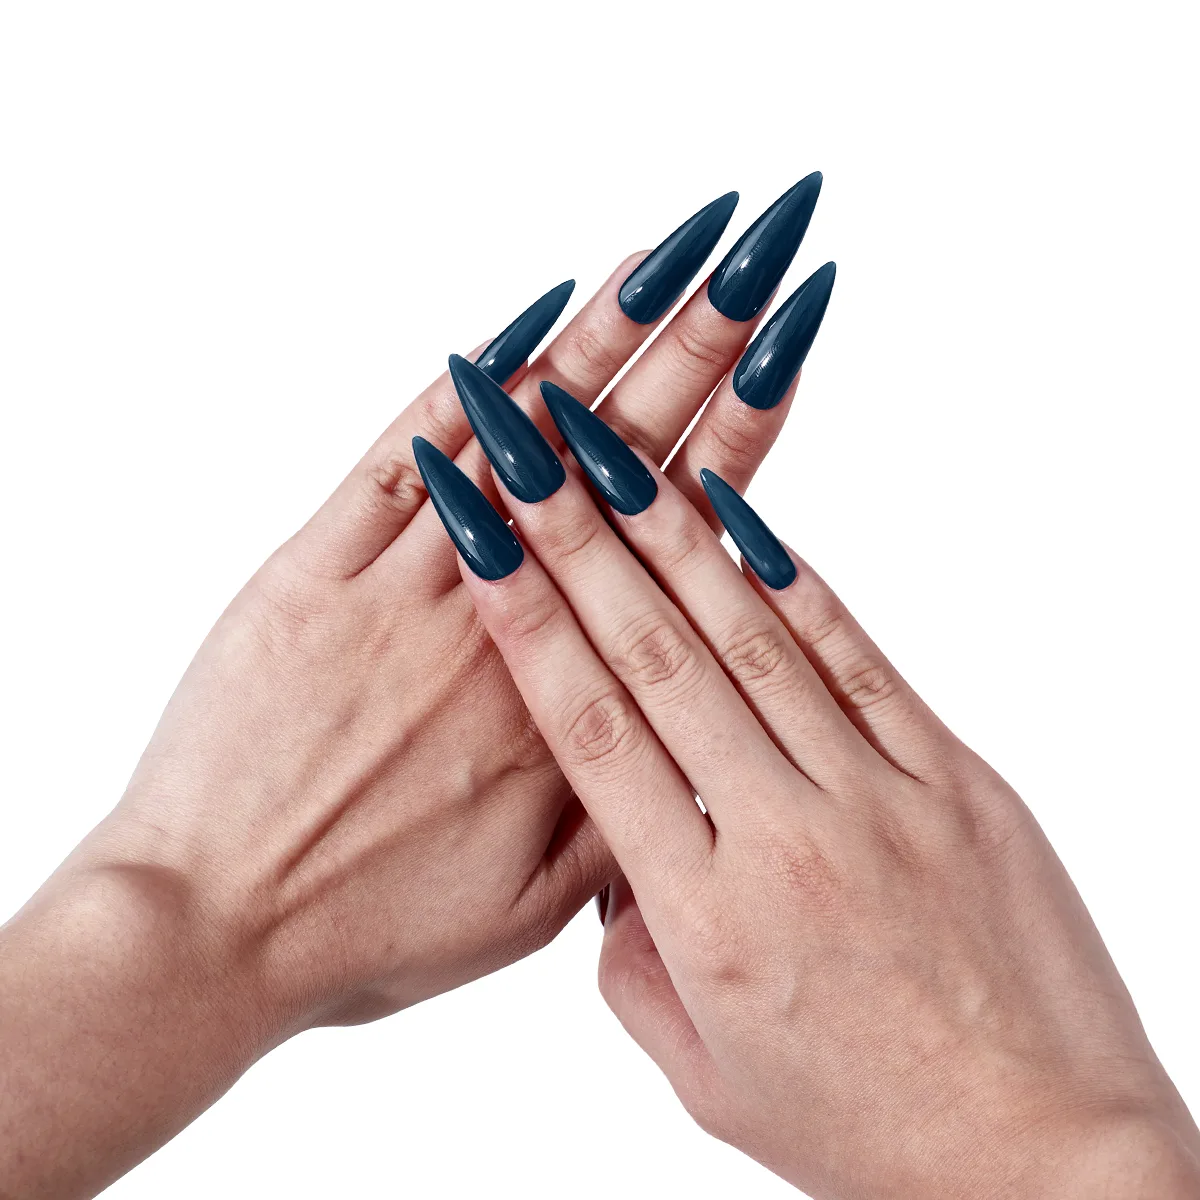
Everything in this set points in one direction. A solid dark teal, almost petrol blue, with a high gloss finish covers very long stiletto nails filed to sharp points, and the combination is the most dramatic look in this post. There is no accent nail and no art on any nail. The shape is the design, and the deep colour is there to make sure nobody misses it. Blue gel polish in a single deep shade works well here, because one unbroken colour keeps the sharp shape looking deliberate rather than busy.
The stiletto shape, honestly assessed
OPI’s nail shape guide is blunt about what stiletto nails demand: the shape is made for long nails, OPI recommends it with acrylics, and it ends in a sharp statement point, like an almond shape taken further. That means most people wearing this look are wearing extensions or a strong overlay, not bare natural nails, and the points need the length to look elegant. It also makes stiletto the least practical shape here. Points catch on fabric, make typing and contact lenses awkward, and a snapped tip ruins the whole set. Choose it for the effect, but choose it knowingly.
Styling a point this bold
A deep teal plus a sharp point is already two statements, so the rest of the styling should stay quiet. This is an evening and events look: plain fabrics, simple necklines, and at most one piece of jewellery, because stacked rings compete with the nails. On a shape this long, flooded cuticles or gel cured onto the skin look obvious, so work slowly and clean up each nail before it goes under the lamp.
If you love the colour but not the commitment, the same dark teal on almond or short square nails keeps most of the mood with none of the fragility. Blue gel polish in this deep teal also looks striking with plain black clothing, since the dark fabric lets the glossy colour stand out.
Look 4: Foundation Base Gel and Top Coat, the Layers Nobody Sees: Shop the Look
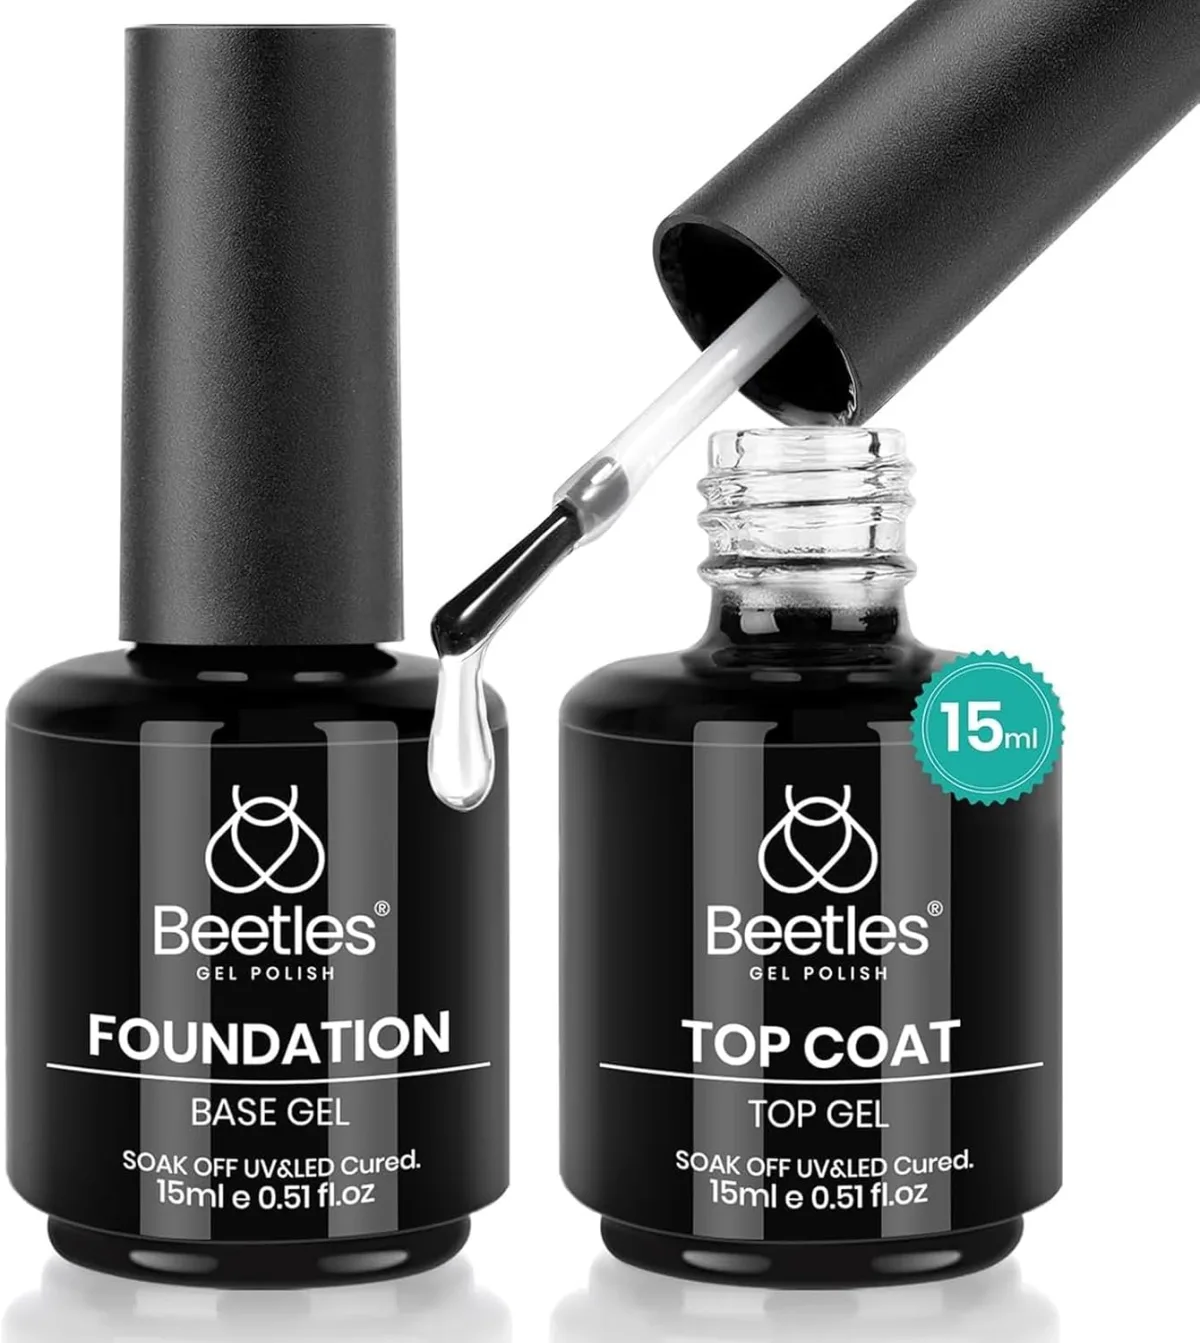
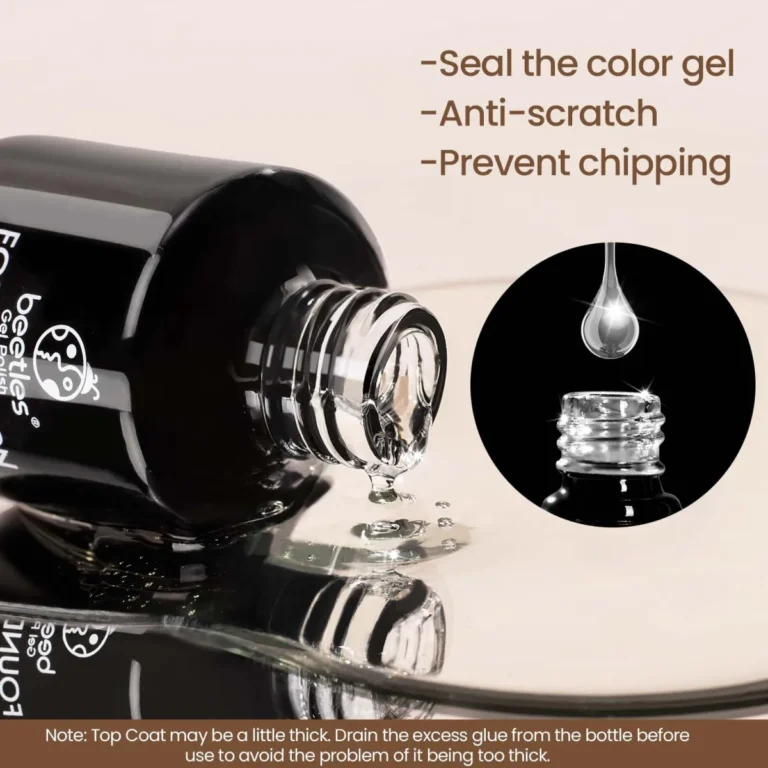
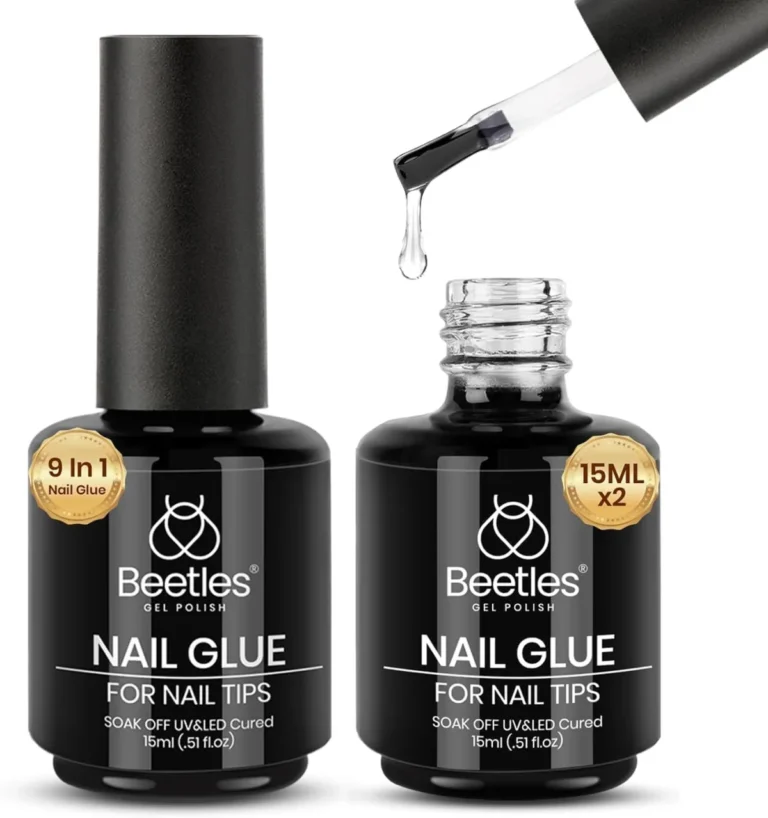
The fourth photo shows the two bottles behind every other look in this post: a closed Beetles Foundation Base Gel and an open Top Coat, with clear gel dripping from its brush. Neither carries any colour, and that is the point. The base decides how the colour holds, and the top coat decides how it finishes. Blue gel polish lasts longer when both of these clear layers are applied thinly and cured fully, rather than thickly in one coat.
What the base coat is really doing
The base coat sits between your natural nail and the colour gel. Its job is grip: it gives the colour something to hold onto, and it forms a barrier between strong pigment and the nail plate, which matters with deep teals and blues that can stain. After curing, a base coat feels tacky, and that is deliberate, not a failed cure. Beetles’ own guidance says the sticky surface is what the next coat bonds to, so you never wipe it off, and you never use base gel as a glue for tips or extensions. Those same clear layers, worn alone, are behind our crystal clear glossy manicure ideas.
Wipe or no wipe top coat: how to choose
Top coats come in two families, and the photo cannot tell you which one you hold, so check your bottle’s label. A standard top coat cures with a thin sticky film on the surface, called the inhibition layer, which has to be cleansed away before the shine underneath shows. A no wipe top coat is formulated to cure completely hard and glossy, so the set comes out of the lamp finished, saving a step on plain colour sets.
The trade off is forgiveness: a no wipe layer applied unevenly or undercured can come out dull or streaky, so keep it thin, even, and fully cured. For chrome powder, glitter or layered art, a traditional wipe top coat can grip those layers better.
Look 5: Deep Teal-Blue Coffin Nails, Glitter at Two Strengths: Shop the Look
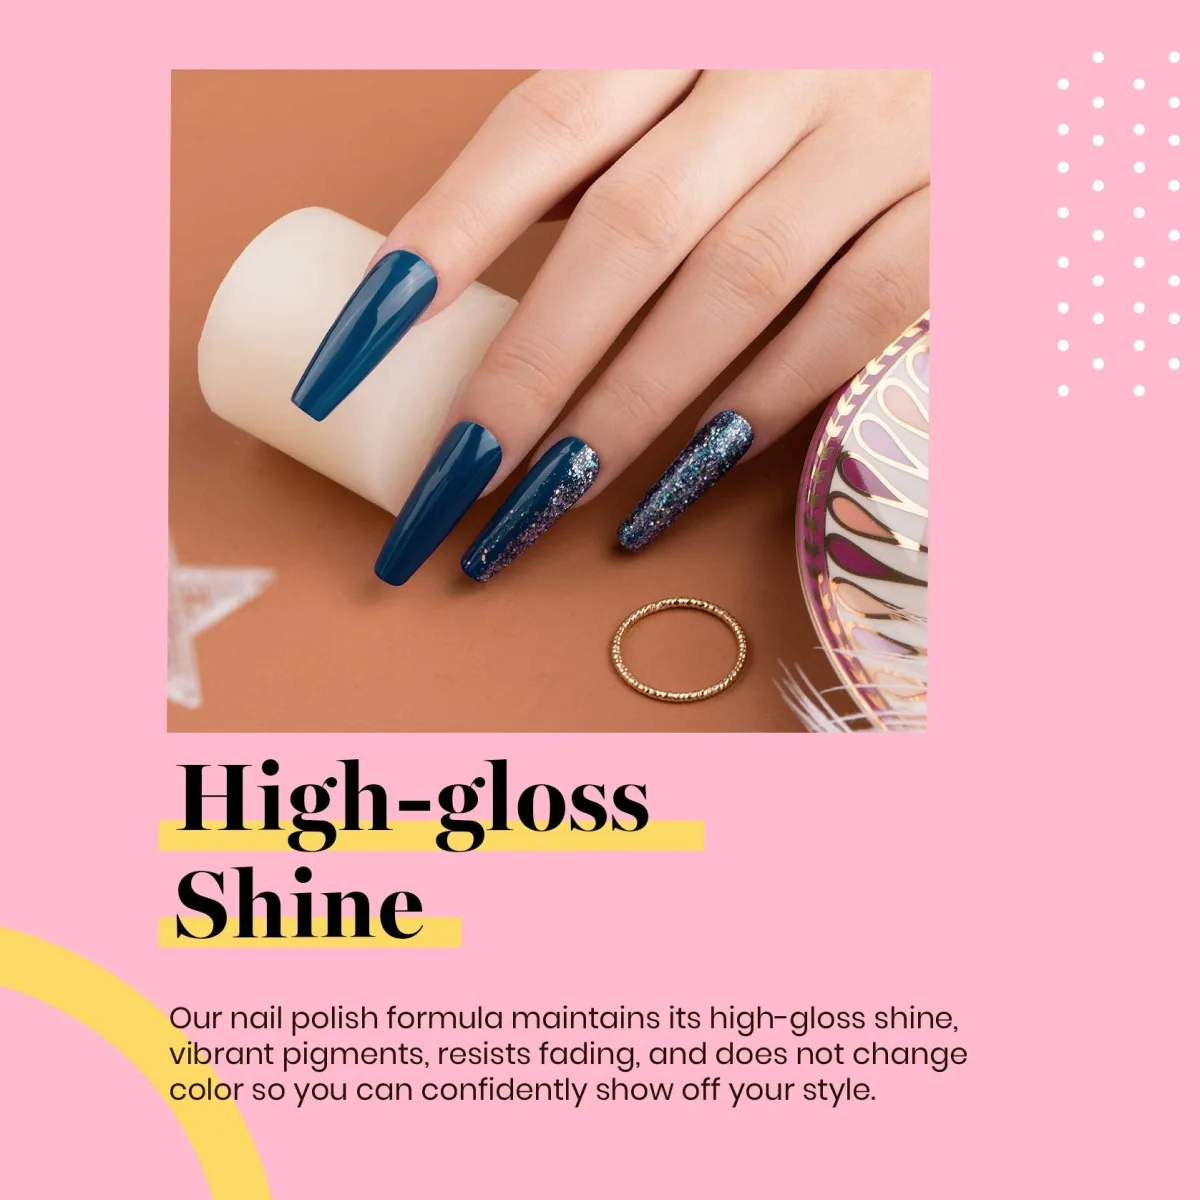
The final photo is an advertisement graphic showing one hand of long coffin nails in a deep teal-blue. Two nails are solid glossy colour. The other two carry chunky silver and blue glitter: on one it is scattered and heavier toward the tip, and on the little finger it covers the whole nail. If the shade looks familiar, it is the same blue family as the lead look in our blue and nude gel nails post, where blue shared the set with nude. Here it takes every nail.
Glitter worn two ways in one set
This photo shows a trick worth copying: the same glitter at two strengths. The fully covered little finger is the accent, small in area but impossible to miss. The partially glittered nail next to it works as a bridge, carrying some sparkle without competing. Because the other two nails are plain gloss, the set stays balanced instead of busy, and you do not need a second accent colour. Deep teal-blue plus silver-blue glitter is a complete pairing, since the glitter already contains both tones. Blue gel polish under glitter also keeps the sparkle looking even, since the coloured base stops any bare nail showing through the glitter.
Keeping deep shades glossy past day one
Deep gloss shows its age in a specific way: fine scratches dull the surface, and any tip wear stands out against the dark colour. The upkeep is simple, and most of it comes from Beetles’ own aftercare guidance.
Wear gloves for cleaning, because detergents and long soaks in water are hard on gel. Use cuticle oil daily, which keeps the skin around a dark manicure from looking dry and keeps the nail flexible rather than brittle. Do not use your nails as tools for cans, labels and packaging, since the squared tips of a coffin set take that force directly. Blue gel polish in deep shades shows scratches sooner than pale shades, so daily cuticle oil and gloves matter even more here.
How to Apply Blue Gel Polish at Home
- Prep first. Trim and file your shape, push the cuticles back, lightly buff the shine off the natural nail, especially around the cuticle and edges, then brush away dust and cleanse the surface so it is dry and free of oil.
- Roll the colour bottle gently between your hands to mix it; shaking adds bubbles.
- Apply a thin base coat, capping the free edge, and cure for the time your polish and lamp specify.
- Add the blue in thin coats, curing each coat before the next. Two coats cover most mid and deep shades; add a third thin coat only if the colour still looks patchy. Thick coats shrink, wrinkle and peel, so thin always wins.
- Add any glitter or accent, then finish with a thin top coat, capping the free edge again before the final cure. Wipe at the end only if your top coat is a wipe formula; a no wipe top coat is already finished.
- Massage cuticle oil around each nail once the set is done.
One safety step is worth adding. The American Academy of Dermatology recommends a broad spectrum, water resistant sunscreen with SPF 30 or higher on your hands before a gel manicure, since the polish is sealed using ultraviolet light. Our step by step nail care routine covers the habits that keep natural nails in good shape between sets.
Frequently Asked Questions
Which blue gel polish shade should a beginner start with?
Start in the middle of the range, royal blue or a muted teal-blue like the Aegean swatch in Look 1. Mid depth blues cover evenly and forgive small streaks. Pale blues and pastels are the hardest to apply neatly, since they can look patchy until the second or third thin coat.
Why does my base coat feel sticky after curing, and should I wipe it?
Leave it alone. That tacky layer is intentional: it is the surface your colour coat grips, and wiping it off weakens the bond. Stickiness only matters at the end of a manicure, and only with a standard top coat, which needs its sticky layer cleansed away to reveal the shine.
My nails feel hot for a second in the lamp. What should I do?
A brief heat spike can happen as gel hardens, especially with thicker layers. Beetles’ guidance is simple: if curing feels uncomfortable, take your hand out of the lamp, let the sensation settle, then resume. Working in thinner coats also reduces it. Never push through real discomfort to finish a timer, and if irritation keeps happening with a product, stop using it.
How do I remove blue gel polish without staining or damaging my nails?
Never peel it off, because peeling pulls layers of natural nail away with it. Buff the shine off the top coat first, then soak cotton in acetone based remover, place it on each nail, wrap in foil and wait at least 15 minutes. Push the softened gel away gently, rewrap any stubborn nail for a few more minutes instead of scraping, and finish with cuticle oil.
Pick the depth of blue that fits your week, and follow Beautylicious Hub on Pinterest for more gel polish ideas like these.