Monochrome Manicures: 5 Stunning Black and White Gel Sets
Monochrome manicures are a design discipline, not just a colour choice. With only black and white to work with, every design has to earn its place through pattern, contrast and placement, which is why monochrome sets look so deliberate. The five photos in this post cover the art from five angles: character faces, contrast patterns, two French variations, and the base and top duo that keeps the art sealed.
Character Art in Pure Monochrome: Shop the Look
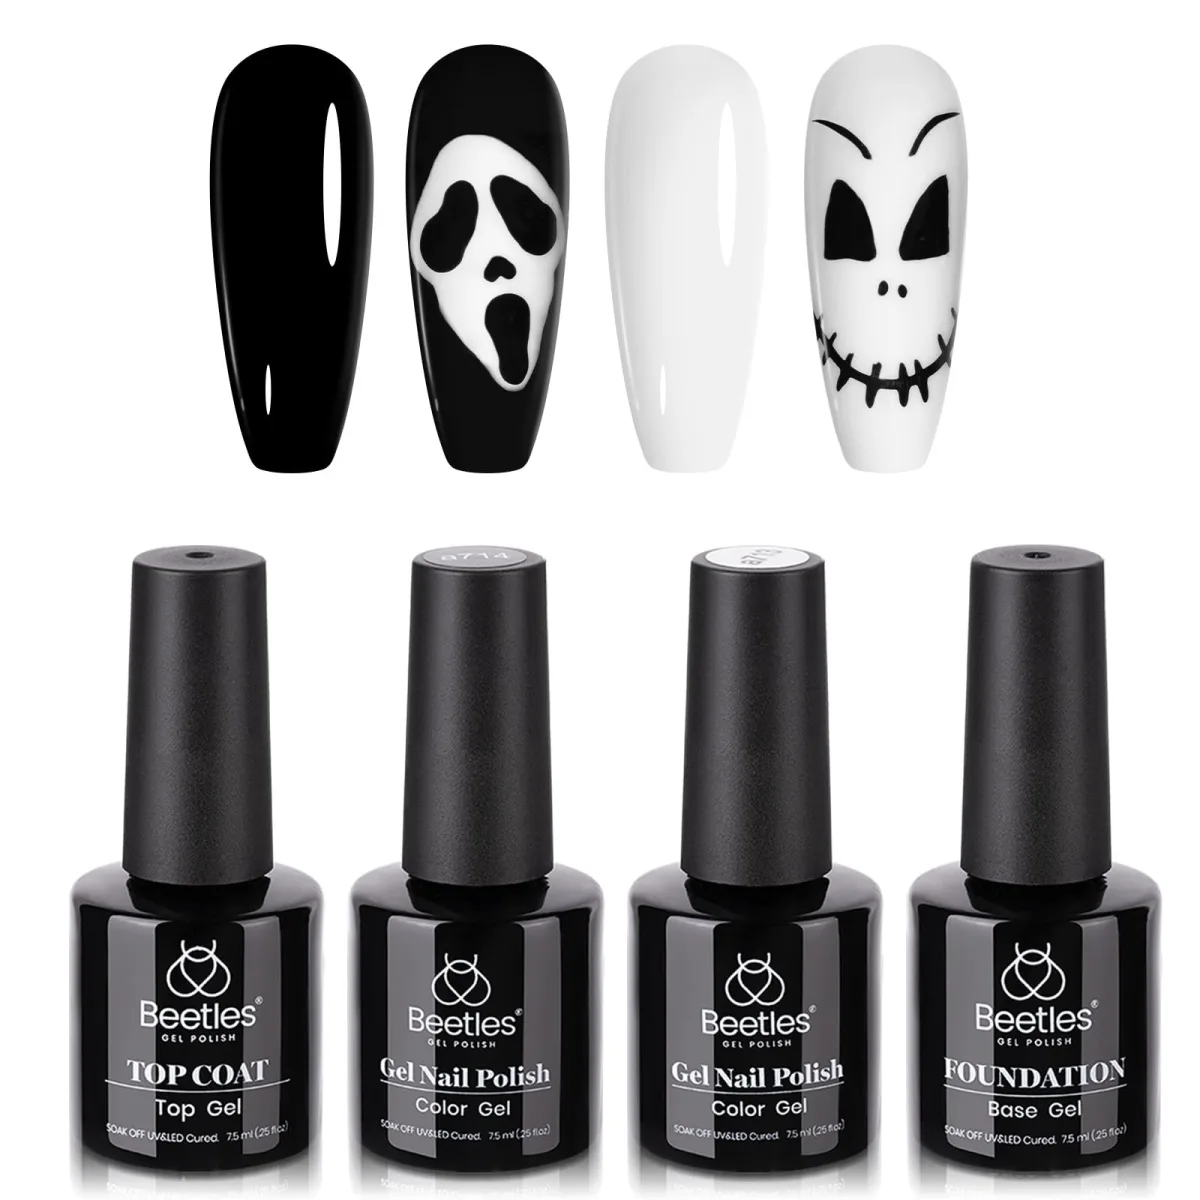
Monochrome manicures suit character art when contrast stays sharp. The first photo shows four long almond swatch tips: solid glossy black, black with a white ghost face in a horror-mask style, solid glossy white, and white with a black stitched skull face.
Below them sit four black Beetles bottles: top coat, black colour gel, white colour gel and foundation base gel. This is monochrome at its most playful, and it proves a useful point: two colours are enough for recognisable characters.
Why faces work in two colours
Monochrome manicures read best when faces use bold contrast. Character art usually needs shading and colour to read, but faces are mostly about contrast: dark eyes on a light face, or a light mask on a dark ground. The ghost face works because the white mask shape is painted over solid black, and the skull works because the black features are painted over solid white.
Both use the same principle as ink drawing: one colour draws, the other is the paper. For Halloween these are perfect; outside October, the same technique makes abstract faces, eyes and graphic masks that read as art rather than costume.
The tool that makes it possible
Monochrome manicures need a fine liner brush for clean faces. Designs like these live or die on the brush. A fine nail art liner brush is the one tool that makes intricate monochrome work achievable at home: the ghost’s eye holes, the skull’s stitching, the clean edge of the white mask all need a thin, controlled line that a bottle brush cannot draw.
Beauty writers name the liner brush alongside the dotting tool as the essential pair for monochrome art. The dotting tool covers everything round: eyes, dots, heart accents and the centres of flowers.
Before touching your nails, practise each design on a spare swatch tip or a piece of foil; monochrome is unforgiving of wobbles because there is no third colour to hide behind, but two practice runs are usually enough to steady the hand. Our black gel nail polish ideas cover the black base these designs start from.
The Classic Combination: Shop the Look
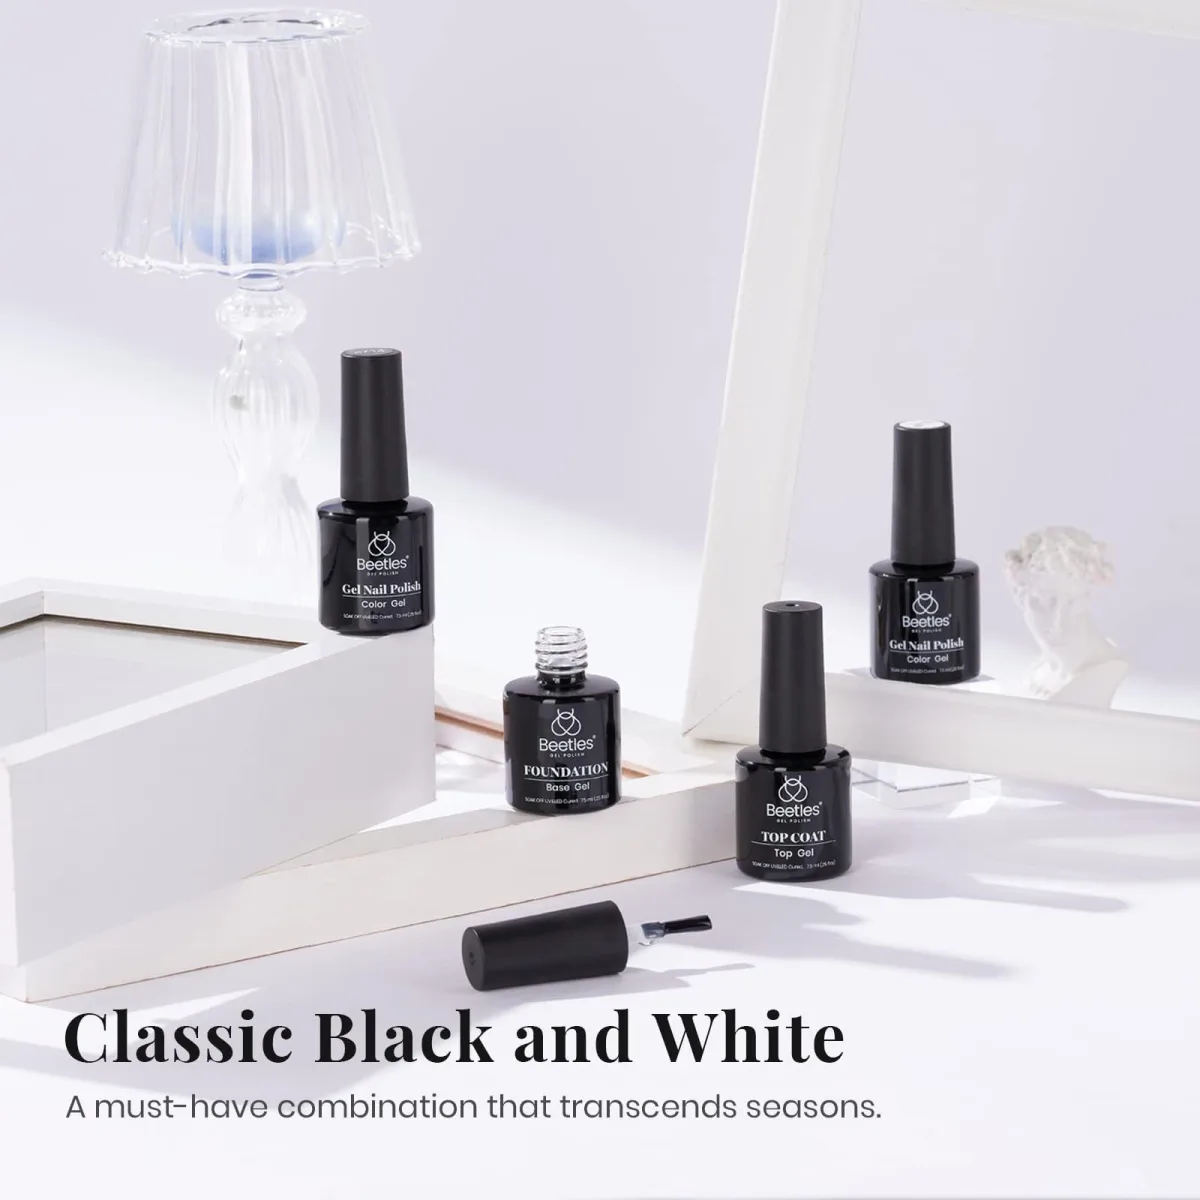
Monochrome manicures start with a classic black and white set. The second photo has no nails at all: four Beetles bottles styled on white geometric blocks with a glass lamp, under the printed line “Classic Black and White, a must-have combination that transcends seasons”.
It is a styling shot, but the claim is worth taking seriously, because it explains why monochrome art never dates. Black and white is the only nail palette that is always in fashion and always matches the outfit.
Monochrome manicures as a wardrobe decision
Monochrome manicures match every outfit without extra planning. Think of a monochrome manicure the way you think of a black and white outfit: it goes with everything and it always looks intentional. That is the practical argument for learning this art. A red or blue set has to be planned around clothes and events; a black and white set can be worn for three weeks straight through work, evenings and weekends without ever clashing.
It also travels well: if a nail chips on a trip, you only need to pack one of the two colours to patch it, and a small repair blends in because the palette is so graphic. The contrast also makes monochrome the most photogenic nail palette: it reads clearly in every light, which is why it dominates nail art feeds.
Building a monochrome kit
Monochrome manicures need only a small kit to begin. The photo shows the complete minimum: two colour gels, a foundation base and a top coat. That really is enough for every design in this post. Add a liner brush and a dotting tool and you can draw every pattern here.
Resist the urge to add grey or silver “to soften it”: the discipline of exactly two colours is what makes monochrome designs look sharp, and a third colour turns the set into something else.
Yin-Yang Patterns and Pure Matte White: Shop the Look
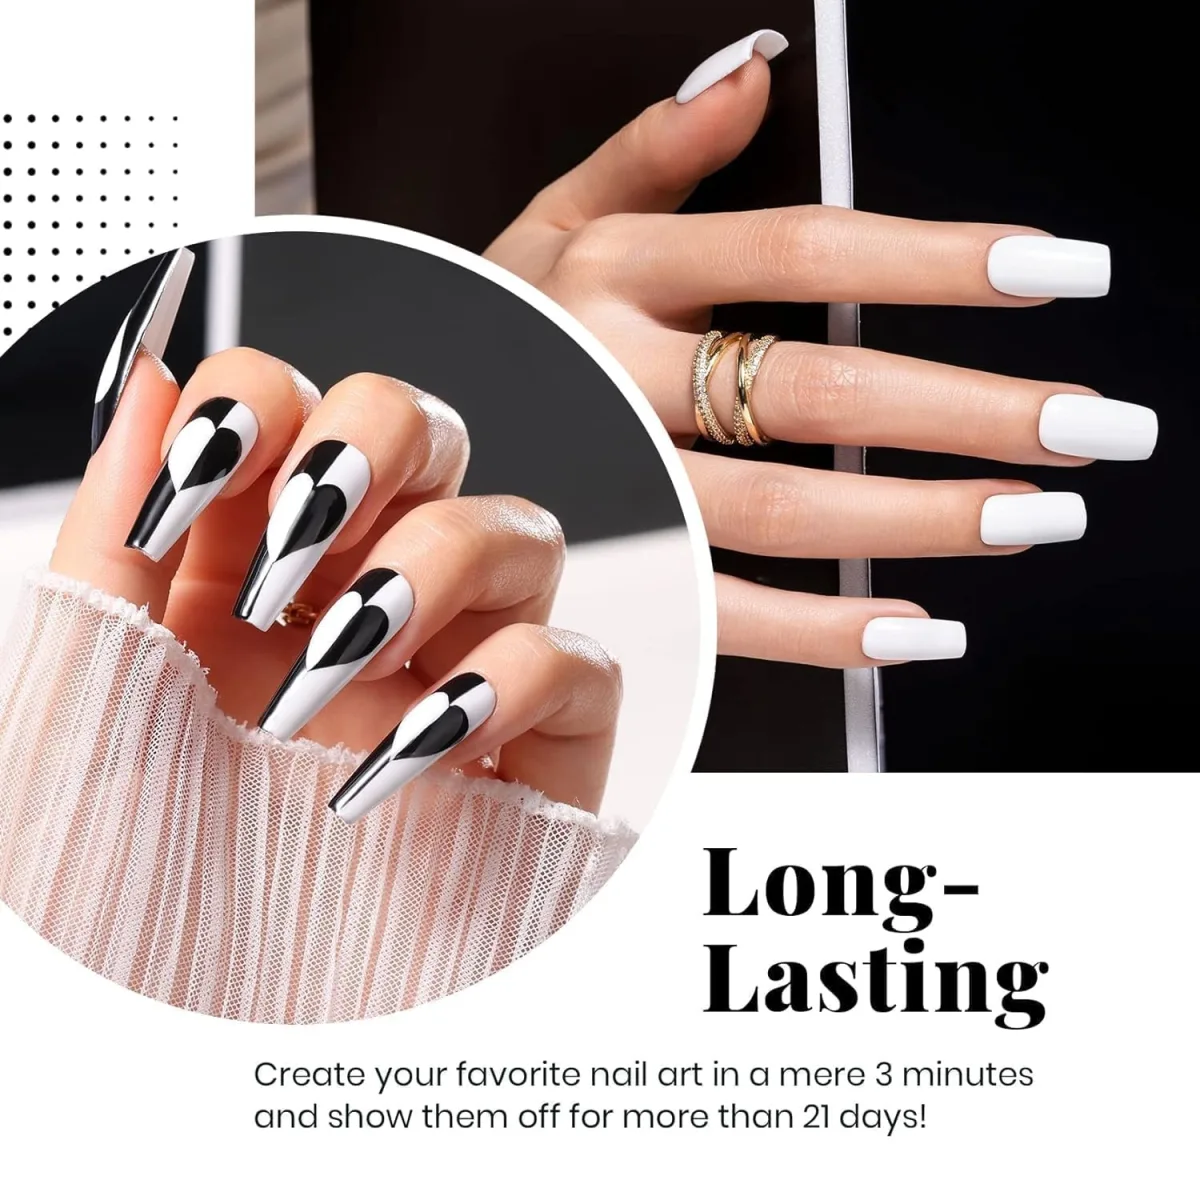
Monochrome manicures shine in bold yin-yang patterns. The third photo shows two panels. On the left, long coffin nails carry a black-and-white abstract pattern of hearts and leaf shapes in a yin-yang style, each nail split between the two colours. On the right, long square nails wear solid matte white, no art at all. The printed wear claims in the graphic are the image’s marketing wording and are not repeated here; the designs are what matter.
Contrast as the design
Monochrome manicures use contrast itself as the main design. The yin-yang pattern is the purest expression of monochrome art: the design IS the contrast. Each nail divides into black and white shapes that interlock, so the eye never settles on one colour. Designs like this need the two rules of monochrome at full strength: a deep opaque black and a bright clean white, because any grey in between weakens the graphic punch.
Paint the white first and cure it fully before adding the black shapes; dark pigment dragged over wet white turns grey and ruins the boundary.
The matte white counterpoint
Monochrome manicures balance busy patterns with calm matte white. The solid matte white nails on the right are the essential partner to the busy pattern. Matte changes white completely: glossy white reads crisp and bridal, matte white reads soft and modern.
In a full set, wear the pattern on a few nails and matte white on the rest, which gives the eye somewhere to rest. The coffin shape suits the pattern because its long surface fits the interlocking shapes; the square shape suits the solid matte because its straight edges look architectural. OPI’s shape guide describes the coffin as long and slim with a squared-off tip, which is exactly the canvas this pattern needs.
French, Two Ways: Shop the Look
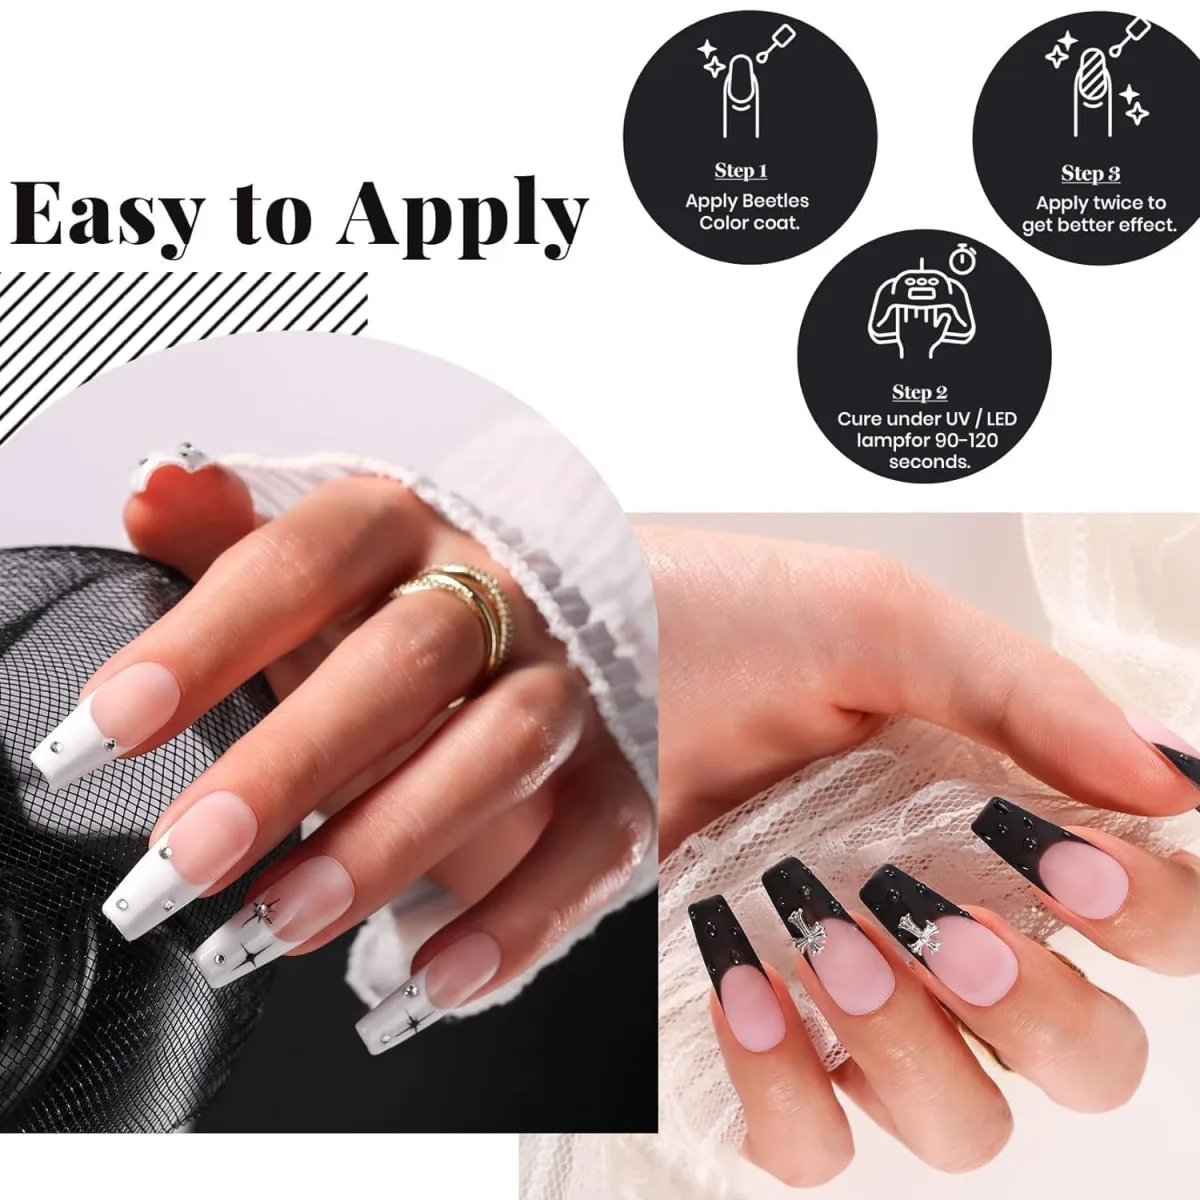
Monochrome manicures feel most wearable as French tips. The fourth photo shows monochrome’s most wearable art: the French manicure, done twice. One hand wears long square nails with white French tips over nude, decorated with black starbursts and rhinestones. The other wears black French tips over nude, with silver cross charms and a water-droplet texture. The step diagram in the graphic is one brand’s wording; cure for the times your own brand and lamp specify.
The white French with edge
The white French here is not the classic bridal version. The tips are crisp white, but the black starbursts and rhinestones scattered across them turn a safe manicure into nail art. This is the monochrome French for people who find the plain version boring: the structure stays elegant, the details add personality. The starbursts are drawn with a liner brush over the cured white tip, which keeps their edges sharp; drawing them on wet white would bleed them grey.
The black French, inverted
The black French inverts everything: dark tips, nude base, silver charms instead of rhinestones. Black tips are bolder than white ones and show regrowth less, since the dark colour at the tip draws the eye away from the cuticle.
The water-droplet texture over the black adds dimension without colour, and the cross charms are sealed under top coat. For a press-on route to the same look, our French tip press-on ideas show ready-made versions, and our gift bow nail art post covers the charm-detail style.
The Duo Behind the Art: Shop the Look
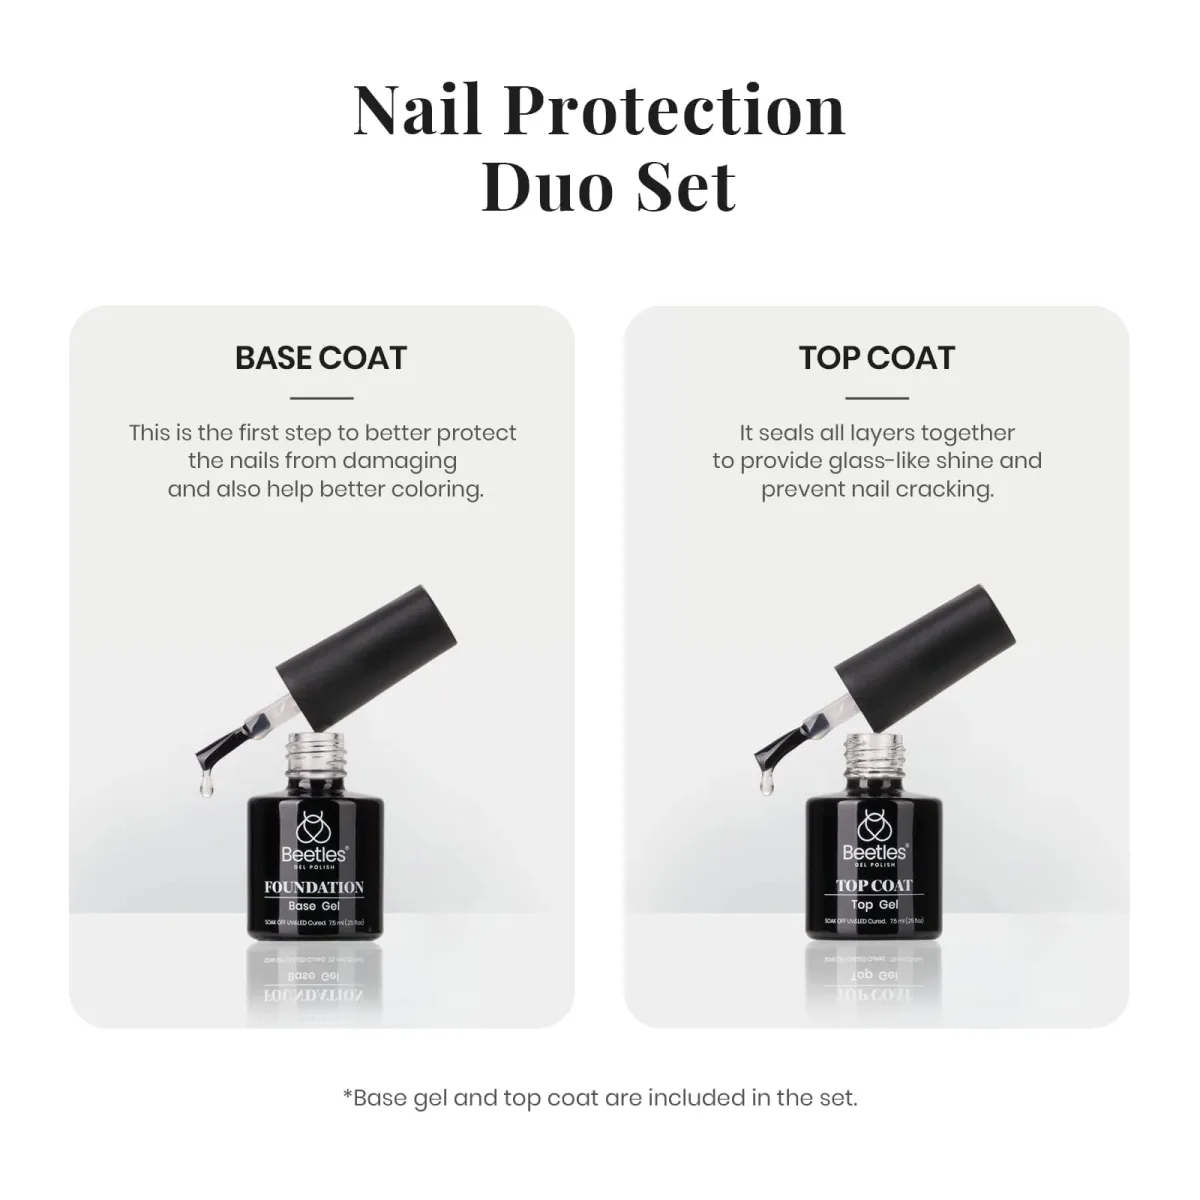
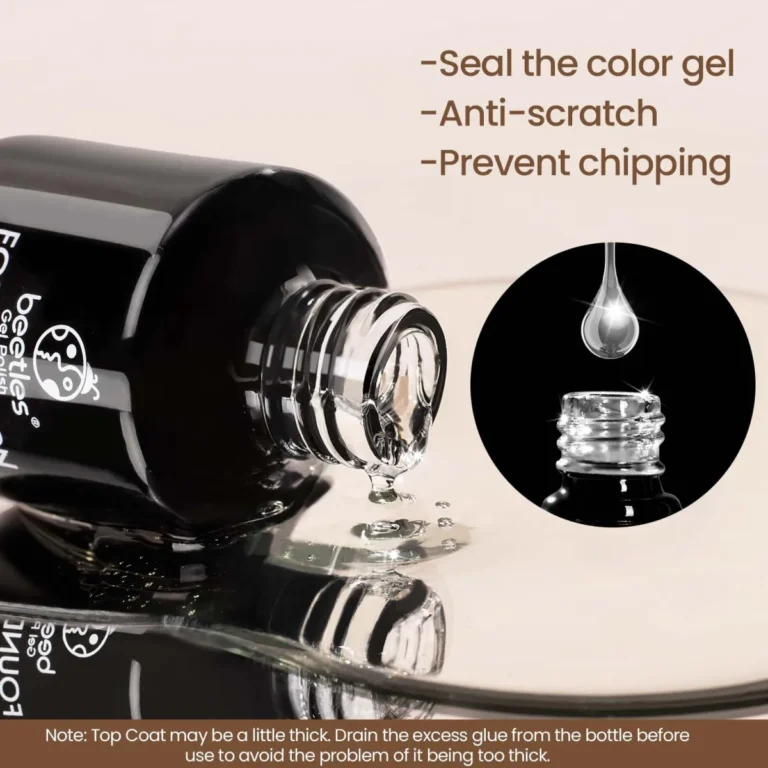
Monochrome manicures depend on a strong base and top duo. The last photo shows the two bottles behind every design in this post: Beetles Foundation Base Gel and Top Coat, brushes out with clear gel on the bristles. The printed text describes the base coat as protecting nails and helping colour adhere, and the top coat as sealing layers for a glass-like shine. In monochrome art these two bottles do more visible work than in any other palette.
Why the duo matters more in monochrome
Black and white art has more layer boundaries than a solid manicure: every line, shape and French tip is an edge where lifting can start. The base coat gives all those edges something uniform to grip, and it blocks black pigment from staining the nail.
The top coat seals the art into one smooth surface, which matters because monochrome designs are judged on crispness: a blurry boundary between black and white reads as a mistake, while a sealed, sharp one reads as design. Cap the free edge with both layers.
Sealing without smudging
One caution with sealing detailed art: drag the top coat brush lightly over the design rather than scrubbing, especially over uncured-feeling details like the starbursts and droplets in the previous photo. A heavy hand can drag black into white. One thin sealing layer, cured, then a second if needed, keeps the boundaries exactly where you painted them.
How to Apply These Looks at Home
- Prep first. Trim and file your shape, push the cuticles back, lightly buff the shine off the natural nail, then clean the surface so it is dry and free of oil and dust.
- Apply a thin base coat, capping the free edge to seal the tip. Cure for the time your polish brand and lamp specify. This layer blocks black pigment from staining.
- Add colour in thin coats, curing each coat before the next. For two-tone art, paint and fully cure the lighter colour first, then add the black details, so the dark pigment never drags across wet white.
- Paint your art with a liner brush or dotting tool, curing between stages for multi-step designs. Add charms or rhinestones on the last colour layer before the top coat.
- Seal with a thin top coat applied with a light hand, capping the free edge, cure for the final time, wipe if your system requires it, and massage cuticle oil around each nail.
One safety step is worth adding. The American Academy of Dermatology recommends a broad spectrum, water resistant sunscreen with SPF 30 or higher on your hands before a gel manicure, since the polish is sealed using ultraviolet light.
Frequently Asked Questions
What is the easiest monochrome design for a beginner?
A black or white French tip. It needs no drawing skill, only a steady hand along the smile line, and striping tape or a sticky note edge gives you a straight guide. Wear it over a nude base, cure the base fully first, and you have monochrome art in one extra step.
How do I get clean lines between black and white?
Three rules from nail artists: paint the lighter colour first and cure it fully before adding black; use striping tape or a guide for straight splits; and clean small mistakes with a flat brush dipped in acetone instead of repainting the nail. Finish with top coat to lock the boundary.
Should I use matte or glossy top coat on monochrome nails?
Both, sometimes on the same set. Glossy sharpens contrast and suits graphic patterns and character art. Matte softens white and suits minimalist sets, and it makes black look velvety. The photo in this post pairs matte white solids with glossy patterned nails, which shows how the two finishes can share a set.
Can monochrome nail art work for a wedding?
Yes, and this post’s category includes bridal for a reason. Keep it white-dominant: white French tips, tone-on-tone white swirls, or white with fine black line details. The contrast photographs beautifully and matches any dress, and the designs read as deliberate rather than plain.
Pick the pattern that fits your week, and follow Beautylicious Hub on Pinterest for more monochrome nail ideas like these.