Snowflake Pearl Red Holiday Fake Nails for Winter Magic
Snowflake pearl red nails are the classic Christmas combination: crisp white snowflakes, soft pearl shine and bold red, worn here as long coffin nails, short square nails and a whole tray of press-ons. This post follows that combination exactly as it appears in the photos, from a pearl crescent French set through a deep green partner shade and a Christmas collage to a red glitter French set and a bulk press-on pack. Each section says plainly what its photo shows, so you can tell a worn look from a product flat-lay at a glance.
The five photos cover every way this look is worn: as a detailed salon style, as a quiet solid shade, as a collage of ideas, as a glitter French, and as a ready to wear pack. Whether you want full Christmas drama or one snowy accent nail, there is a version of snowflake pearl red nails here that fits your week.
Red Snowflake Coffin Set in Snowflake Pearl Red Nails: Shop the Look
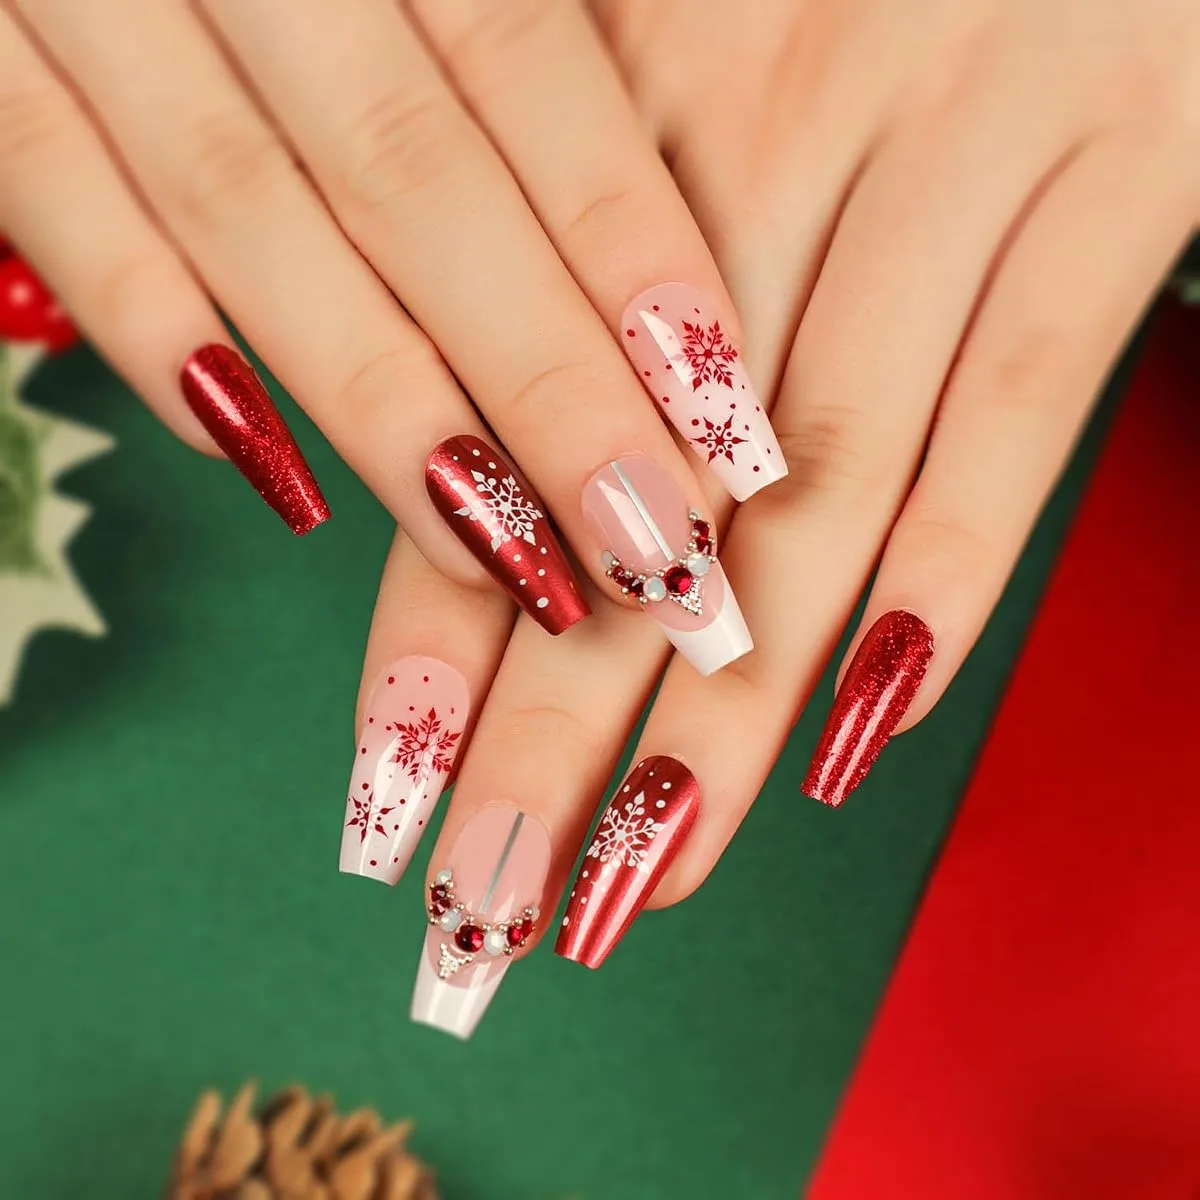
The first photo shows two hands with long coffin nails in a mixed red, white and pink set: red glitter nails, metallic red nails painted with white snowflakes, sheer pink to white French nails with a crescent of pearls and red rhinestones at the smile line, and milky white nails with red snowflakes and red dots. This is the fullest expression of snowflake pearl red nails in the post, because all three elements appear on one pair of hands: snowflakes in both white and red, pearl shine on the French nails, and red as glitter, metallic and snowflake colour at once.
The mix works because no single nail carries everything. Red glitter gives party energy, metallic snowflake nails give the winter theme, and pearl crescent French nails add a softer note that stops the red from feeling loud. A mixed set reads as intentional when each nail has one clear job.
Reading a mixed coffin set
Mixed sets suit long coffin nails because the length gives each design room to breathe. On shorter nails, keep designs simpler: one snowflake per nail and a smaller pearl crescent, so the art does not crowd the nail. Choose accent nails first, usually the ring fingers, and let solid glitter nails carry the rest.
Pearl crescents without overdoing them
Pearl crescents look best following the smile line of the French tip rather than sitting as a random cluster. Place the largest pearl at the centre and smaller stones toward the edges, then seal with two thin top coat layers so stones sit flat and do not catch. Our holiday winter post covers more winter looks in the same spirit, and the same crescent logic applies to any pearl accent.
Deep Green Holiday Solid: Shop the Look
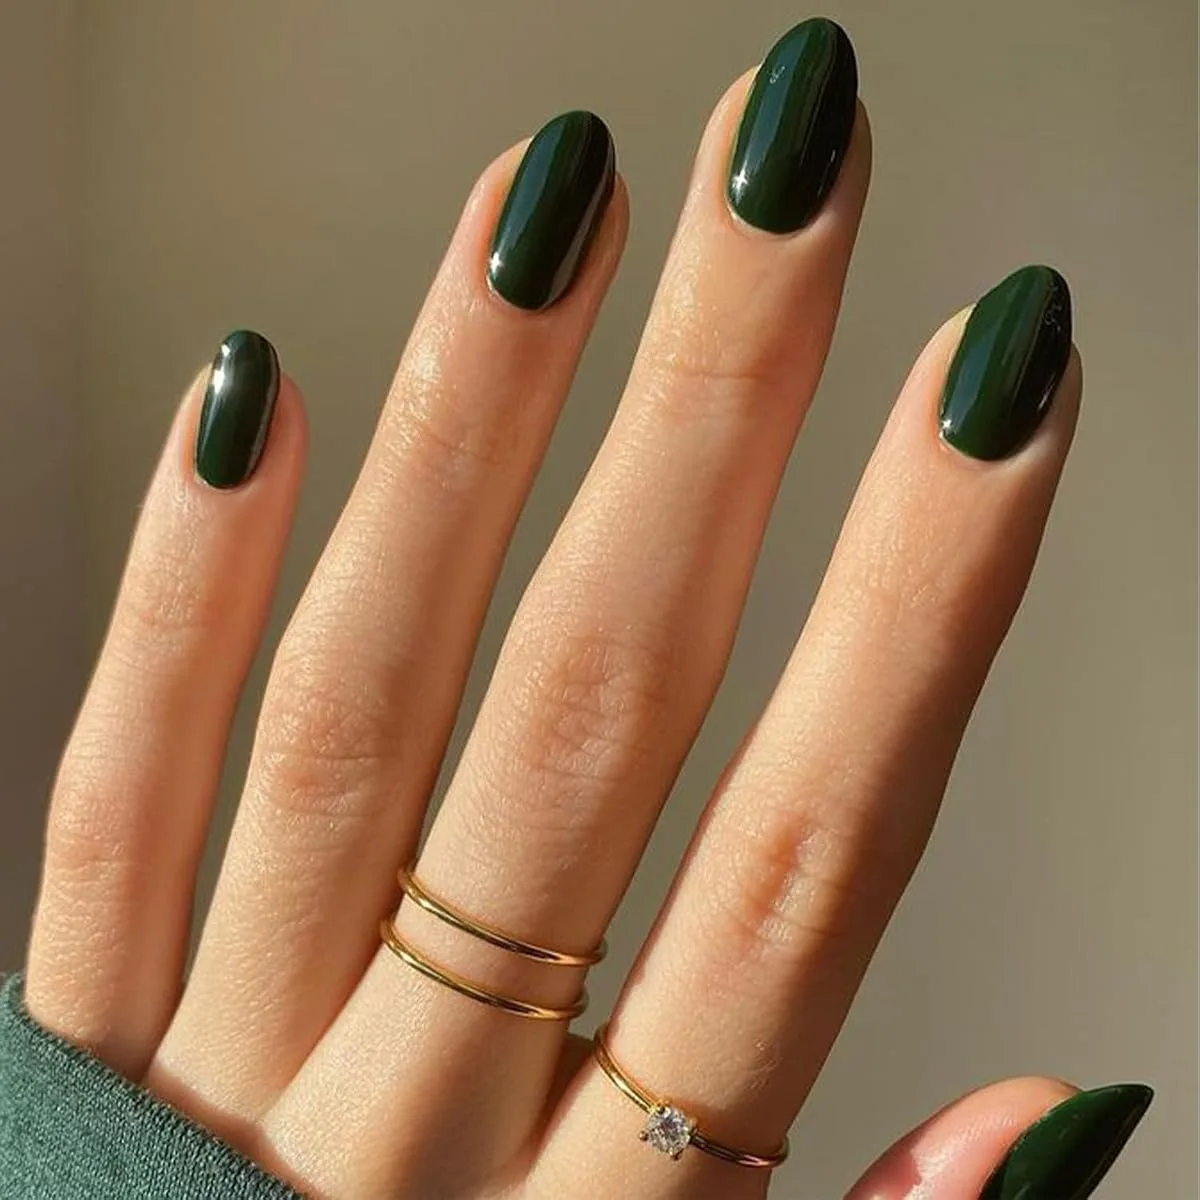
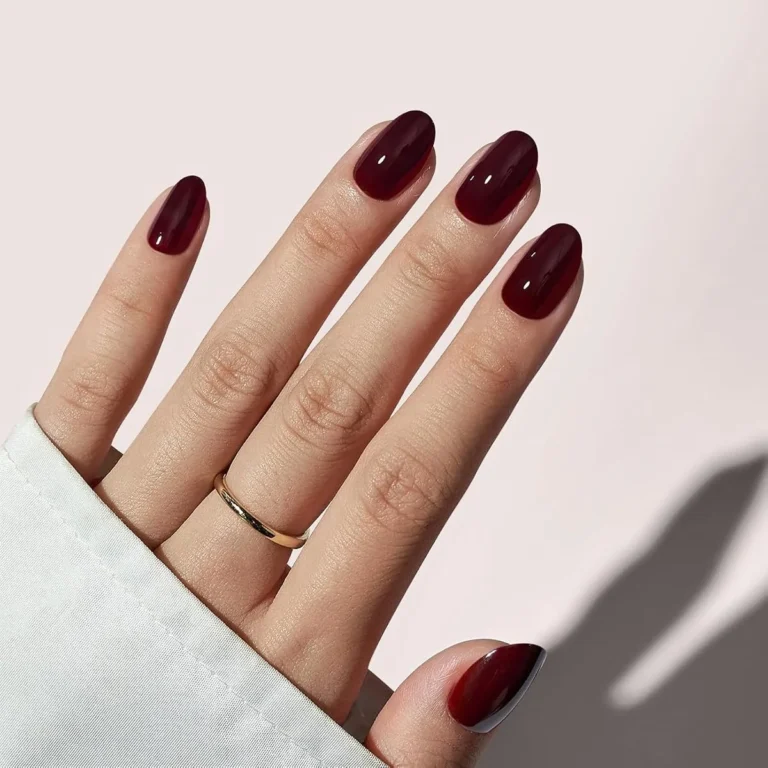
The second photo is the quiet one in the post: a single hand with short to medium oval nails painted in a glossy deep forest green solid, worn with thin gold rings and a green sleeve. There is no snowflake here, no pearl and no red, and that honesty matters, because this photo is not a snowflake nail at all. It is the partner shade that makes snowflake pearl red nails look richer, the way a green tree makes red ornaments stand out.
Deep green suits short oval nails especially well, because a dark solid on a neat oval shape looks polished without any art at all. The glossy finish does the work here: matte would read as flat and earthy, while glossy reads as festive and deep, like lacquered holly leaves. Gold rings complete the look, since warm metal against deep green is the classic Christmas pairing.
When a solid beats a design
A solid shade is right for weeks when art feels like too much, or for workplaces where a full snowflake set would draw comment. Wear deep green on its own for a quiet week, or on two accent nails beside red glitter nails when you want the festive set without the full art commitment. The hand in the photo shows how little a solid needs: clean cuticles, even edges and a glossy top coat.
Keeping dark solids neat
Dark solids show every flaw, so prep matters more than with pale shades. Push cuticles back gently, buff away shine evenly, and paint thin coats inside the sidewalls. Cap the free edge with top coat and refresh it after a few days, since tip wear shows first on dark colours.
Christmas Collage of Six Designs: Shop the Look
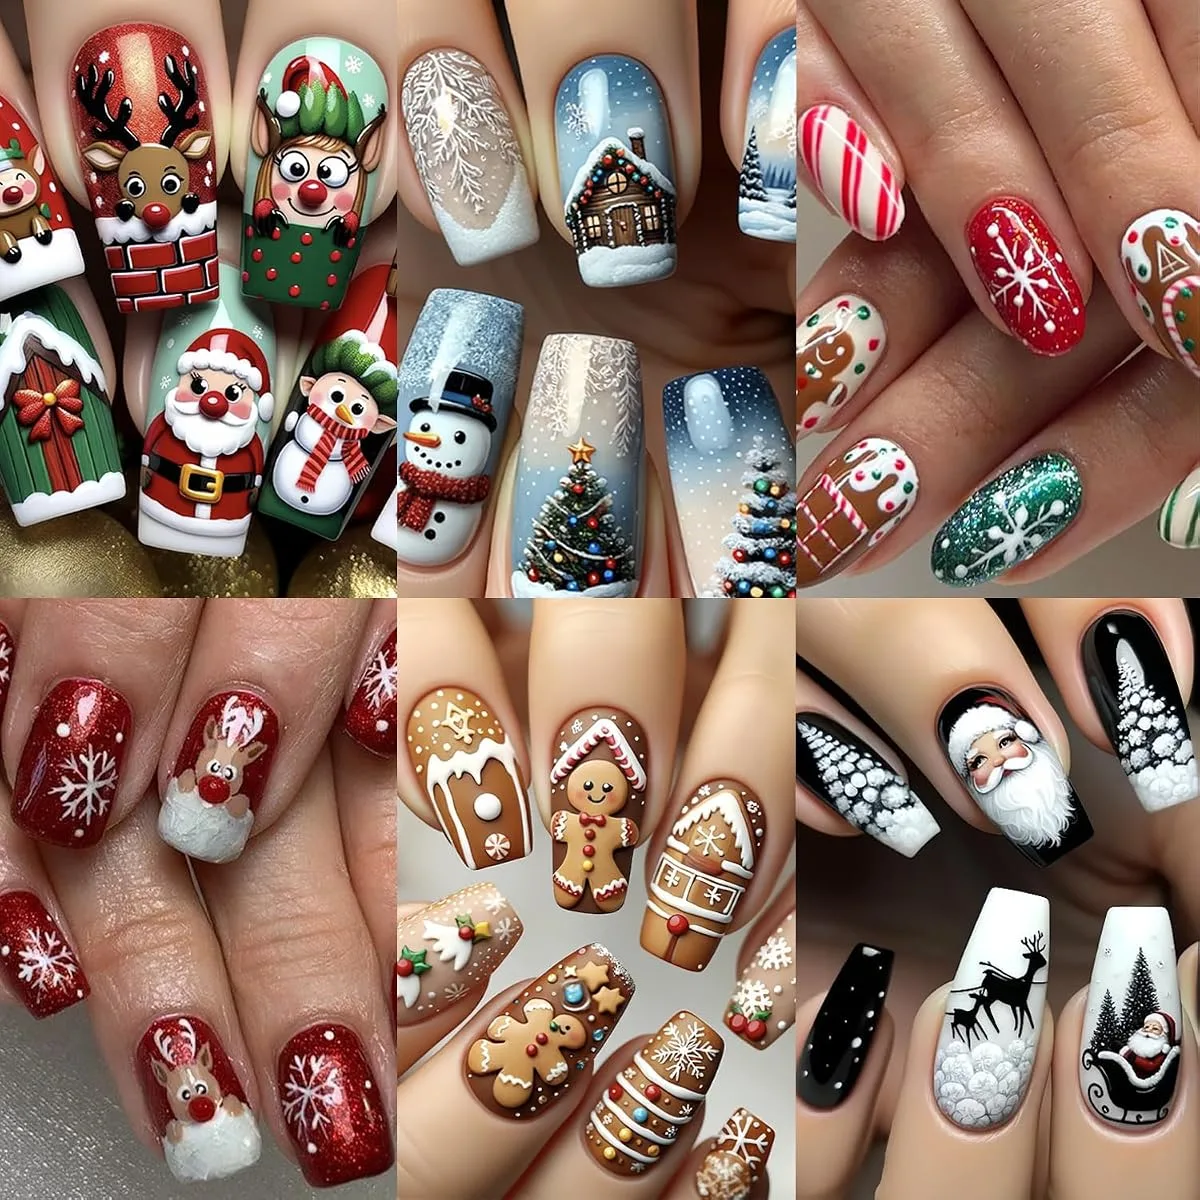
The third photo is not one manicure but a collage of six Christmas nail art sets, and it is the idea board of the post. The top row shows cartoon Santa, reindeer and snowman faces on red and green, a snowy cabin and Christmas trees on blue, and candy cane stripes with gingerbread and a green glitter snowflake nail. The bottom row shows red glitter nails with white snowflakes and a reindeer face, gingerbread houses and gingerbread men on brown, and black and white nails with Santa, a sleigh and snowy trees.
A collage like this is useful precisely because it is not one look to copy whole. Instead, pick one panel and wear it: the red glitter snowflake panel if you love the snowflake pearl red nails theme, the gingerbread panel if you want something playful, or the black and white Santa panel if you want Christmas art that still looks grown up. Trying to combine all six panels on one hand would look chaotic, while one panel worn cleanly looks deliberate.
Choosing one panel to wear
Start with the panel whose colours you already own. Red glitter and white snowflakes need only two polishes and a thin brush or sticker, while the cartoon faces need steadier hand painting and more colours. If you are new to nail art, the red glitter snowflake panel is the kindest starting point, since glitter hides small wobbles and snowflakes forgive slightly uneven arms.
Cartoon art versus classic art
Cartoon Santa and reindeer faces read as fun and young, while snowy cabins, trees and black and white Santa scenes read as elegant and storybook-like. Cartoon faces suit family gatherings, while classic scenes suit dinners and photos where you want nails to look like a winter illustration.
Red Glitter Snowflake French: Shop the Look
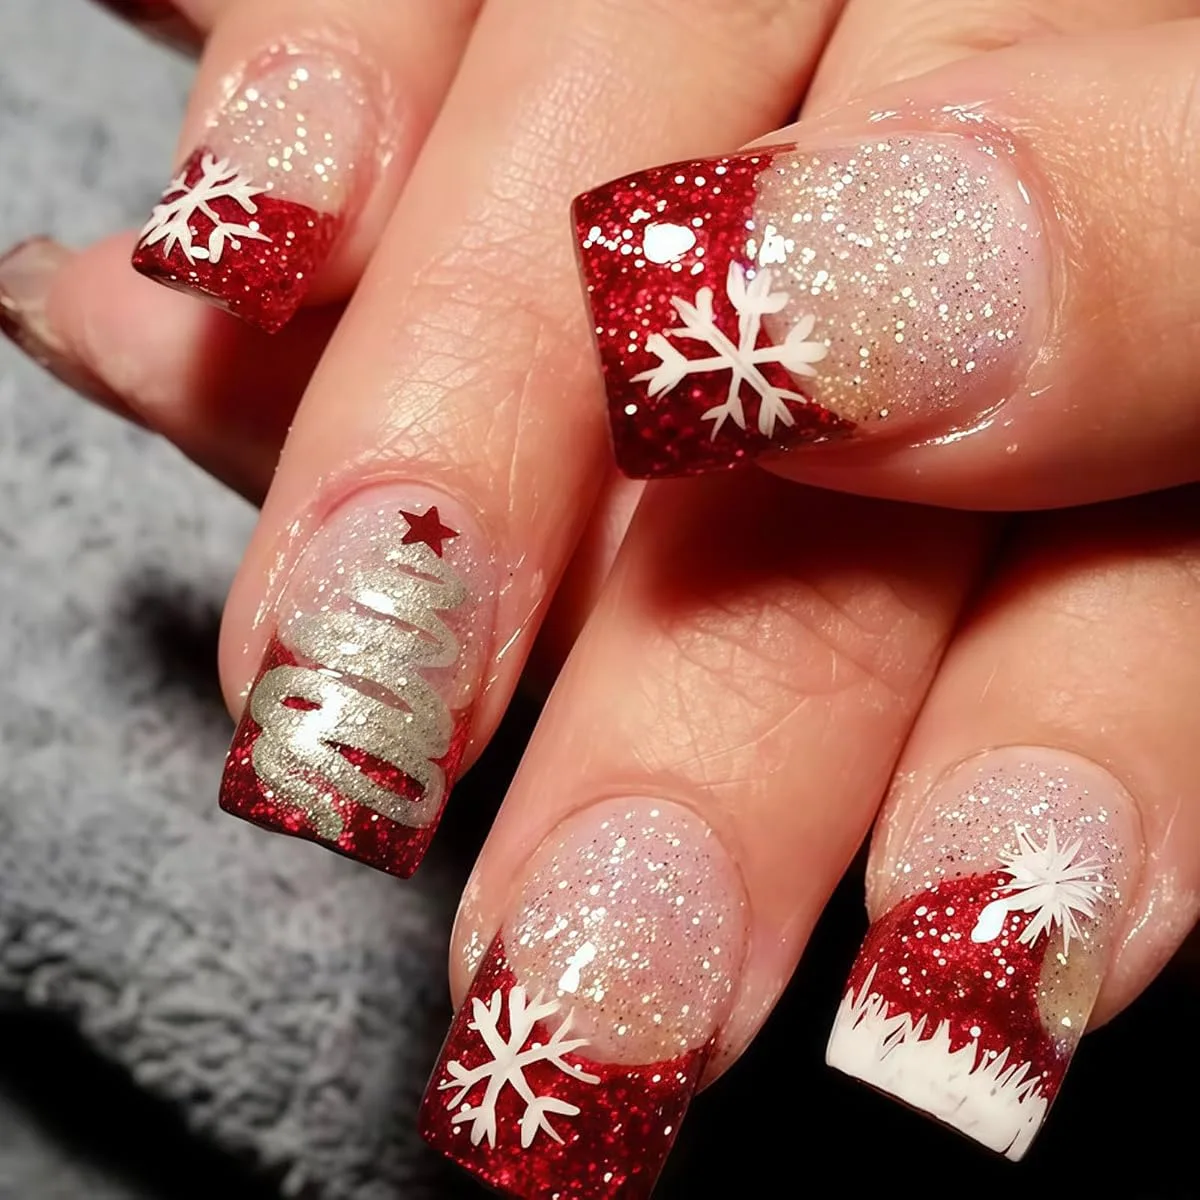
The fourth photo shows short square nails with red glitter French tips over a sheer glitter base, white snowflakes painted on the red tips, one silver glitter Christmas tree topped with a red star, and one white snowy tip edge. This is the most wearable snowflake pearl red nails design in the post, because the French layout keeps most of the nail sheer and quiet, while the red glitter tip carries the festive colour and the snowflake sits on top of it.
Red glitter French tips suit short square nails because the straight tip edge gives glitter a clean boundary, and the sheer base keeps the nail looking natural rather than heavy. The silver tree nail is the accent that lifts the set: one tree is charming, while a tree on every nail would feel busy, and the red star ties it back to the red tips.
Painting snowflakes on glitter
Snowflakes paint best on a dry glitter base, using white polish and a thin brush or dotting tool. Draw a central cross, add diagonal arms, then add tiny dots at the arm ends, and stop there: overworked snowflakes blur into blobs, while simple six arm flakes read clearly even at small sizes. Let each layer dry before adding detail, since wet glitter drags easily.
French tips that last
Glitter French tips hold up better than plain colour tips because glitter hides tip wear, but they still need a sealed free edge. Cap the tip with top coat, wrapping slightly underneath the edge, and add a second thin top coat layer over the whole nail. Our elegant press-on post shows how a clean tip line changes a whole set, and the same care applies when the tips are painted rather than pressed on.
Bulk Christmas Press-On Pack: Shop the Look
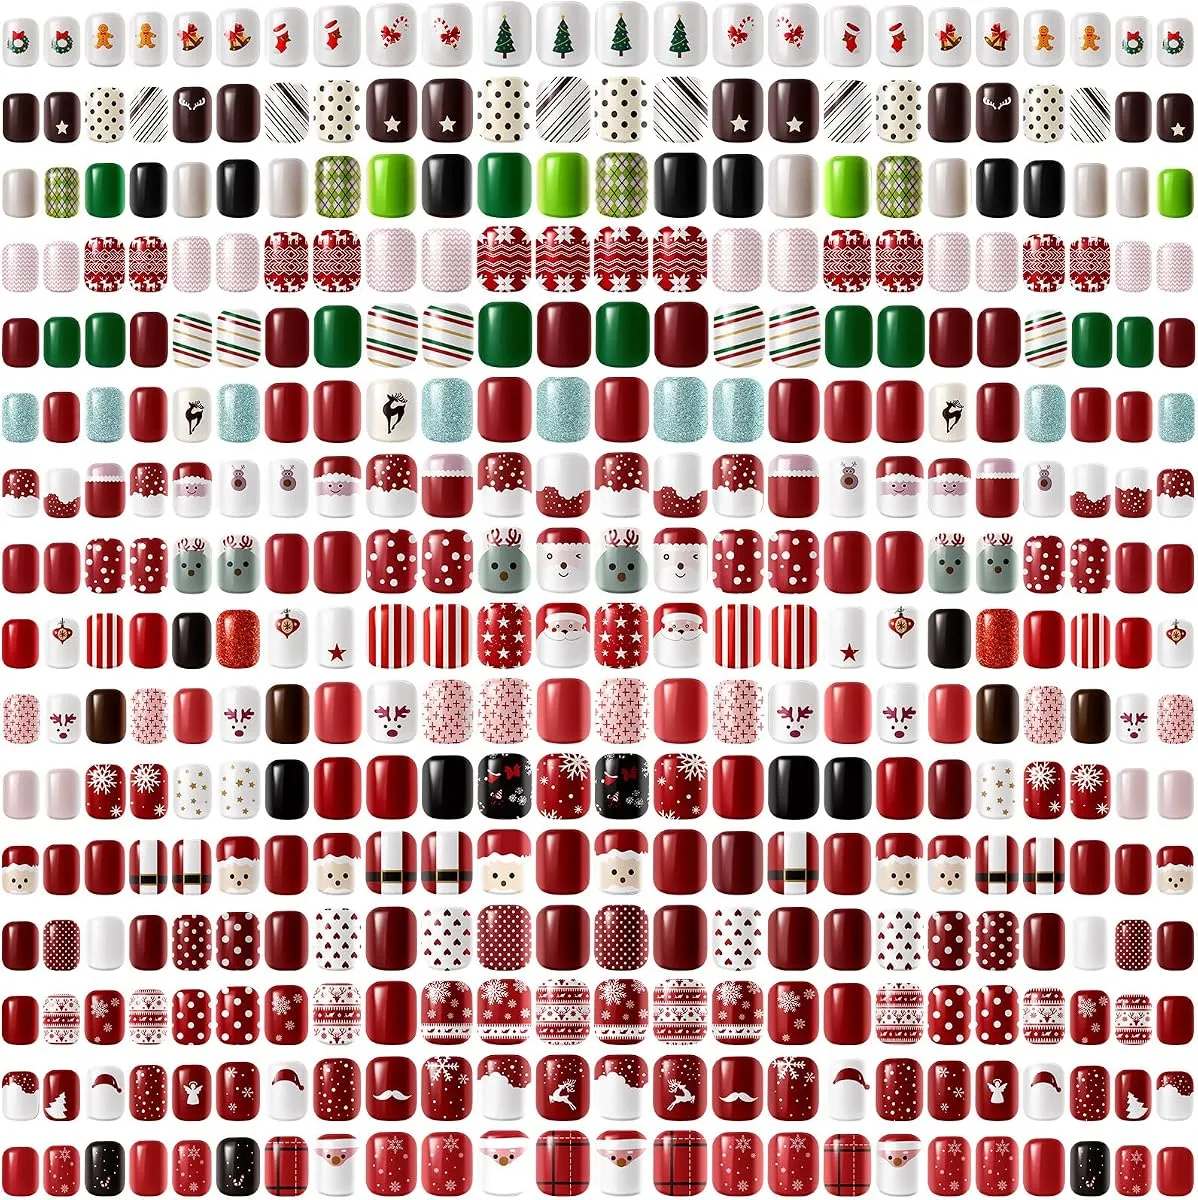
The fifth photo is a product flat-lay, not a worn look: a bulk tray of short squoval Christmas press-on nails in many rows, showing wreaths, gingerbread men, Christmas trees, red and green stripes, reindeer faces, Santa faces, snowflakes, plaid, polka dots and Santa suits in red, green, white, black and brown. This is the ready to wear chapter of snowflake pearl red nails, and it shows the full range a bulk pack offers rather than one finished manicure.
A bulk pack suits anyone who likes to change designs often, since one tray holds many looks and each set is worn as it comes, with no painting needed. The trade-off is fit: press-ons come in fixed sizes, so measure each nail and pick the size that covers it without overlapping skin, filing the sides gently if a tip is slightly wide. Short squoval is forgiving, suiting most hands and rarely snagging.
Choosing from a bulk tray
Do not wear the whole tray at once. Lay out ten tips sharing one colour story, for example red, white and snowflake designs, and keep the rest for later weeks. One Santa face nail with plain red nails gives the festive note without a different cartoon on every finger, and leftover rows last through several occasions.
Press-on prep that holds
Press-ons last best on clean, dry, lightly buffed nails with no oil or lotion residue. Push cuticles back, buff away shine, wipe with an alcohol pad if your kit includes one, then apply glue or tabs and press each tip firmly from cuticle to free edge until it grips. Our gift bow post covers bow press-ons in the same festive family, and the same prep steps apply there.
How to Wear Snowflake Pearl Red Nails at Home
- Pick your version first. Choose the full coffin mix for parties, the red glitter French for everyday wear, or the bulk press-on pack for a no painting option.
- Add the green partner shade. Wear deep forest green on its own for a quiet week, or as accent nails beside red glitter nails.
- Prep every nail the same way: push cuticles back gently, buff away shine, and clean off dust and oil so polish or press-ons grip properly.
- Paint thin coats only, letting each coat dry before the next, and cap the free edge with top coat every time.
- Keep art to one idea per hand: one snowflake design plus one accent, like a pearl crescent or a single tree, is enough.
- Protect your hands and remove gently. Before any lamp session, apply a broad spectrum, water resistant sunscreen with SPF 30 or higher on your hands, and soak gel off rather than peeling it away.
Frequently Asked Questions
Are snowflake pearl red nails hard for beginners?
No, if you start with the right version. The red glitter French with painted snowflakes is the kindest entry point, since glitter hides small mistakes and simple six arm snowflakes read well even when imperfect. Save the pearl crescent French and cartoon collage panels for later, once your brush control feels steady.
Can I wear these looks on short nails?
Yes, and the photos prove it: the red glitter French and the bulk press-on pack are both short shapes. Keep snowflakes small, one per nail, and keep pearl crescents narrow on short nails, so the art fits the nail instead of crowding it. Short squoval press-ons from a bulk tray are the easiest route of all.
How do I mix red and green without clashing?
Let one colour lead. If red glitter is the star, use green on one or two accent nails only, and keep the green dark and glossy rather than bright. The deep forest green in this post works beside snowflake pearl red nails precisely because it is dark and quiet, while a bright green would compete with the red instead of supporting it.
Do press-ons from a bulk pack look as good as painted snowflake nails?
They look different rather than worse: painted snowflake pearl red nails show hand painted detail, while press-ons show crisp printed patterns and uniform shape. Press-ons win for speed and frequent changes, while painted nails win for custom fit and exact shade matching.
Snowflake pearl red nails reward anyone who wears Christmas properly, from a quiet green week to a bold coffin set finished with pearls. Pick the version that fits your week, and follow Beautylicious Hub on Pinterest for more seasonal nail ideas.