Gift Bow Nail Art: 5 Stunning Festive Holiday Ideas
Gift bow nail art turns nails into tiny wrapped presents: a painted bow, a glitter ribbon, or a small 3D bow on a French tip. This post follows bows exactly as they appear in the photos, from red glitter bows on long stiletto nails through a gift-wrap mix and bow press-on set to a bow-free Christmas set and the nail glue behind press-on looks. Each section says plainly what its photo shows, so you can tell a painted bow from a 3D bow and a worn look from a product photo at a glance.
The five photos cover every way bows are worn: as painted glitter art, as part of a wrapping paper pattern, as a ready made press-on, and, in supporting chapters, as the festive set and glue behind bow looks. Whether you paint your own bows or press them on, there is a version here that fits your skill level and your week.
Red Glitter Bow French in Gift Bow Nail Art: Shop the Look
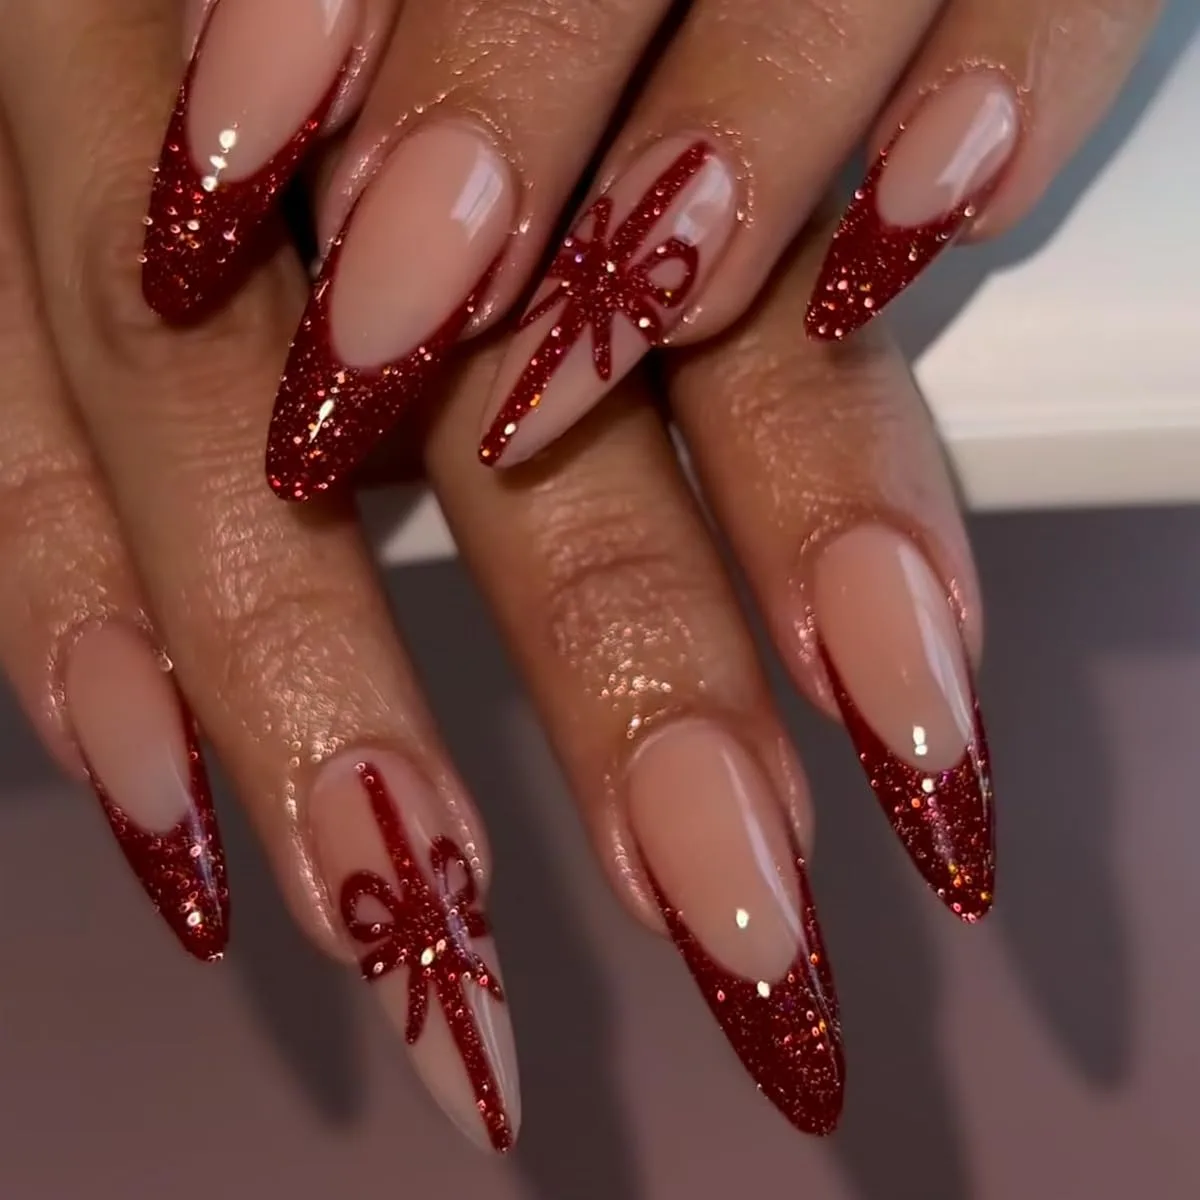
The first photo shows two hands with long stiletto nails on nude bases: most nails carry red glitter French tips, while the accent nails carry red glitter bow art with long ribbon tails running down the nail. This is the most glamorous gift bow nail art look in the post, because the stiletto shape stretches the bow and its tails, making a small design read as dramatic.
Red glitter is the perfect bow material for Christmas, because it reads as ribbon and sparkle at once. A flat red bow can look like a simple drawing, but a glitter bow catches light with every movement, which is what makes it feel like a real wrapped gift. The French tips repeat the same glitter, so the bow nails do not look isolated: the whole hand shares one material, and the bows are where it forms a shape.
Painting a glitter bow cleanly
A painted bow has four parts: two loops, a centre knot, and two tails. Draw the loops first as two curved triangles meeting at the centre, add a small knot dot, then draw the tails as two tapering lines toward the tip. Practice on paper first, since bow loops are the part most people rush, and rushed loops turn into blobs. Work with a thin brush and little polish at a time.
Stiletto length and bow scale
Long stiletto nails suit large bows because the length gives the tails room to run without crowding the cuticle. On shorter nails, shrink the whole bow: smaller loops, a smaller knot, and short tails stopping well above the tip. A small bow on a short nail reads as neat, while a large bow squeezed onto a short nail looks cramped.
Gift-Wrap Mix on Short Ovals: Shop the Look
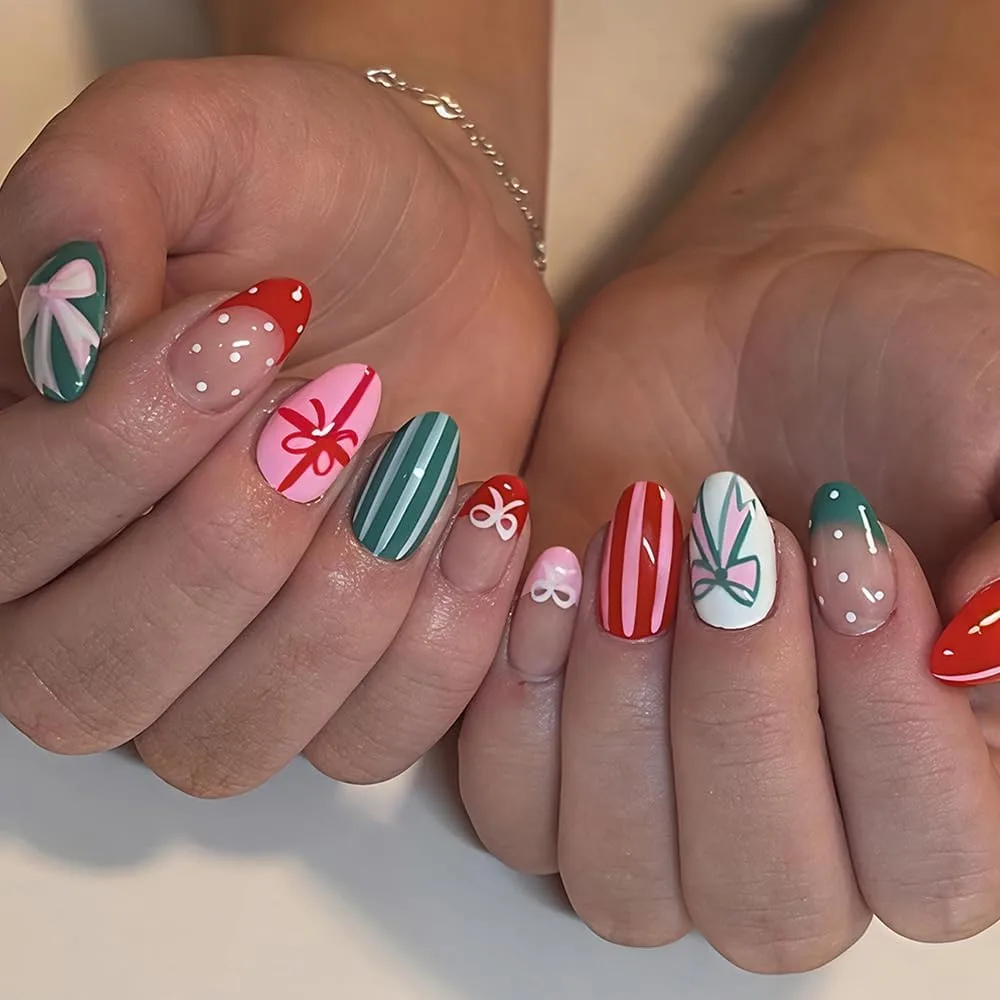
The second photo shows two hands with short oval nails in a gift-wrap mix: a pink bow on green, a red bow on pink, green and white stripes, small white bows on nude, red and white stripes, a pink and green bow on white, sheer pink with white dots, and one solid red nail. No two nails match, yet the set holds together, because every nail uses the same small palette of pink, green, red and white, and every pattern belongs to wrapping paper.
This is the friendliest gift bow nail art photo in the post for beginners, because short oval nails are easy to paint and the mix forgives mistakes. An uneven bow reads as playful wrapping paper here, while on a formal French set it would stand out. The mix also lets you test several bow styles in one manicure, so you learn which style suits your hand before committing to a full set.
Keeping a mixed set coherent
A mixed set needs one rule to hold it together, and here the rule is the palette. Pick three or four colours before you start and use only those on every nail, even when patterns differ. Add one solid red nail to rest the eye. Without a palette rule, a mixed set turns into a random collection.
Bows beside stripes and dots
Stripes and dots are the best neighbours for bows, because they echo wrapping paper without competing with the bow shape. Paint stripes with a striping brush or tape, and dots with a dotting tool in one size per nail. Our snowflake post shows how one motif repeated in different forms holds a set together, and the same logic applies to bows beside stripes.
Bow Press-On Set: Shop the Look
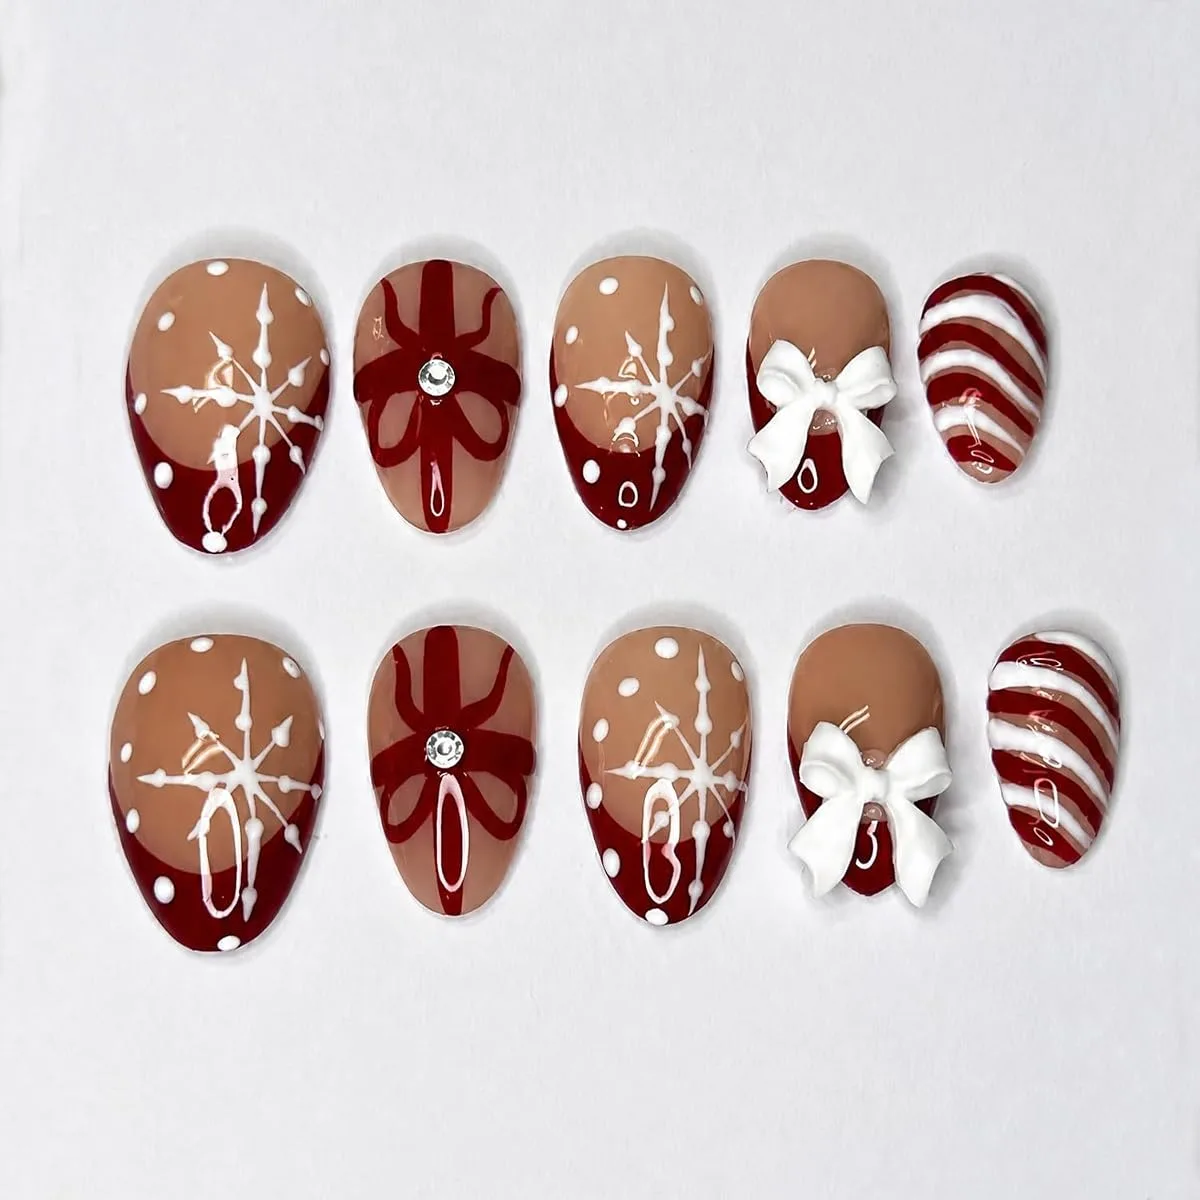
The third photo is a product flat-lay, not a worn look: ten oval press-on tips on white, showing nude and deep red French tips, white snowflake and star art, a painted red bow with rhinestone centre, a white 3D bow, and a red and white swirl tip. This is the ready to wear chapter of gift bow nail art, showing how a press-on set mixes bow types instead of repeating one bow ten times.
The set is clever because it gives three kinds of interest in one box: painted bows for the classic look, a raised white 3D bow for texture, and snowflake art for the winter theme, all tied together by the nude and deep red French base. The rhinestone centre on the painted bow marks the knot clearly, which is the part of a painted bow that most often looks vague.
Painted bows versus 3D bows
Painted bows lie flat and suit everyday wear, since nothing catches on fabric, while 3D bows stand proud of the nail and suit parties and photos, where shadow and shine show. A set mixing both, like this one, gives practical and statement nails in one box: place 3D bow tips on ring fingers and painted bows elsewhere. Keep 3D bows away from snagging tasks, like opening cans or pulling on tight sleeves.
Fitting press-ons properly
Press-ons look best when each tip covers its nail without overlapping skin. Measure every nail before gluing, and file a tip gently at the sides if slightly wide. Our elegant press-on post covers the same fitting logic, and the rule holds here: a well fitted press-on looks like a salon nail, while a poorly fitted one looks like a sticker.
Bow-Free Christmas Partner Set: Shop the Look
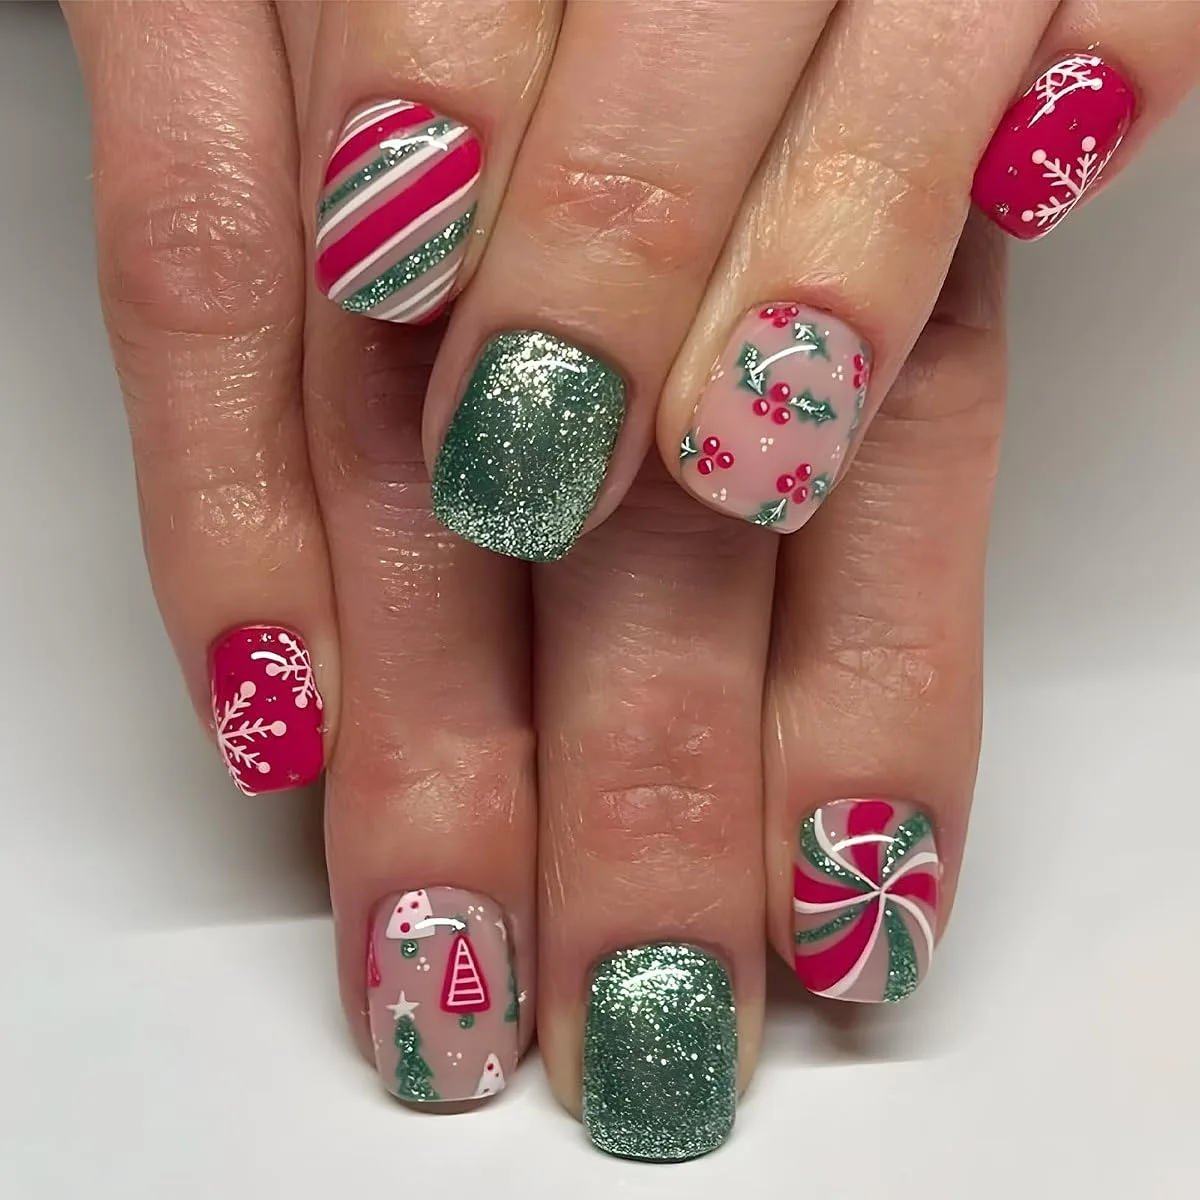
The fourth photo shows two hands with short squoval nails in a Christmas mix containing no bow at all, and honesty about that matters. They show hot pink with white snowflakes, green glitter solids, holly leaves with red berries on nude, pink, green and white candy stripes, and tiny Christmas trees on nude. This is the partner set in gift bow nail art: festive nails for days when a bow feels like too much, or for nails beside a bow set.
A bow-free set earns its place in a bow post because it teaches restraint. Bows work best when surrounding nails are simpler, and this photo shows what simpler nails can look like without becoming plain. Candy stripes echo ribbon without forming a bow, holly echoes Christmas without a bow shape, and green glitter gives sparkle without art.
Candy stripes as ribbon echoes
Candy stripes are the easiest ribbon echo to paint: diagonal stripes in two or three colours over a nude or white base, using a striping brush and steady strokes. Keep stripes even in width, and let each stripe dry before painting the next colour beside it, since wet stripes bleed into each other. A candy stripe nail beside a bow nail reads as wrapping paper beside a gift.
Short squoval for busy patterns
Short squoval nails suit busy Christmas patterns because the straight tip edge keeps each design tidy, while softened corners stop the nails from looking harsh. On long nails the same mix would feel crowded, but on short squoval nails each design gets a neat frame. Keep bases pale where art is detailed, so art stays readable.
Nail Glue Gel Behind the Looks: Shop the Look
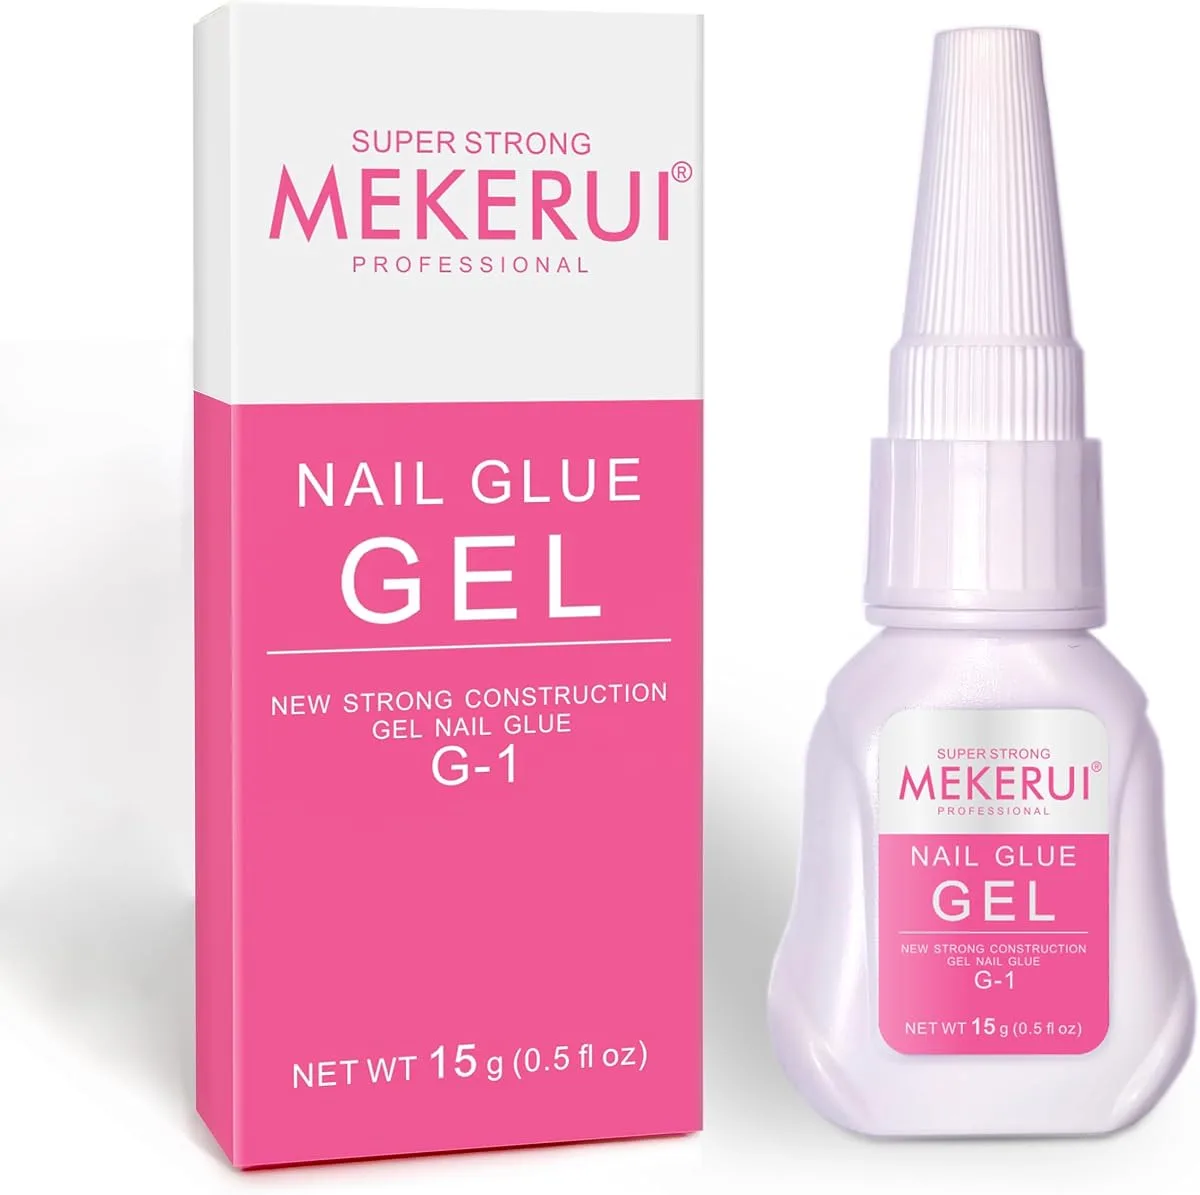
The fifth photo is a product photo, not nail art: a MEKERUI Professional nail glue gel in a white squeeze bottle with a tall nozzle, beside its pink and white box, labelled NAIL GLUE GEL G-1, net weight 15 g. This is the practical chapter of gift bow nail art, the glue that holds press-on bow sets like the one in the third photo onto real nails.
Glue gel differs from thin liquid glue in that it stays where you put it, which helps when placing a press-on tip precisely. Apply a thin, even layer inside the press-on tip or on the natural nail, press the tip on from cuticle to free edge, and hold it still until it grips, pressing out air bubbles toward the edges. Too much glue squeezes out at the sides and dulls the finish, while too little leaves air pockets that lift early, so start thin.
Glue versus adhesive tabs
Glue holds longer and suits a full week of wear, while adhesive tabs hold for a day or two and remove more easily. Choose glue for parties and photos where the set must survive, and tabs for a one evening trial without soaking. Never peel a glued press-on off by force: soak it off gently following the product directions, since prying takes layers of the natural nail with it.
Storing glue and press-ons
Keep glue upright with a clean nozzle, since a clogged nozzle squeezes unevenly. Wipe the nozzle after each use, store the bottle away from heat, and keep unused press-on tips in their tray so bow designs do not rub against each other. Our holiday winter post covers more winter press-on ideas.
How to Wear Gift Bow Nail Art at Home
- Pick your bow route first: paint bows for a custom set, or press on a bow set.
- Choose one gift bow nail art style per hand as the star. A large glitter bow or 3D bow on the ring fingers, with simpler nails around it, beats a different bow per nail.
- Prep every nail the same way: push cuticles back, buff away shine, and clean off dust and oil so polish or press-ons grip.
- Paint thin coats only, letting each coat dry before the next, and seal painted bows with top coat without dragging the bow lines.
- Fit press-ons before gluing: measure each tip, file the sides if needed, and lay out all ten in order before opening the glue.
- Protect your hands and remove gently. Before any lamp session, apply a broad spectrum, water resistant sunscreen with SPF 30 or higher on your hands, and soak gel and glued press-ons off rather than peeling.
Frequently Asked Questions
What is the easiest gift bow nail art to paint for a beginner?
A small painted bow on a short nail is the easiest start, using a thin brush, two loops and a knot dot. Practice on paper first and keep the bow small: a small neat bow reads as intentional, while a large uneven bow shows every wobble. Gift bow nail art rewards patience, so paint one nail at a time and let each bow dry before sealing.
Can I wear bow nails on short nails?
Yes, and the gift-wrap mix here proves it: short oval nails carry pink, red and white bows beautifully. Shrink the bow to fit the nail, keep tails short, and pair bow nails with stripe or dot nails for balance.
Should I choose painted bows or 3D bow press-ons?
Choose painted bows if you enjoy nail art and want a custom set in your exact colours, since painted bows lie flat and survive everyday tasks. Choose 3D bow press-ons for instant party texture, since the raised bow photographs beautifully but needs gentler handling. Many people wear both: painted bows weekly, 3D bows for events.
How do I stop press-on bows from popping off?
Fit comes first: a tip matching its nail holds far better than glue alone can fix. Use a thin, even glue layer, press from cuticle to free edge to push out air, and hold each tip still until it grips. Avoid water and oil for the first hour, and never peel a lifted tip off and re-glue it without cleaning both surfaces first.
Gift bow nail art turns an ordinary manicure into a wrapped present, from a red glitter bow on stiletto nails to a small white bow on a short oval. Pick the bow style that fits your week, and follow Beautylicious Hub on Pinterest for more seasonal nail ideas.