Winter Acrylic Nails: Gradient and Snowflake Ideas
Winter acrylic nails are at their best when they mix quiet neutrals with one or two bold moments, and this post follows that idea through five very different photos. The old title of this post promised blue gradient nails, but only one photo is truly blue, so the title now says what the photos actually show: winter acrylic nails, with gradients and snowflakes as the running themes.
You will find a soft neutral winter set, a brown plaid set, a blue snowflake hero set, a burgundy gradient set, and finally the cat eye kit that creates gradient shine. Together they cover the whole winter.
Gold Glitter and Snowflake Short Almond Nails for Soft Winter Days: Shop the Look
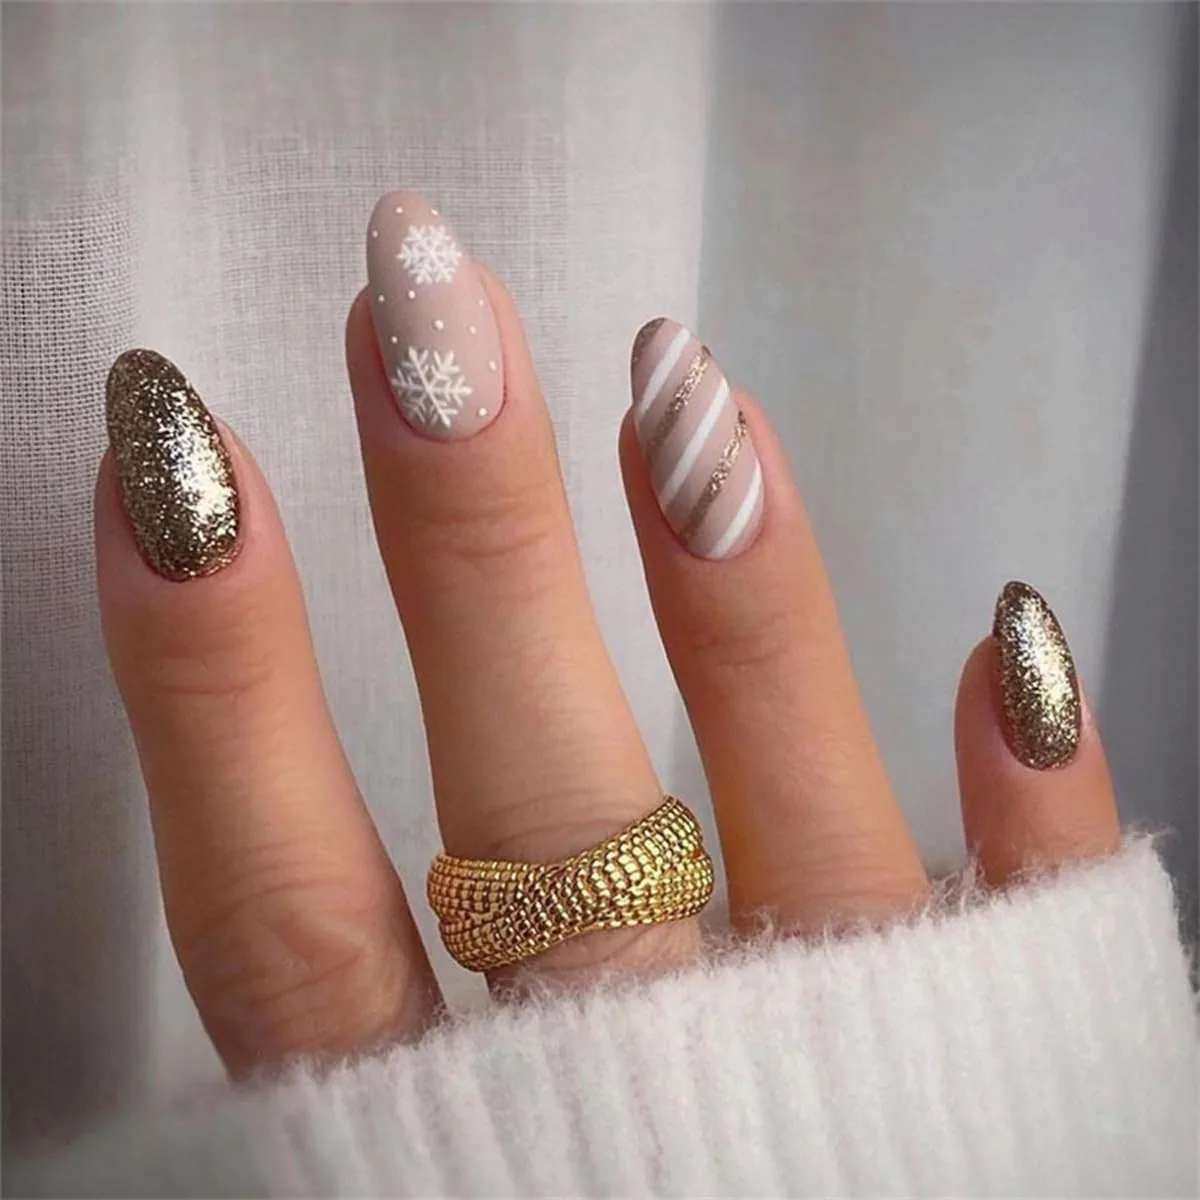
The first photo is winter at its softest. Short almond nails mix gold glitter, nude nails with white snowflakes and dots, and nude nails with white and gold candy stripes, worn with a white knit sweater and a gold ring. Short length keeps the set practical, while the almond taper keeps it elegant. The palette is warm and quiet: nude as the base, gold as the sparkle, white as the snow.
Nothing here shouts, which is exactly why these winter acrylic nails work for daily winter wear.
Why a neutral winter set earns its place first
Neutral winter nails suit more outfits than any bold set, because nude and gold match knitwear, coats and jewellery without clashing. Gold glitter on one or two nails gives the festive feeling. Candy stripes add a Christmas hint. If you only try one look from this post for everyday life, start here: it is the easiest to wear, the easiest to maintain, and the most forgiving if one nail chips.
Painting snowflakes on short nails without crowding them
Short nails need smaller snowflakes, or the art crowds the nail. Paint one small snowflake per nail, with a centre dot, six short arms and tiny branches, using a fine liner brush on a cured nude base. Leave the other nails plain or dotted. Gold glitter works best as a full accent nail or as a thin tip, rather than scattered over every nail.
Keep the candy stripes to two nails at most, in white and gold, so the stripes read as an accent rather than a pattern that takes over.
Brown Plaid and Polka Dot Short Oval Nails for Cosy Winter Style: Shop the Look
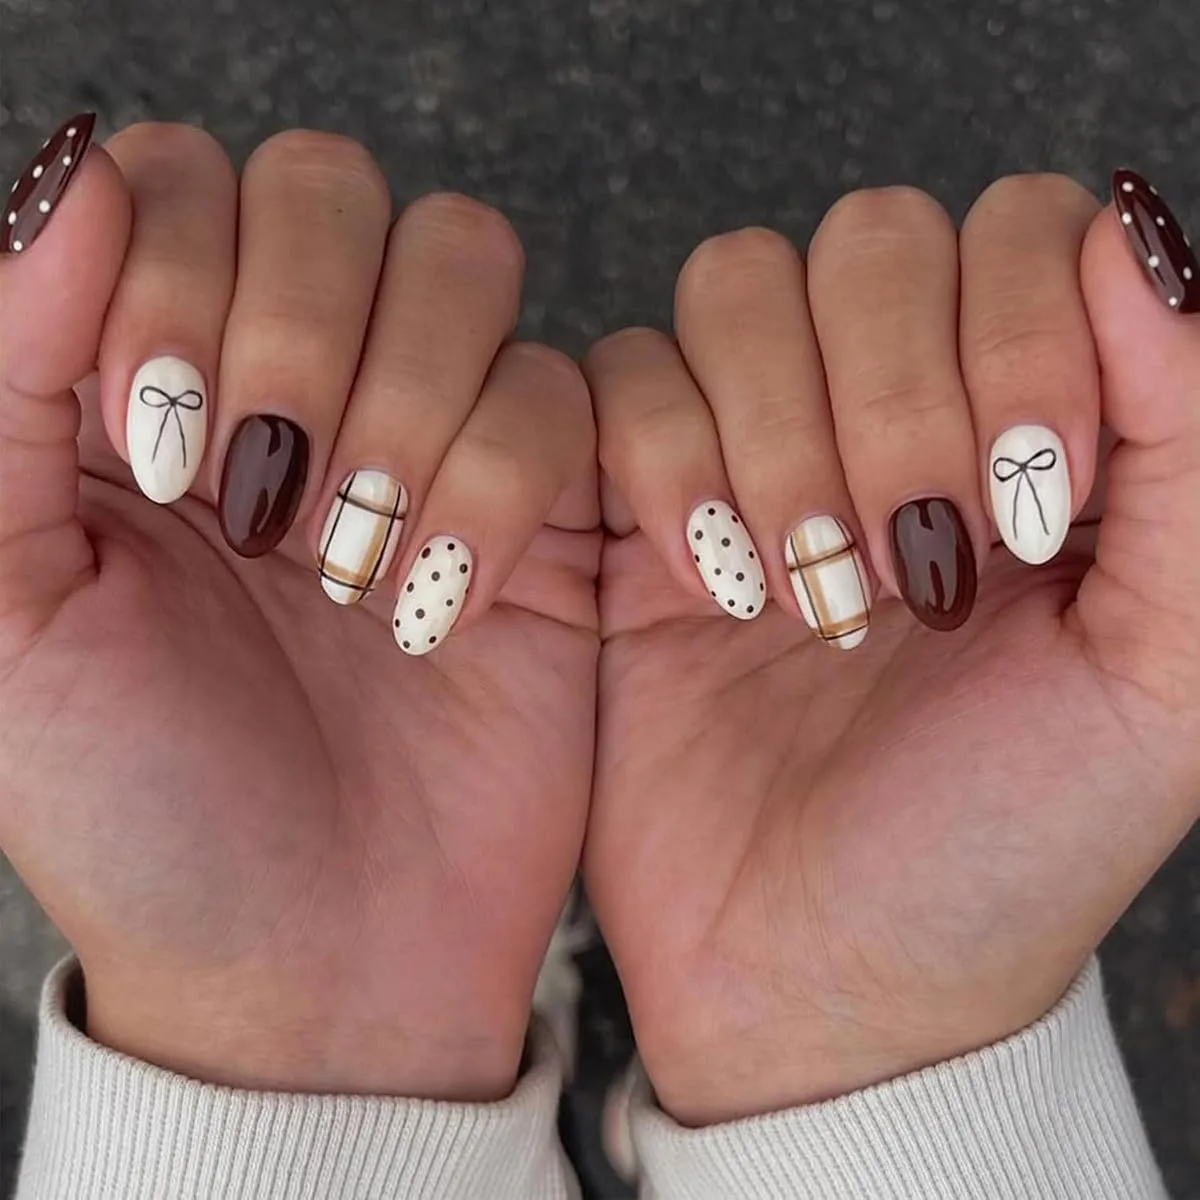
The second photo swaps sparkle for cosiness. Both hands show short oval nails in deep brown solid, cream with a black bow outline, cream and brown plaid, cream with brown dots, and brown polka dots. The oval shape suits this set perfectly.
Brown is the surprise hero of winter acrylic nails: it reads as warm and rich, yet it pairs with winter coats and knits just as well as burgundy or navy. The cream nails stop the brown from feeling heavy.
Plaid, bows and dots: three patterns that share one palette
These winter acrylic nails work because three different patterns share the same brown and cream palette. Plaid gives structure, the bow outline gives charm, and dots give playfulness, but no nail fights another because the colours never change. That discipline is the lesson to copy: when you mix patterns, fix the palette first, then vary the pattern. Two pattern nails per hand is plenty.
Painting plaid that looks neat on a small nail
Plaid needs thin lines and a light hand. Start with a cream base, then paint two vertical and two horizontal lines in brown, letting each line dry before crossing it, so the intersections stay clean. Add a thinner line between the main lines for depth. Bows are simpler than they look: two small loops and a centre dot, outlined in black on cream, with no filling needed.
Dots should vary in size, with one larger dot and a few smaller ones, so the nail looks hand painted rather than stamped.
Royal Blue Snowflake Coffin Nails with a Snowman Hero Nail: Shop the Look
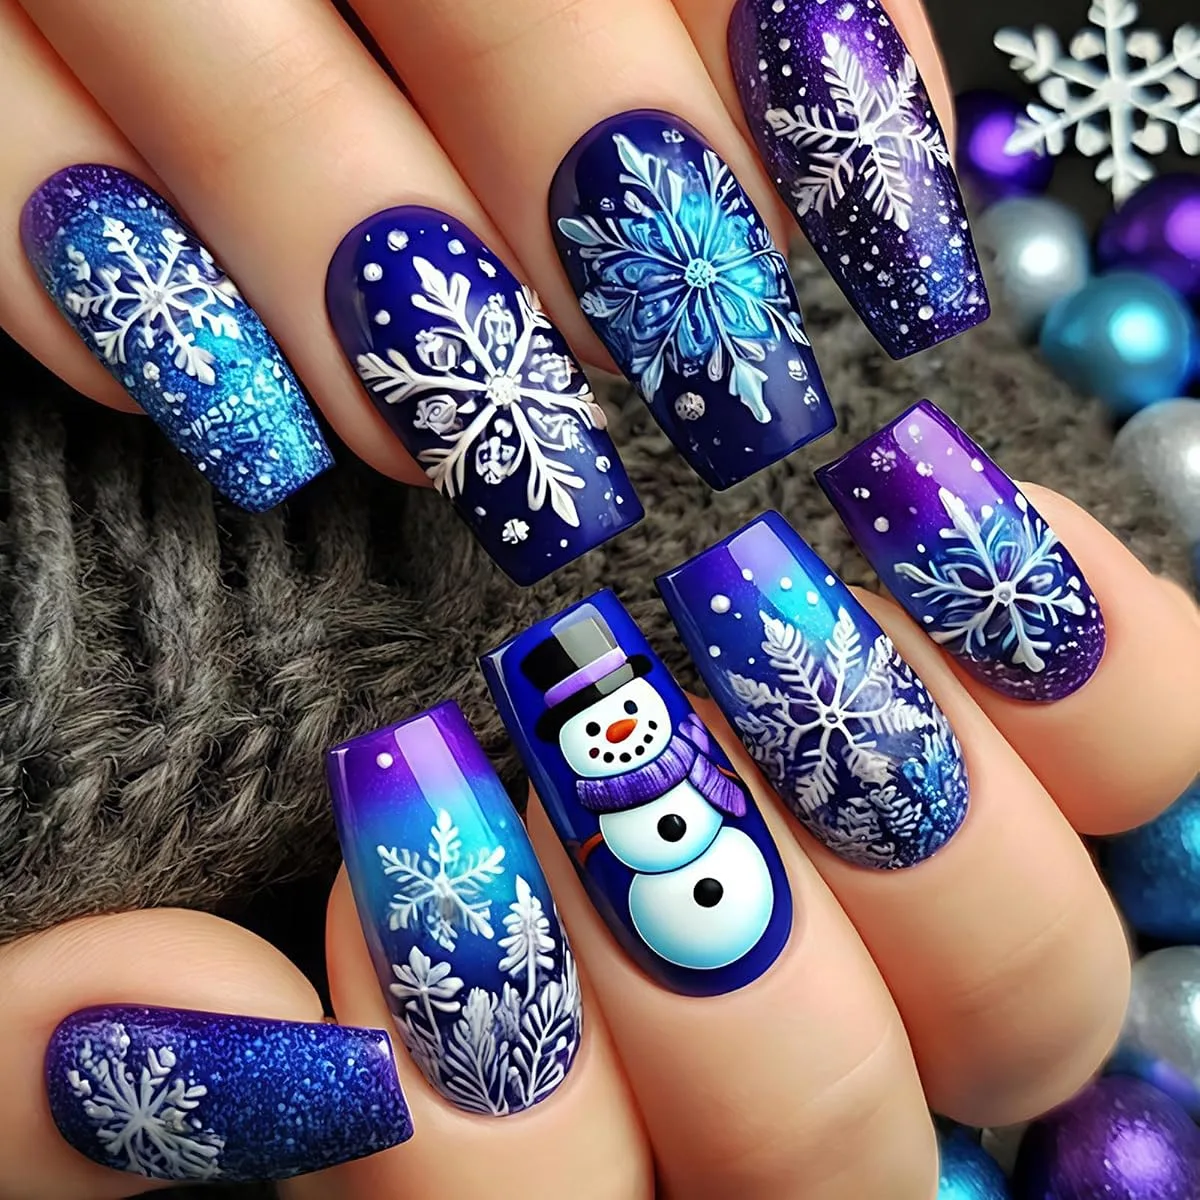
The third photo is the blue set the old title promised, and it delivers. Long coffin nails in royal blue, purple and turquoise carry white snowflakes, glitter and one full snowman nail, photographed against ornaments. This is the only true blue winter acrylic nails set in the post, which is why it sits at the centre.
The coffin shape gives the snowman nail a wide canvas, while the mix of blue, purple and turquoise stops the set from looking like a single flat colour. Glitter ties the shades together.
Why this blue set works as the holiday hero
Royal blue is bold, but the purple and turquoise variations soften it, and white snowflakes give the eye a place to rest. The snowman nail earns its place by being the only scene nail, while the other nails repeat only snowflakes and glitter. That hero strategy is what separates a holiday set from a costume set.
Our blue gel polish guide covers blue shades in more depth, and our blue and nude gel nails guide shows how to calm a bold blue with nude nails when the full set feels like too much.
Building a snowman nail without losing the set
Paint the snowman on one nail per hand, on a blue or white base, using simple shapes: stacked circles for the body, dots for eyes and buttons, a small triangle or line for the nose, and a thin scarf line. Keep the other nails to snowflakes and glitter only. White gel paint gives the crispest snowflake arms on blue. Seal the scene nail with a thin top coat, since thick coats pool around raised details and blur fine lines.
Burgundy to Black Cat Eye Gradient Nails with Snowflakes: Shop the Look
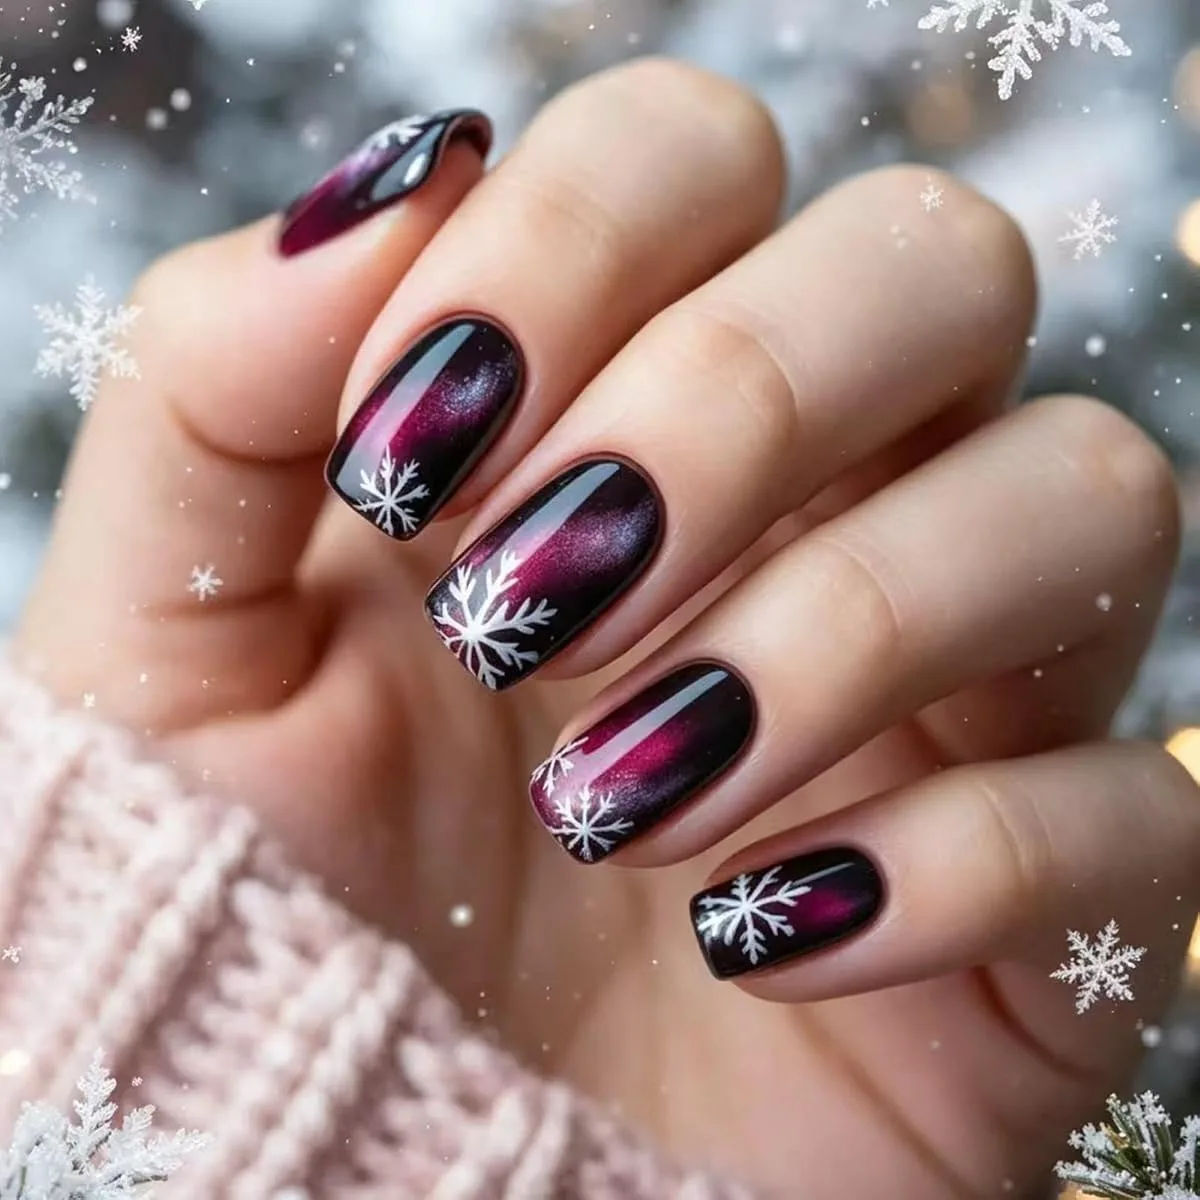
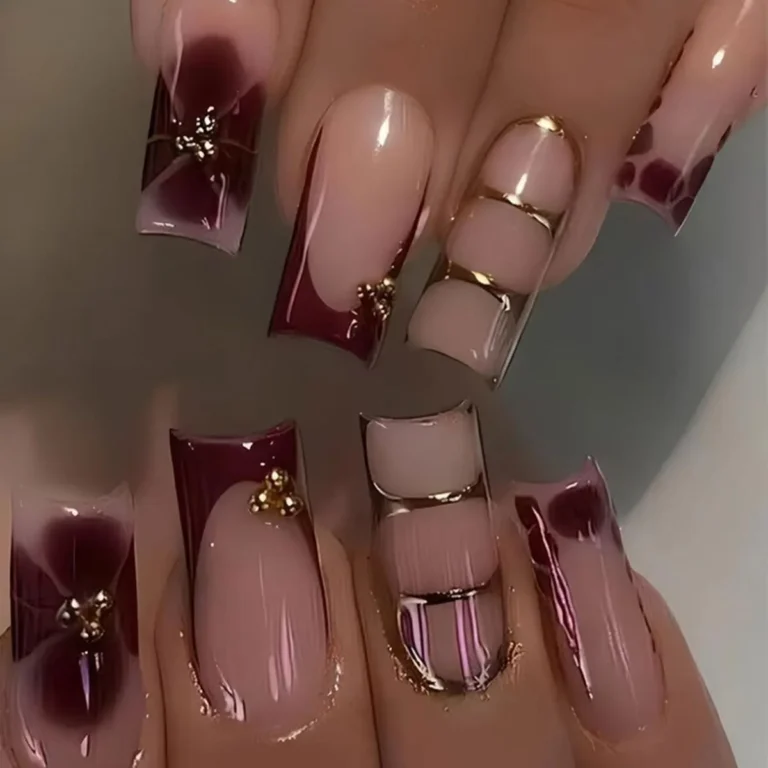
The fourth photo is the gradient winter acrylic nails look the new title promises, but in burgundy rather than blue. Short square nails show a burgundy to black cat eye gradient with white snowflakes, photographed on a snowy background with a pink knit sleeve. Cat eye polish contains tiny magnetic particles, and holding a magnet near the uncured polish pulls them into a glowing line or wave, which is what creates the gradient depth here.
The effect shifts as the hand moves. Short square shape keeps the dramatic gradient wearable.
Cat eye gradient: what the magnet actually does
Cat eye shine is not glitter scattered on top; it is shimmer inside the polish, arranged by a magnet before curing. Hold the magnet close to the nail, without touching the wet polish, and the particles line up into a band of light. Move the magnet slowly to place the band where you want it.
Once you are happy with the band, cure as your product directs to lock it in. Practise on one tip first, because the band locks in at curing.
Snowflakes over a gradient without hiding the shine
Snowflakes over cat eye polish need a light touch, or they cover the very effect you created. Paint one or two small snowflakes per hand, on nails where the gradient band sits to one side, so the snowflake and the shine share the nail rather than competing. White gel paint stays visible over burgundy and black, and a single glitter dot at the centre is enough. Keep the top coat thin over the snowflakes.
The pink knit sleeve in the photo is a styling hint too: soft pink warms a dark gradient beautifully.
Beetles Cat Eye Gel Kit with 36 Colours for Winter Acrylic Nails: Shop the Look
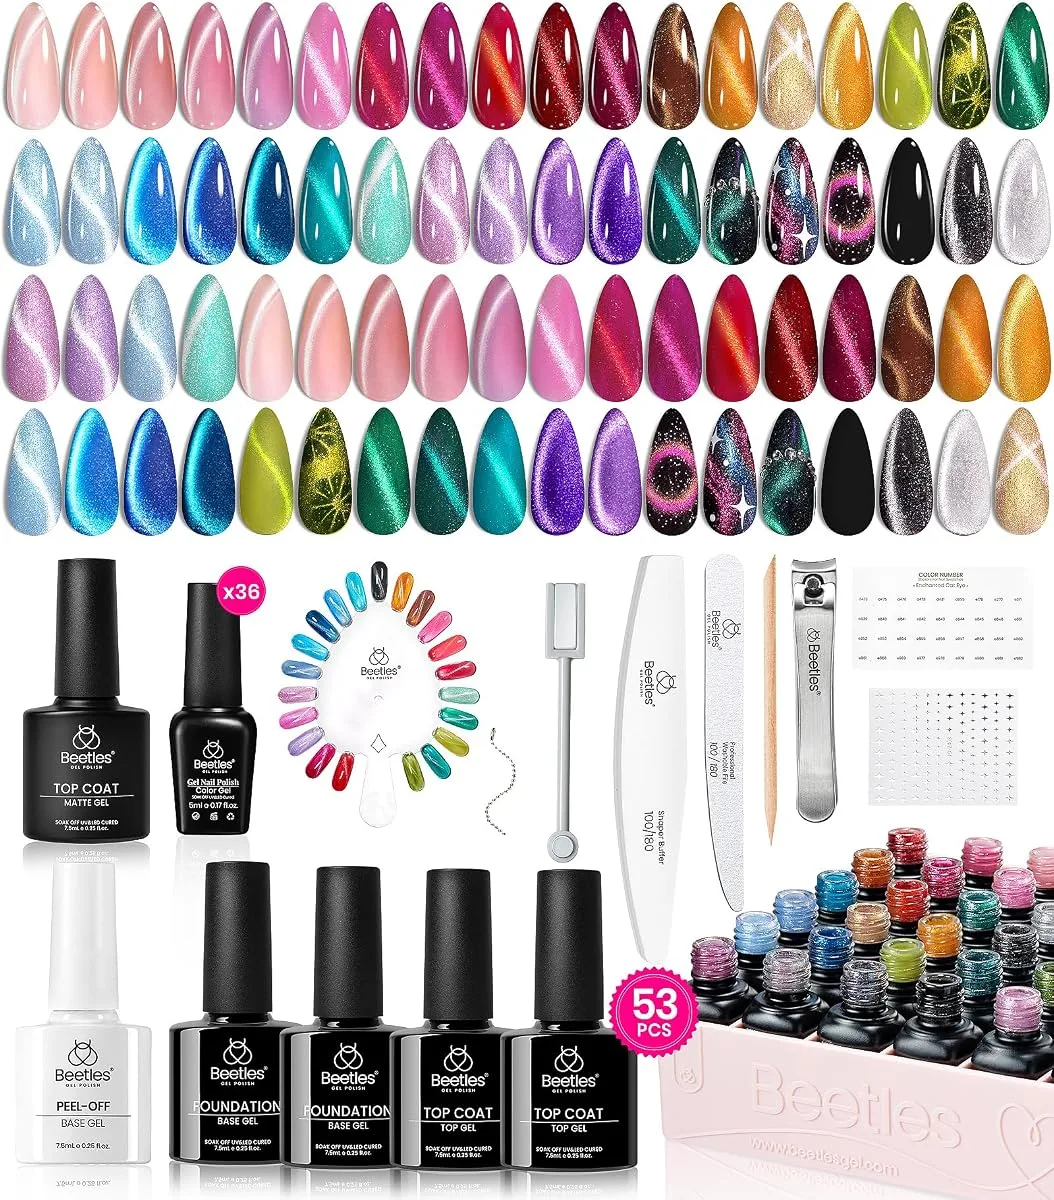
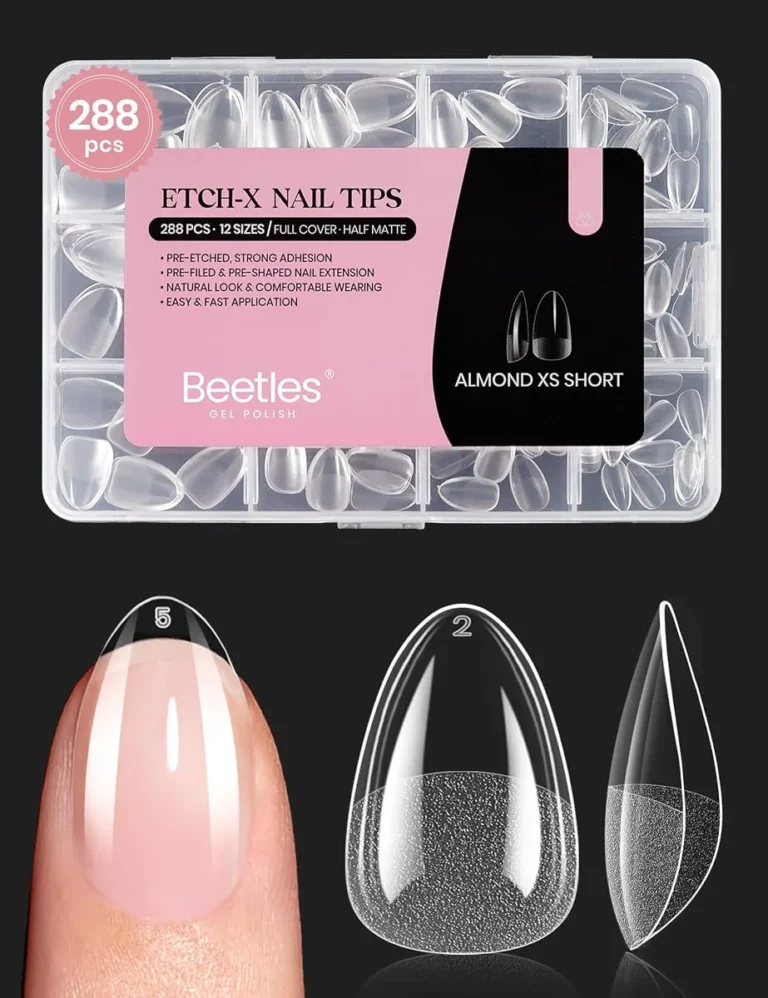
The final photo is not a manicure at all, and it is honest to say so. It is a flat lay of the Beetles cat eye gel kit: 36 colour tips in pinks, blues, purples, greens and golds, plus a 53 piece set with base and top gels, peel off gels, a magnet, files and clippers. This is the tool behind the gradient looks in this post, especially the burgundy gradient above.
A kit like this suits winter because it offers many dark and jewel shades in one place, so you can try burgundy one week and blue the next without buying single bottles. The colour tips show each shade as it looks cured.
What a cat eye kit gives a winter nail lover
A cat eye kit for winter acrylic nails gives range, not just one shade. With 36 colours you can match the gradient to your outfit and occasion. The included magnet is essential, since cat eye polish without a magnet is just shimmer polish. Base and top gels in the same kit keep the system matched.
Files and clippers cover prep. Keep the colour tips as your swatch chart.
Choosing your first cat eye shades for winter
Start with three shades that cover the winter range: a deep burgundy for the gradient in this post, a royal blue for the snowflake hero set, and a soft pink or champagne for everyday wear. Test each shade on a tip first. Dark shades show the cat eye band most clearly, while pale shades give a softer glow.
Our glitter gel polish set guide covers glitter placement that pairs well with cat eye shine, since a little glitter over a gradient goes a long way.
How to Create Winter Acrylic Nails with Gradients and Snowflakes
- Prep every nail first. Remove old polish, push cuticles back gently, lightly buff away shine, and clean off dust and oil.
- Build length and shape: almond for soft winter sets, oval for plaid and cosy patterns, coffin for hero scenes, square for short gradients.
- Apply base colour in thin coats, curing between coats as your product directs, and keep product off the skin.
- For a cat eye gradient, apply cat eye polish, hold the magnet near the uncured polish until the band of light sits where you want it, then cure to lock it in.
- Paint snowflakes with a fine liner brush on cured colour, one small snowflake per nail, with a centre dot, six arms and short branches.
- Add glitter, dots or plaid lines sparingly, keeping the palette fixed across the whole set.
- Seal with a thin top coat, cap the free edge, and finish with cuticle oil on the skin around the nails.
The American Academy of Dermatology recommends a broad spectrum, water resistant sunscreen with SPF 30 or higher on your hands before a gel manicure, since gel is sealed using ultraviolet light. Fingerless gloves are an alternative the Academy also mentions.
Frequently Asked Questions
Are winter acrylic nails only for long nails?
No, and this post proves it. Three of the five photos use short nails: the neutral almond set, the brown plaid oval set and the burgundy gradient square set. Short winter nails suit daily life, typing and gloves, while long coffin nails suit hero sets and holidays. Let the colour and art carry the winter feeling.
How do I create a cat eye gradient at home?
Apply cat eye polish in a thin coat, hold the magnet close to the nail without touching the wet polish, and watch the shimmer pull into a band of light. Move the magnet slowly to place the band, then cure as your product directs. Practise on a tip first, since the band locks in at curing. Dark shades like burgundy and royal blue show the band most clearly, which is why they lead these winter acrylic nails.
How do I keep snowflakes neat on small nails?
Paint one small snowflake per nail, with a centre dot, six short arms and tiny branches, using a fine liner brush on a cured base. Keep the other nails plain, dotted or glittered, so the snowflake nails stand out. If a snowflake goes wrong, wipe it off the cured base and try again before sealing. Thin top coats keep fine lines crisp, while thick coats blur them.
Can I mix gradients, plaid and snowflakes in one winter?
Yes, but fix the palette first and vary only one thing at a time. This post mixes gradients, plaid, dots and snowflakes, yet each set stays inside one palette: nude and gold, brown and cream, blue and white, burgundy and black. If you want plaid and snowflakes together, keep both in the same two colours, and give each pattern its own nails. The set will read as one design rather than several competing ones.
Winter acrylic nails reward a simple rule: one hero, one palette, and snowflakes used sparingly. Try the neutral set for everyday wear, the blue hero for the holiday, and the cat eye kit when you want gradient shine, and follow Beautylicious Hub on Pinterest for more nail ideas like these.