Gel Nail Kit Essentials: Polish, Glue and Salon Looks at Home
Gel nail kit essentials are not just bottles of colour: they are the lamp, the base and top coats, the prep tools, the glue for press-on days, and the looks all of those pieces make possible. This post follows five photos that cover that whole picture honestly, from two brush-on nail glues through a full lamp kit with a hundred swatch tips, to a leopard bow manicure and a Christmas press-on set. Only one photo is a gel kit itself, and the post says so plainly, because understanding what a kit is, and what it is not, is the fastest way to buy well.
The useful way to read these photos is as a small system. The lamp kit creates polished looks from bottles. The glues attach ready-made tips on days when painting feels like too much. The worn looks show what both routes can produce: a detailed leopard French set from a salon-style routine, and a full festive set from a press-on box. Once you see the system, you can choose the route that fits your week instead of buying pieces at random.
Glamnetic Brush-On Glue in Gel Nail Kit Essentials: Shop the Look
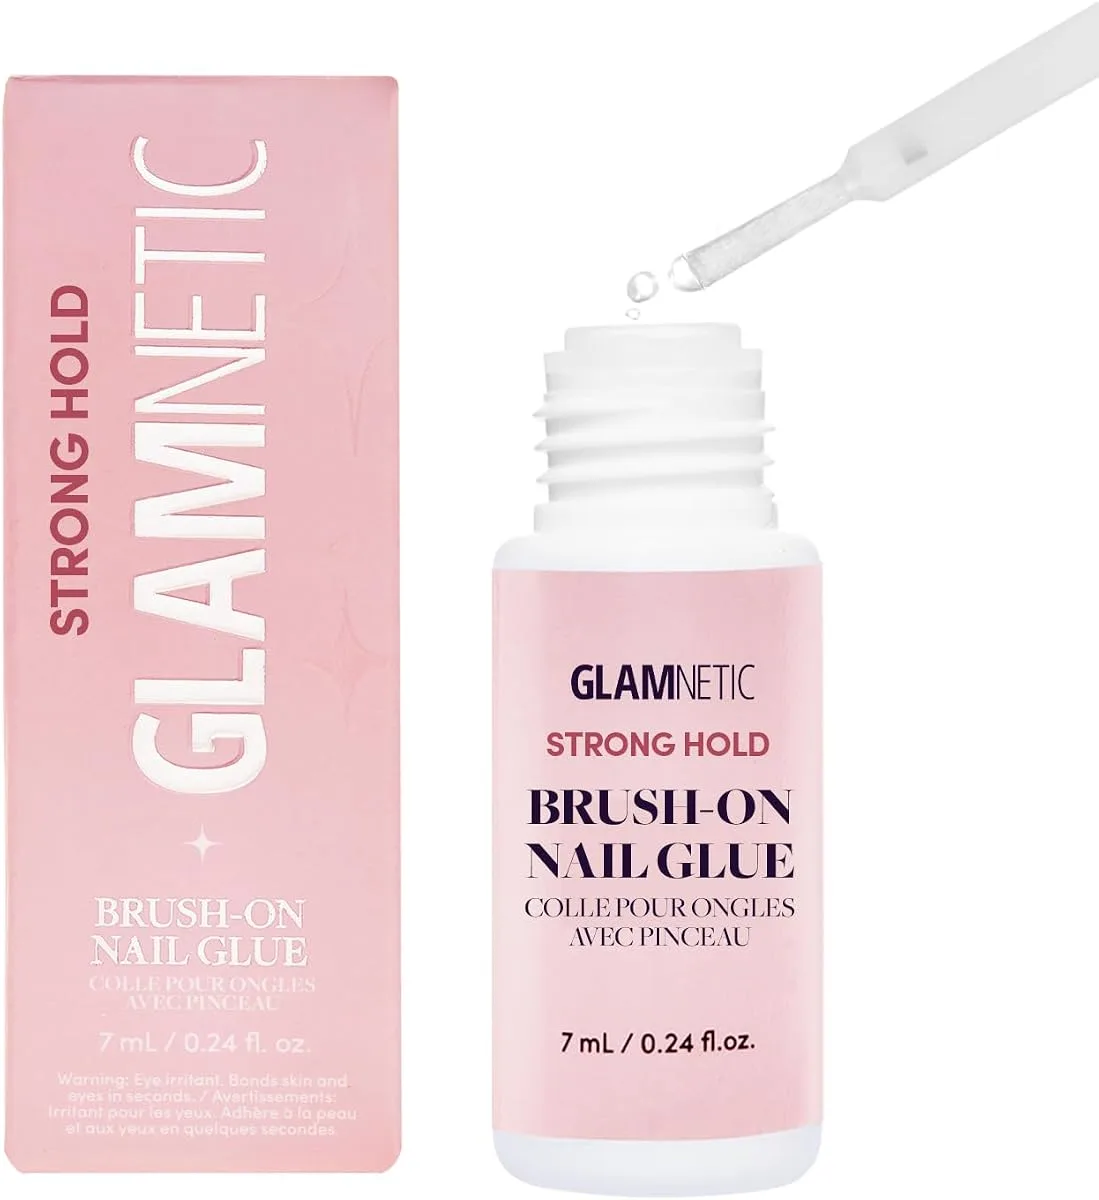
The first photo shows a Glamnetic brush-on nail glue in a small clear bottle with a pink label, beside its tall pink box, with the brush applicator lifted and a clear drop hanging from it. The bottle holds 7 mL, and the label calls the product Strong Hold, which is pack wording rather than a measured promise, so this draft treats it as a description of intent, not as a guarantee about wear. This is not gel polish, and it needs no lamp: it is the adhesive used to attach press-on nails or tips, brushed onto the nail or the tip before pressing the two together.
Brush-on glue earns its place among gel nail kit essentials because it changes what a bad nail week looks like. When a natural nail breaks, when time runs short before an event, or when a detailed design feels out of reach, a glued tip gives a finished nail in minutes rather than a full painting session.
Where glue fits beside gel polish
Glue and gel polish solve different problems, so they complement rather than replace each other. Gel polish builds colour on your own nails with a lamp, while glue attaches a ready-made nail when you want length, shape or art without painting. Keeping both in your system means a broken nail no longer ruins a manicure, and a busy week no longer means bare nails.
Applying brush-on glue neatly
Neat glue work starts with prep: push cuticles back gently, buff away shine, and clean off dust and oil so the glue grips the nail rather than a dusty layer on top of it.
Full Lamp Kit in Gel Nail Kit Essentials: Shop the Look
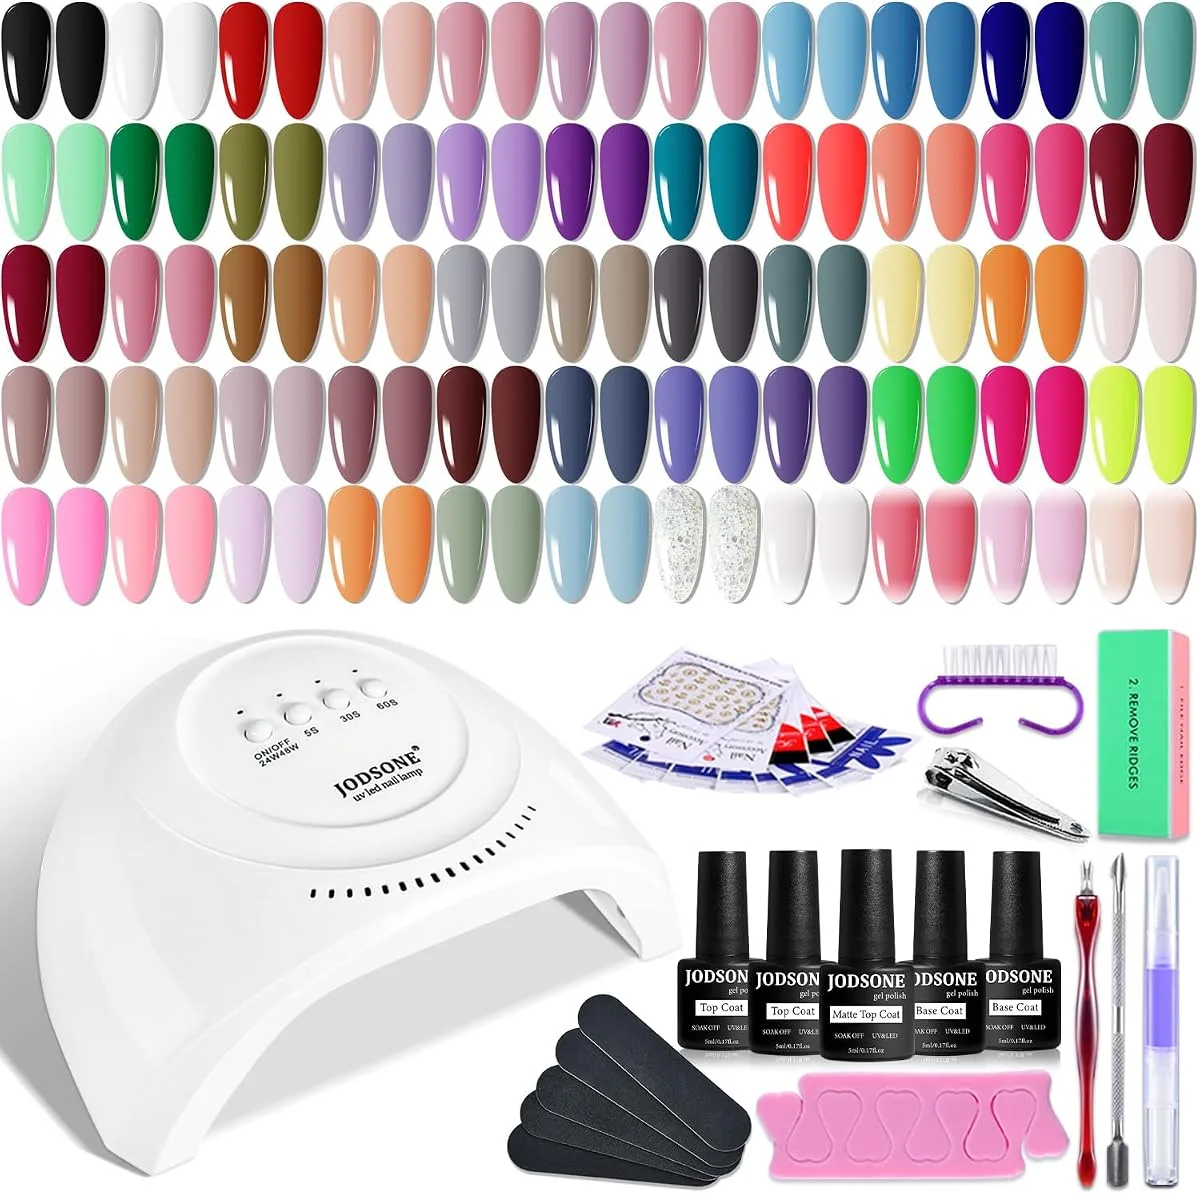
The second photo is the heart of the post: a full JODSONE gel kit laid out flat, with a white UV LED nail lamp, five gel bottles, about a hundred oval swatch tips, and a complete set of prep tools. The lamp is marked 24W and 48W with timer buttons for 5, 30 and 60 seconds. The bottles are labelled Top Coat twice, Matte Top Coat, and Base Coat twice, each 5 mL. Around them sit nail files, a buffer block, a cuticle pusher, a cuticle oil pen, a nail clipper, nail guides and sticker sheets. Above the tools, five rows of swatch tips show the colour range behind the kit: black, white, reds, pinks, nudes, blues, greens, purples, neons, glitters and gradients.
A kit like this, at the centre of gel nail kit essentials, is worth judging by its system, not by its colour count alone. The lamp is the fixed cost that makes everything else possible, since gel only hardens under UV or LED light. The base coat grips colour and protects the natural nail, the colour coats provide the look, and the top coat seals it, with the matte top coat offering a second finish from the same colours.
Reading a kit before you buy it
Check four things before buying any kit: a lamp matched to the gel, a base coat and a top coat included, prep tools in the box, and soak-off labelling so removal does not need filing. Our top coat guide post explains glossy and matte finishes in detail, and it pairs naturally with the two top coats shown in this photo.
Colour range versus colour use
A hundred shades look exciting, but most people rotate a dozen favourites.
Leopard Bow Manicure in Gel Nail Kit Essentials: Shop the Look
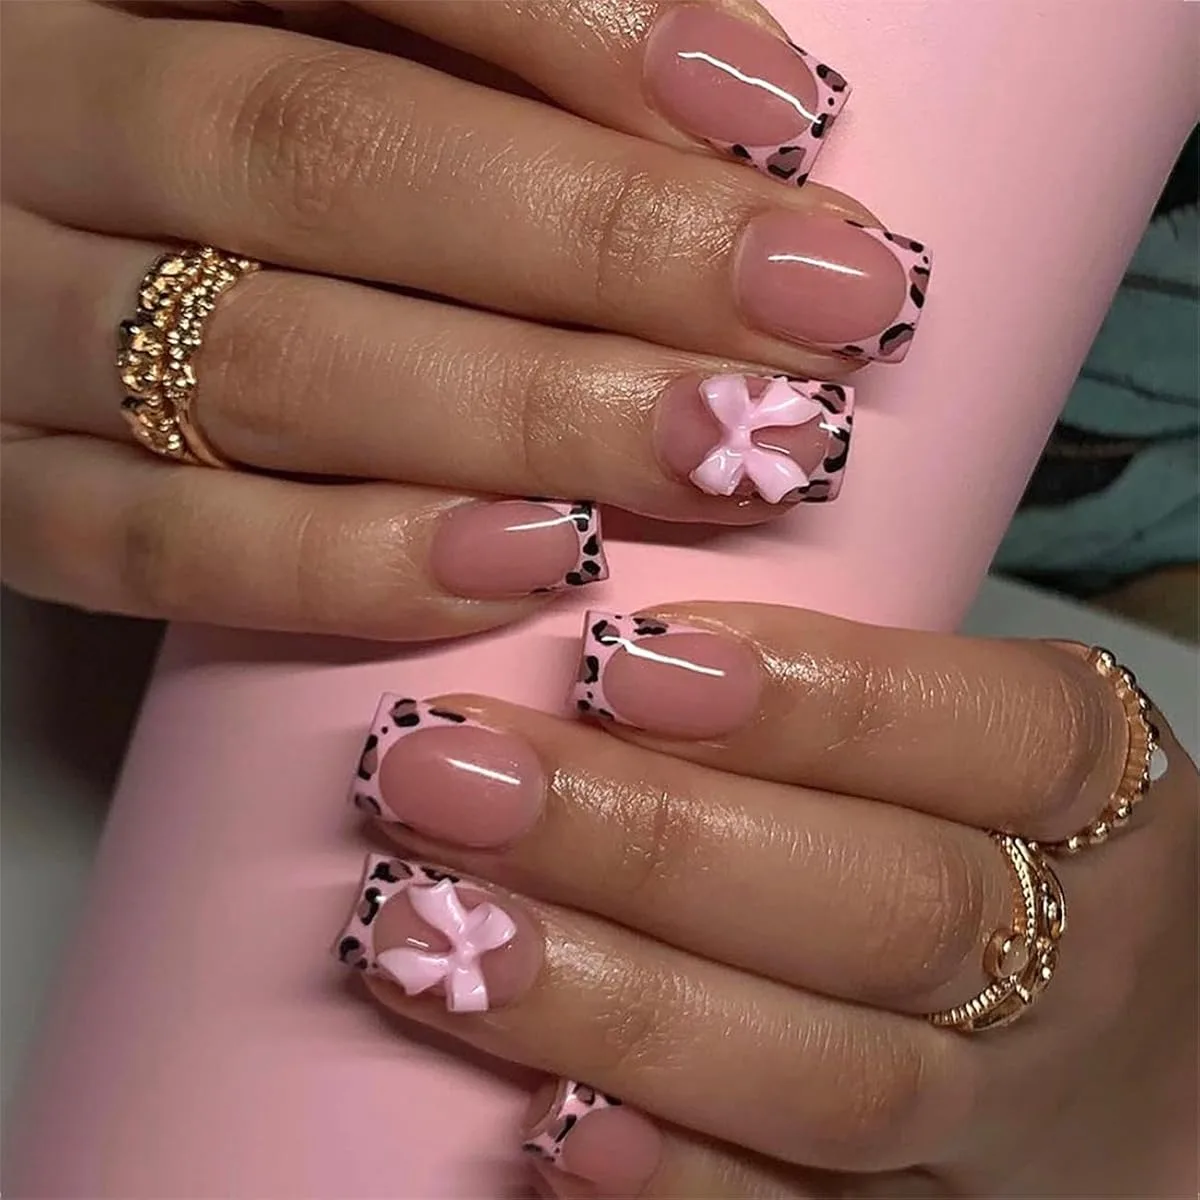
The third photo shows what a salon-style routine can produce on short nails: two hands with short square nails, sheer pink bases, pink and black leopard print French tips, and pink 3D bows on the accent nails, with gold rings and a pink background. This is a worn look, not a kit photo, and it belongs in this post as the result chapter, proof that a home kit plus a little art can produce a detailed, current manicure without length.
Recreating this look at home with gel nail kit essentials needs a steady hand and a simple order. Paint the sheer pink base first and cure or dry it fully. Paint the French tip shape in pink, then add small black spots with a dotting tool, keeping the spots irregular, since leopard print is naturally uneven. Add the bow last, using a small 3D bow charm or a hand-painted bow on the accent nails, and seal carefully around it so the charm edges do not lift.
Why leopard tips work on short nails
Leopard print works on short nails because it is a pattern of small marks rather than one large motif. Small marks scale down gracefully, while a large character motif can crowd a short nail. The French tip format helps further, since it confines the pattern to the tip and leaves the rest of the nail calm.
Bows as a finishing detail
A bow, whether a charm or painted, should appear on one nail per hand at most. Our builder gel post covers building structure under detailed looks like this, for readers whose natural nails need extra support before art goes on.
Christmas Press-On Set in Gel Nail Kit Essentials: Shop the Look
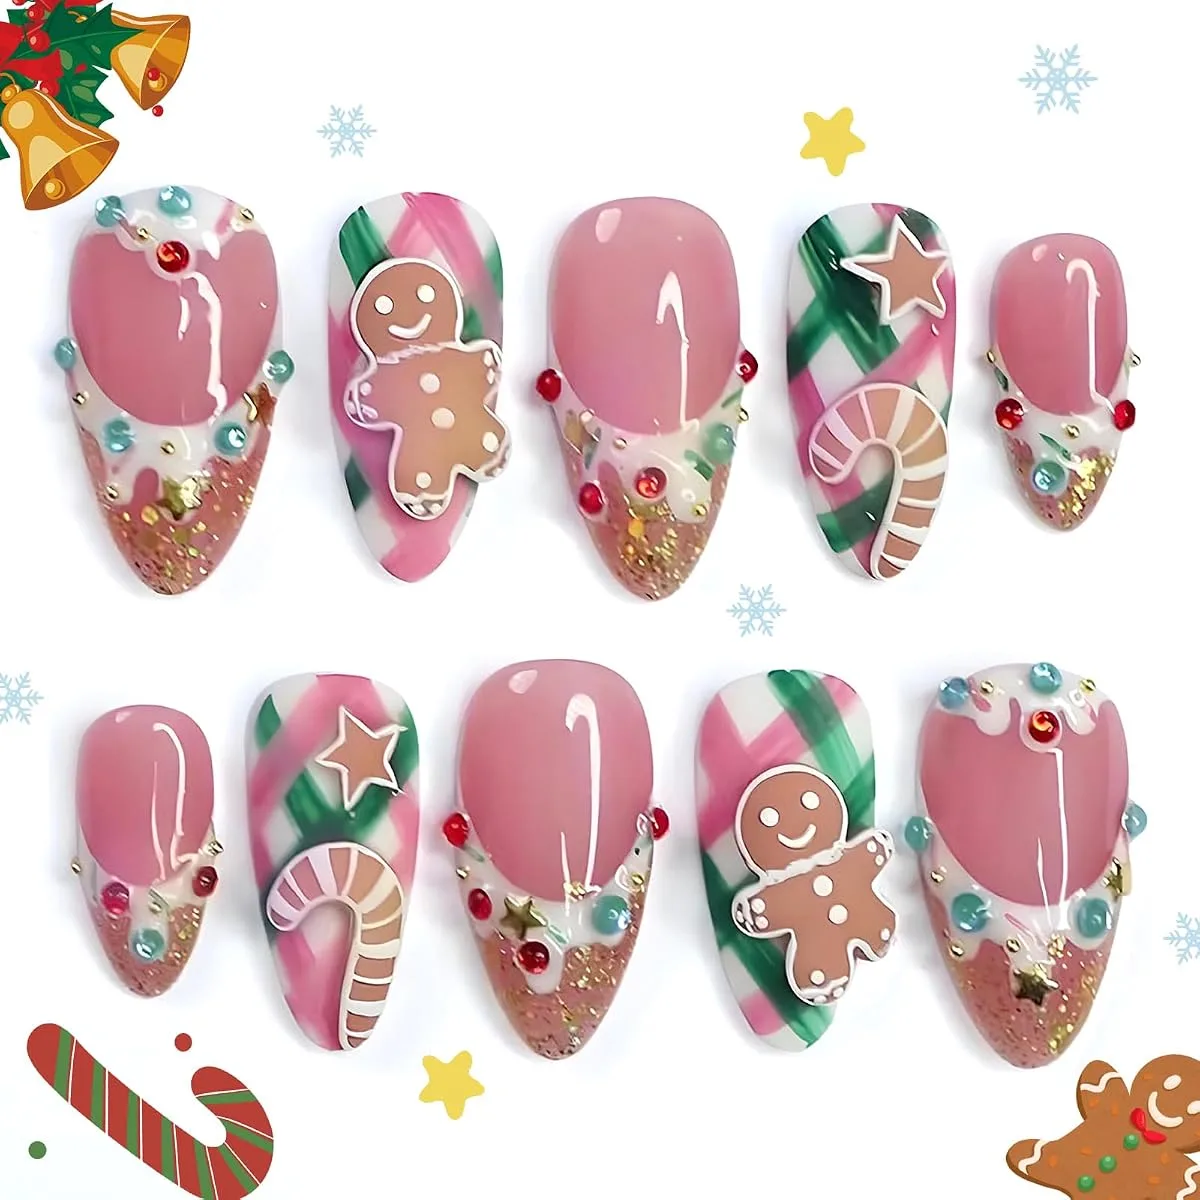
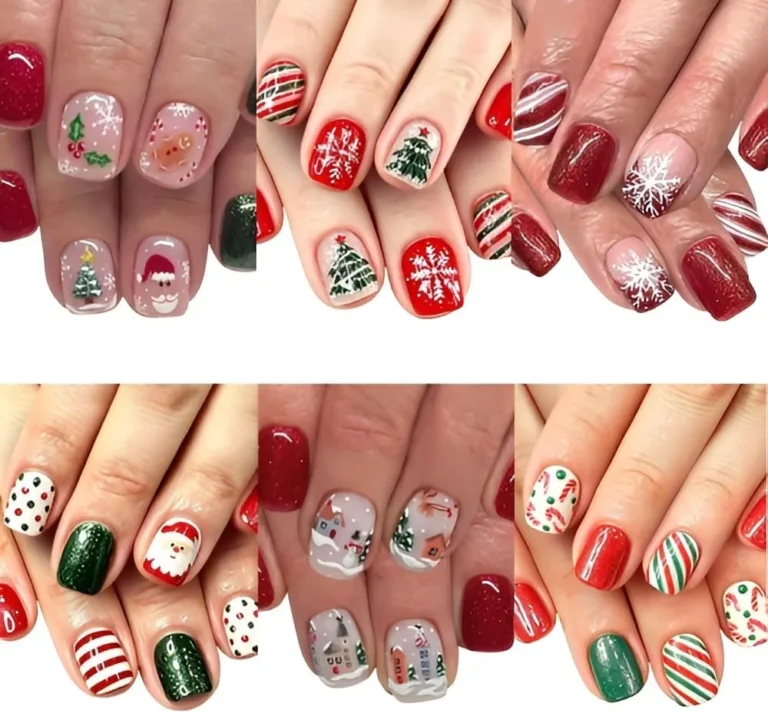
The fourth photo shows the press-on side of the system: a full set of almond tips laid out in two rows of five, on a white background with small Christmas graphics in the corners. The designs mix pink bases with white icing drip tips, gold glitter, gingerbread man art, green and pink plaid with candy cane and star art, and red and teal gem details. This is a ready-made set, not gel polish, and it connects directly to the glue photos in this post: a set like this is what brush-on glue is for, giving a complete festive manicure without painting a single motif by hand.
Press-on sets deserve honest framing within gel nail kit essentials. They are the fastest route to detailed art, and for a single event they often look better than a rushed freehand attempt. Sizing before gluing is therefore the most important step, laying each tip against its nail and choosing the closest fit, with a gentle file to adjust width if needed.
When press-ons beat painting
Press-ons win on event days, on broken-nail days, and for anyone who loves detailed art but does not enjoy painting it. Knowing which day you are having is the whole decision.
Keeping a press-on set looking neat
Neatness comes from sizing, thin glue layers and edge care. File the tip edges gently after application so they blend with your natural nail line, keep glue off the skin, and carry a spare tip and a small glue bottle for repairs. Our press-on ideas post covers more ready-made styles, for readers building a press-on rotation alongside their gel routine.
LUXXI Brush-On Glue in Gel Nail Kit Essentials: Shop the Look
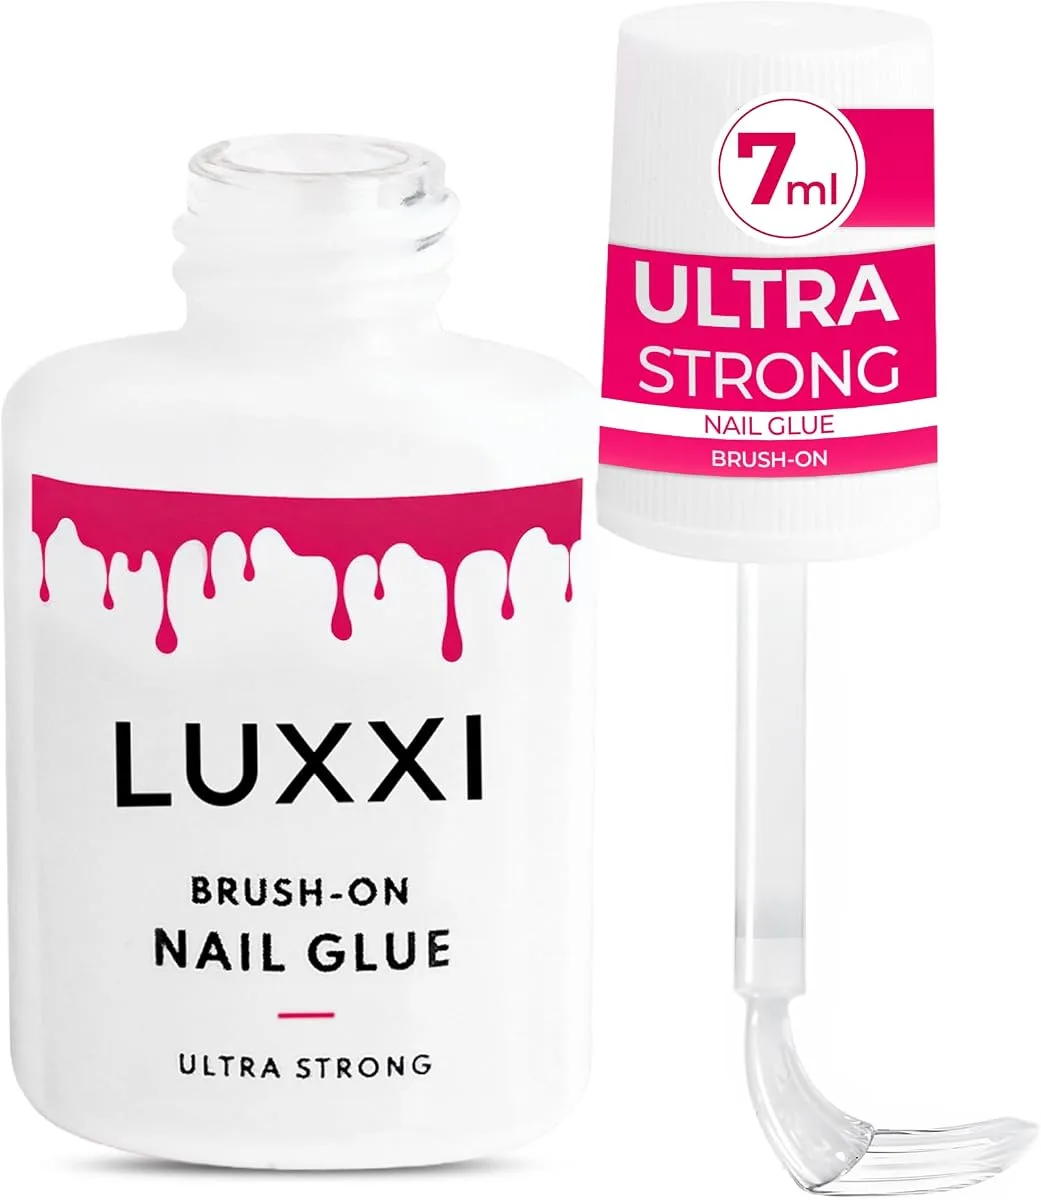
The fifth photo shows a second brush-on nail glue, this time a LUXXI bottle in white with a pink drip graphic, beside its cap with the brush applicator extended. The label calls the product Ultra Strong and marks the bottle at 7 mL, and as with the first glue, the strength wording is pack language, not a measured wear promise. Two glue photos in one post may seem repetitive, but the repetition makes a useful point for gel nail kit essentials: glue is not one interchangeable product, and different bottles suit different hands, tips and routines.
Comparing two glues side by side teaches what to look for beyond the label. Brush shape matters, since a wide flat brush covers a nail quickly while a narrow brush suits small nails. Viscosity matters most of all, since a thin glue spreads evenly and a thick glue can pool at the cuticle. None of that appears on a label, which is why keeping notes on which glue worked for which set is more useful than trusting strength wording.
Choosing between two similar glues
Choose by brush and flow, not by the strongest word on the label. Test a new glue on one hand first, wear it through a normal day, and check the edges before committing a full set to it. That single test saves more frustration than any label comparison.
Storing glue so it lasts
Keep it away from heat and out of reach of children, and never use glue on broken or irritated skin around the nail.
How to Use Gel Nail Kit Essentials at Home
- Start with the kit check. Confirm you have a lamp, a base coat, colour, a top coat and prep tools before painting, so you never cure a half-finished set.
- Prep every nail the same way: push cuticles back gently without cutting, buff away shine, and clean off dust and oil so gel and glue both grip properly.
- For a gel manicure, paint thin coats only: base coat, cure, two thin colour coats with a cure between them, then top coat and a final cure, capping the free edge each time.
- For press-ons, size every tip before gluing, apply a thin glue layer, press from cuticle outward, and hold until set.
- Add art last, whether painted or as a charm, and seal around art edges so nothing lifts or catches.
- Protect your hands and remove gently. Before any lamp session, apply a broad spectrum, water resistant sunscreen with SPF 30 or higher on your hands, soak gel off rather than peeling it away, and remove press-ons gently following the glue instructions.
Frequently Asked Questions
Do I need a lamp if I only use press-on nails?
No, press-ons need glue, not a lamp. A lamp only matters for gel polish, which hardens under UV or LED light. If your routine is press-ons only, spend on glue and sizing rather than on a lamp.
What is the difference between a base coat and a top coat?
A base coat goes first, grips colour and protects the natural nail, while a top coat goes last, seals colour and provides shine or a matte finish. Skipping either one weakens the manicure, since colour without a base lifts sooner and colour without a top coat scuffs faster.
Can I use the same kit for detailed art like leopard tips?
Yes, if the kit includes thin brushes or you add a detail brush and a dotting tool. The kit provides the base, colour and seal, while art tools provide the precision, and the two together produce looks like the leopard bow set in this post.
How do I remove gel polish without damaging my nails?
Soak off gently rather than peeling or forcing the gel away, and follow your kit instructions for soak time and tools. Peeling pulls up layers of the natural nail, which is the most common cause of thin, peeling nails after a gel manicure.
A complete home nail system is a lamp kit for painted weeks, glue for press-on days, and a few art ideas to keep both routes interesting. Start with the pieces you will actually use, and follow Beautylicious Hub on Pinterest for more salon-at-home nail ideas.